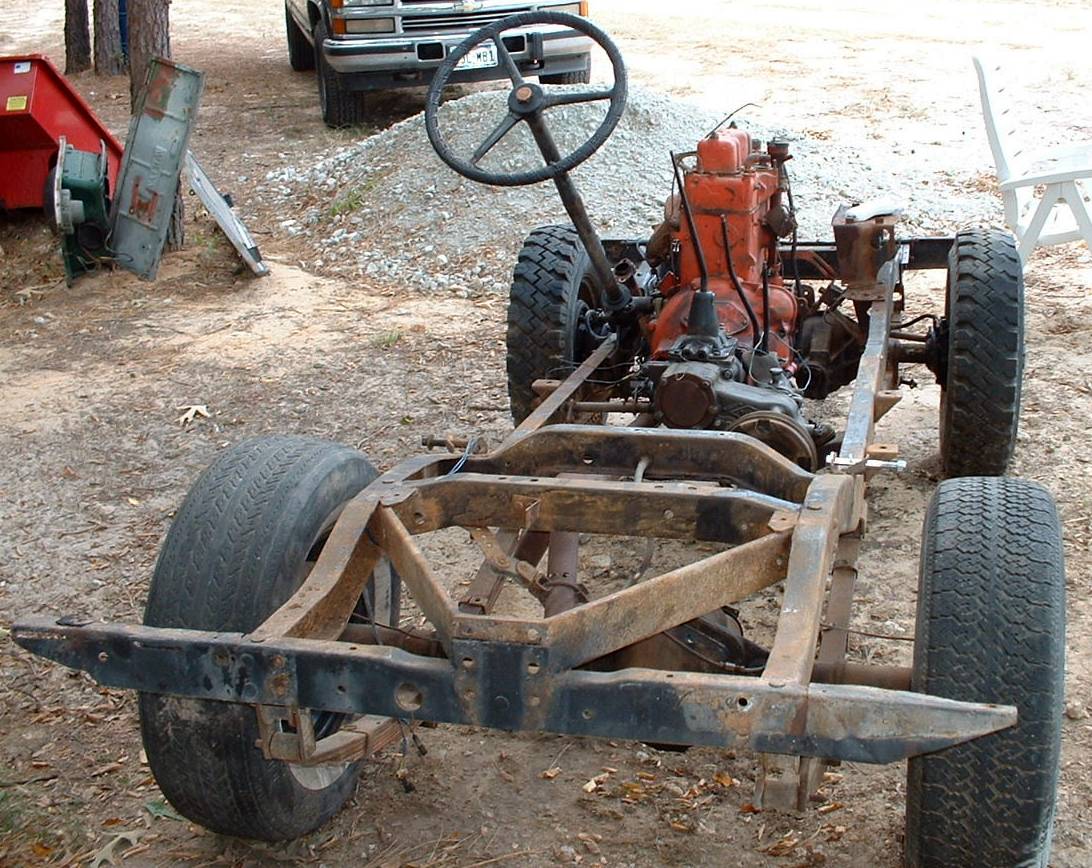
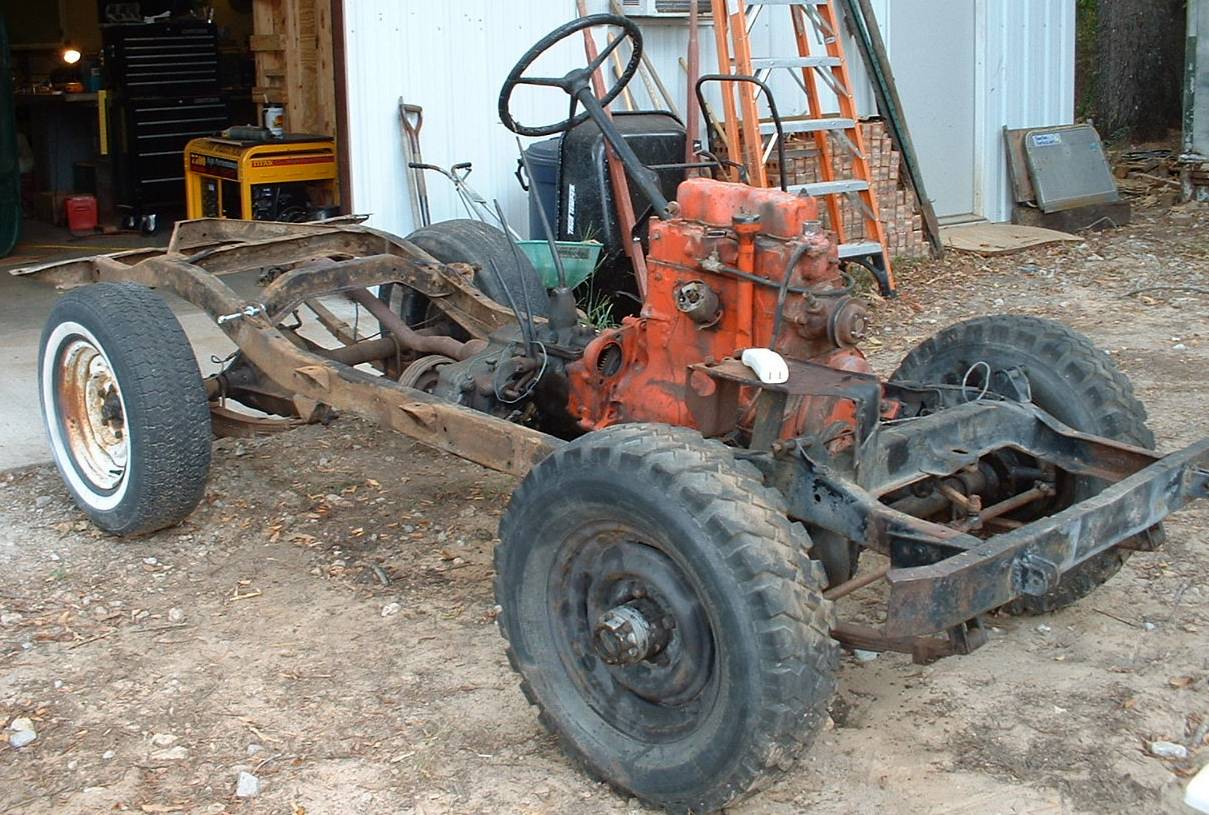
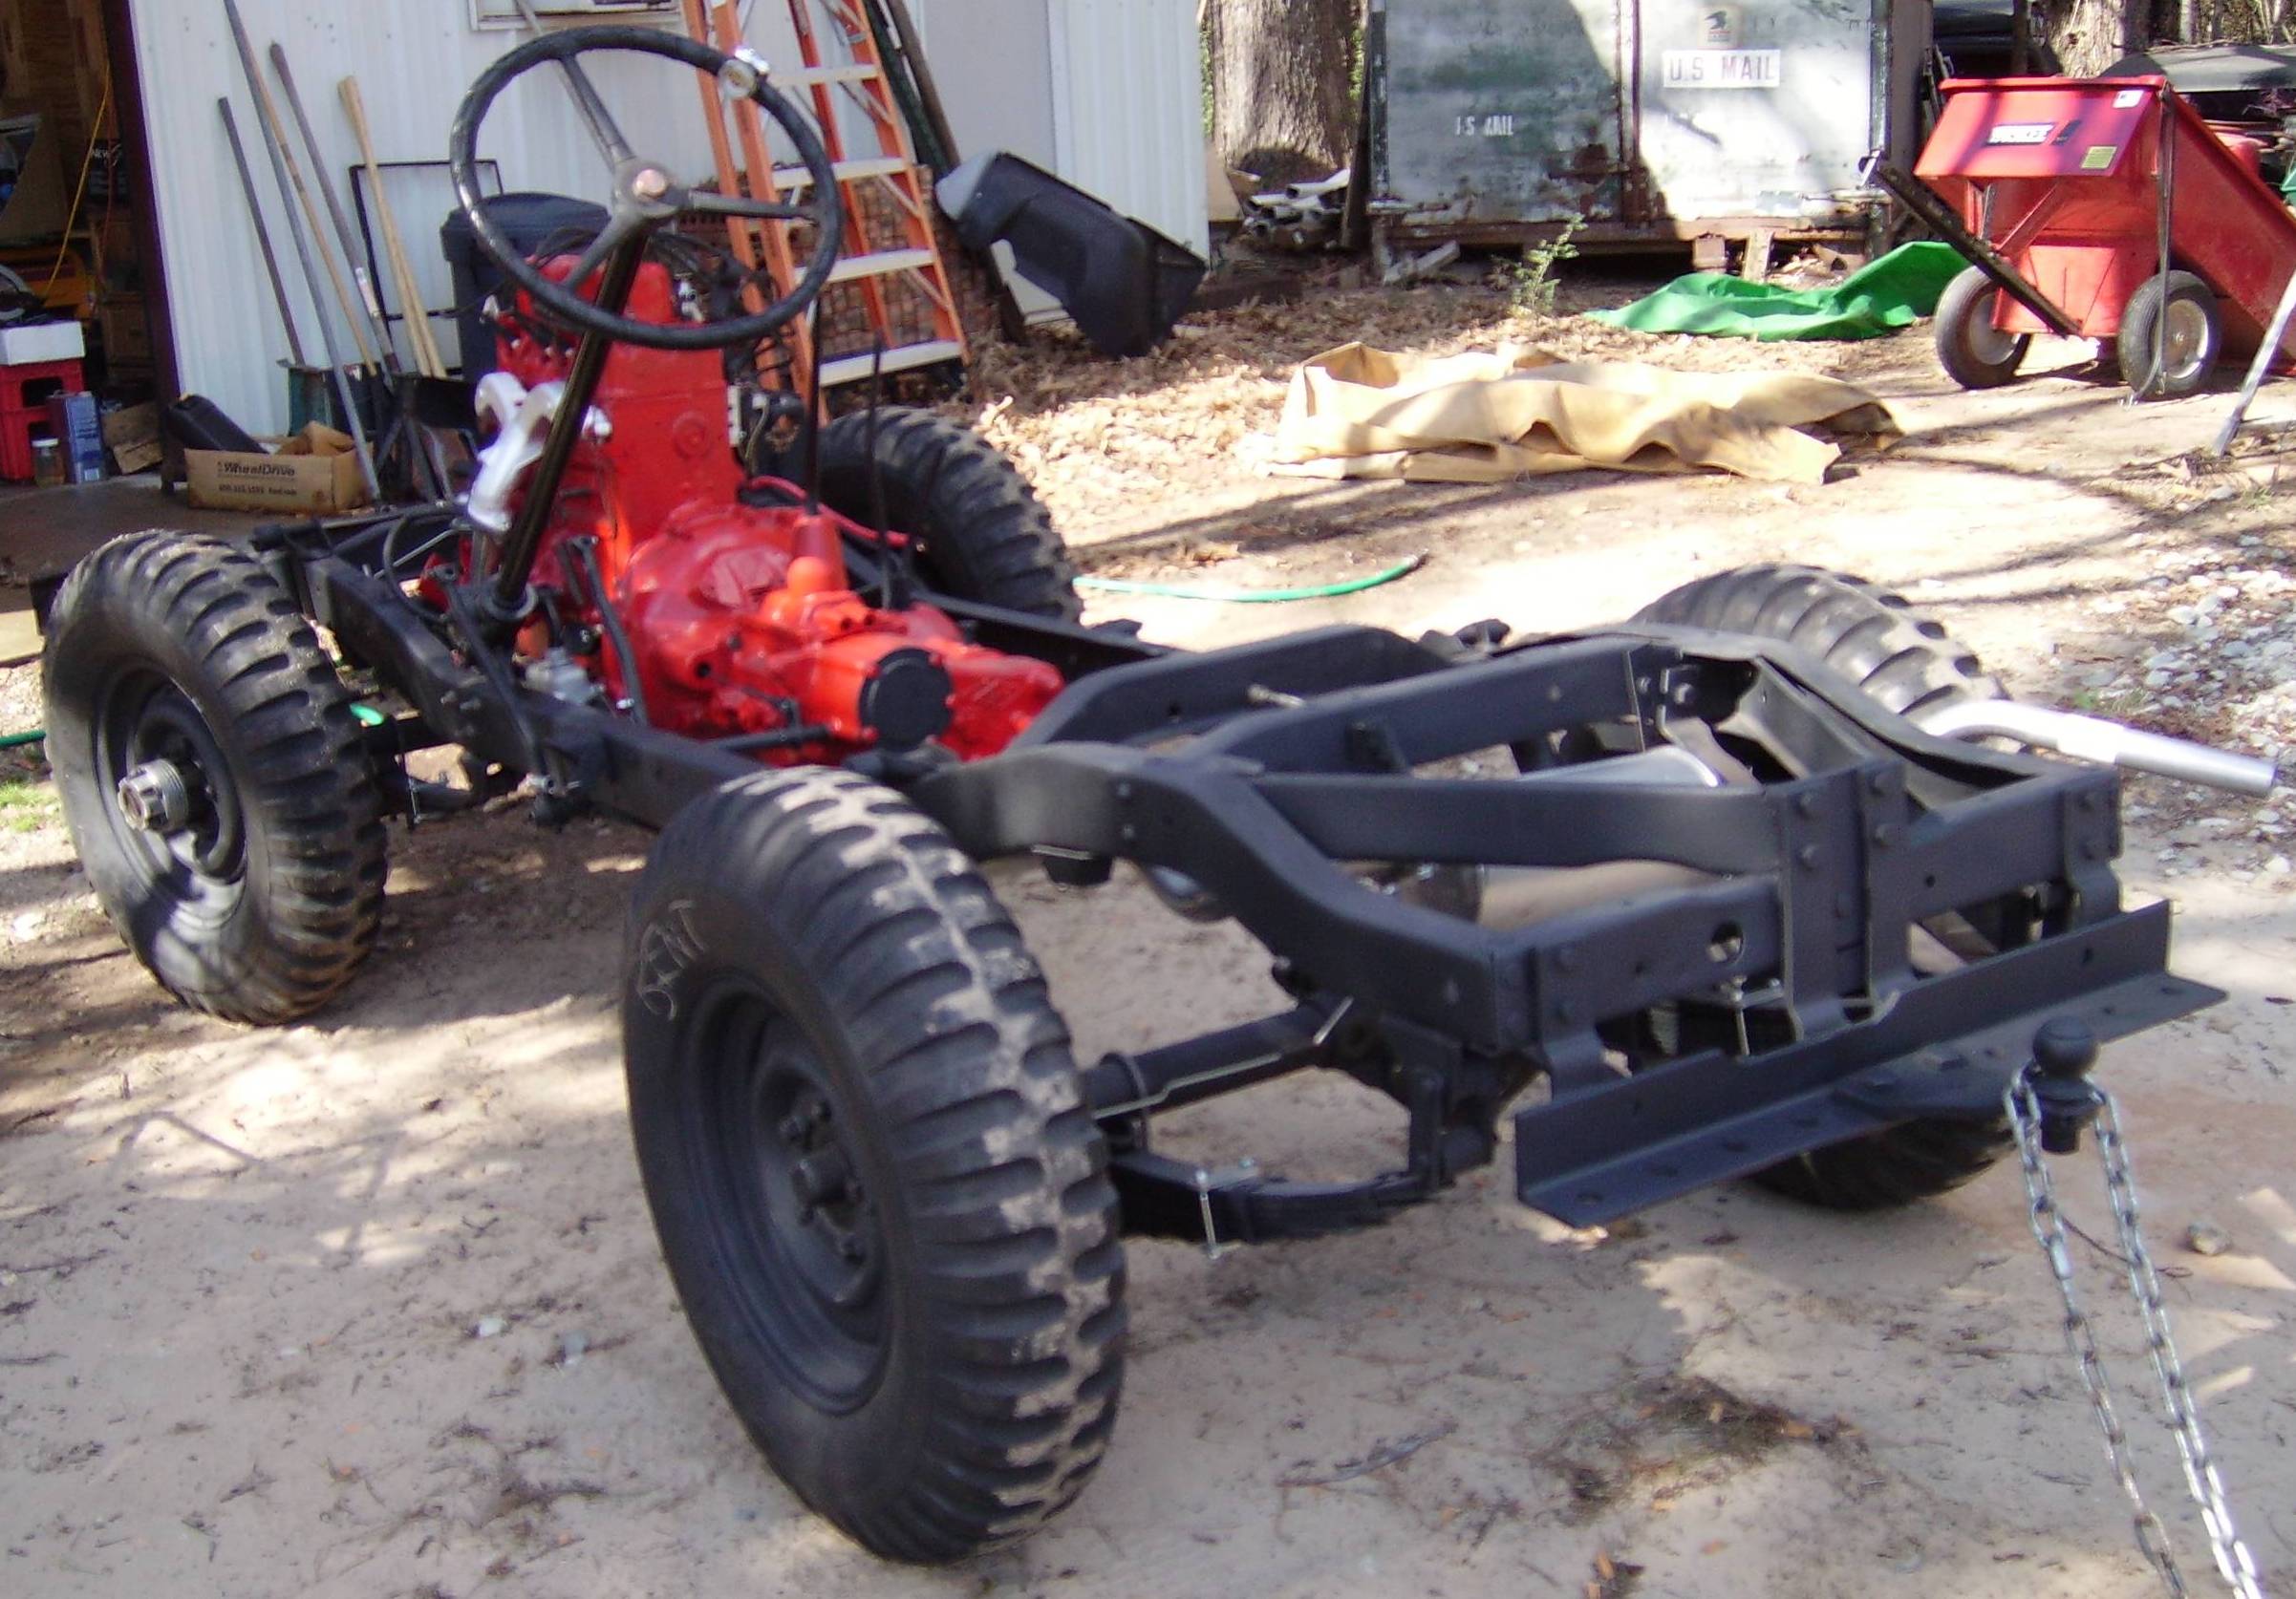
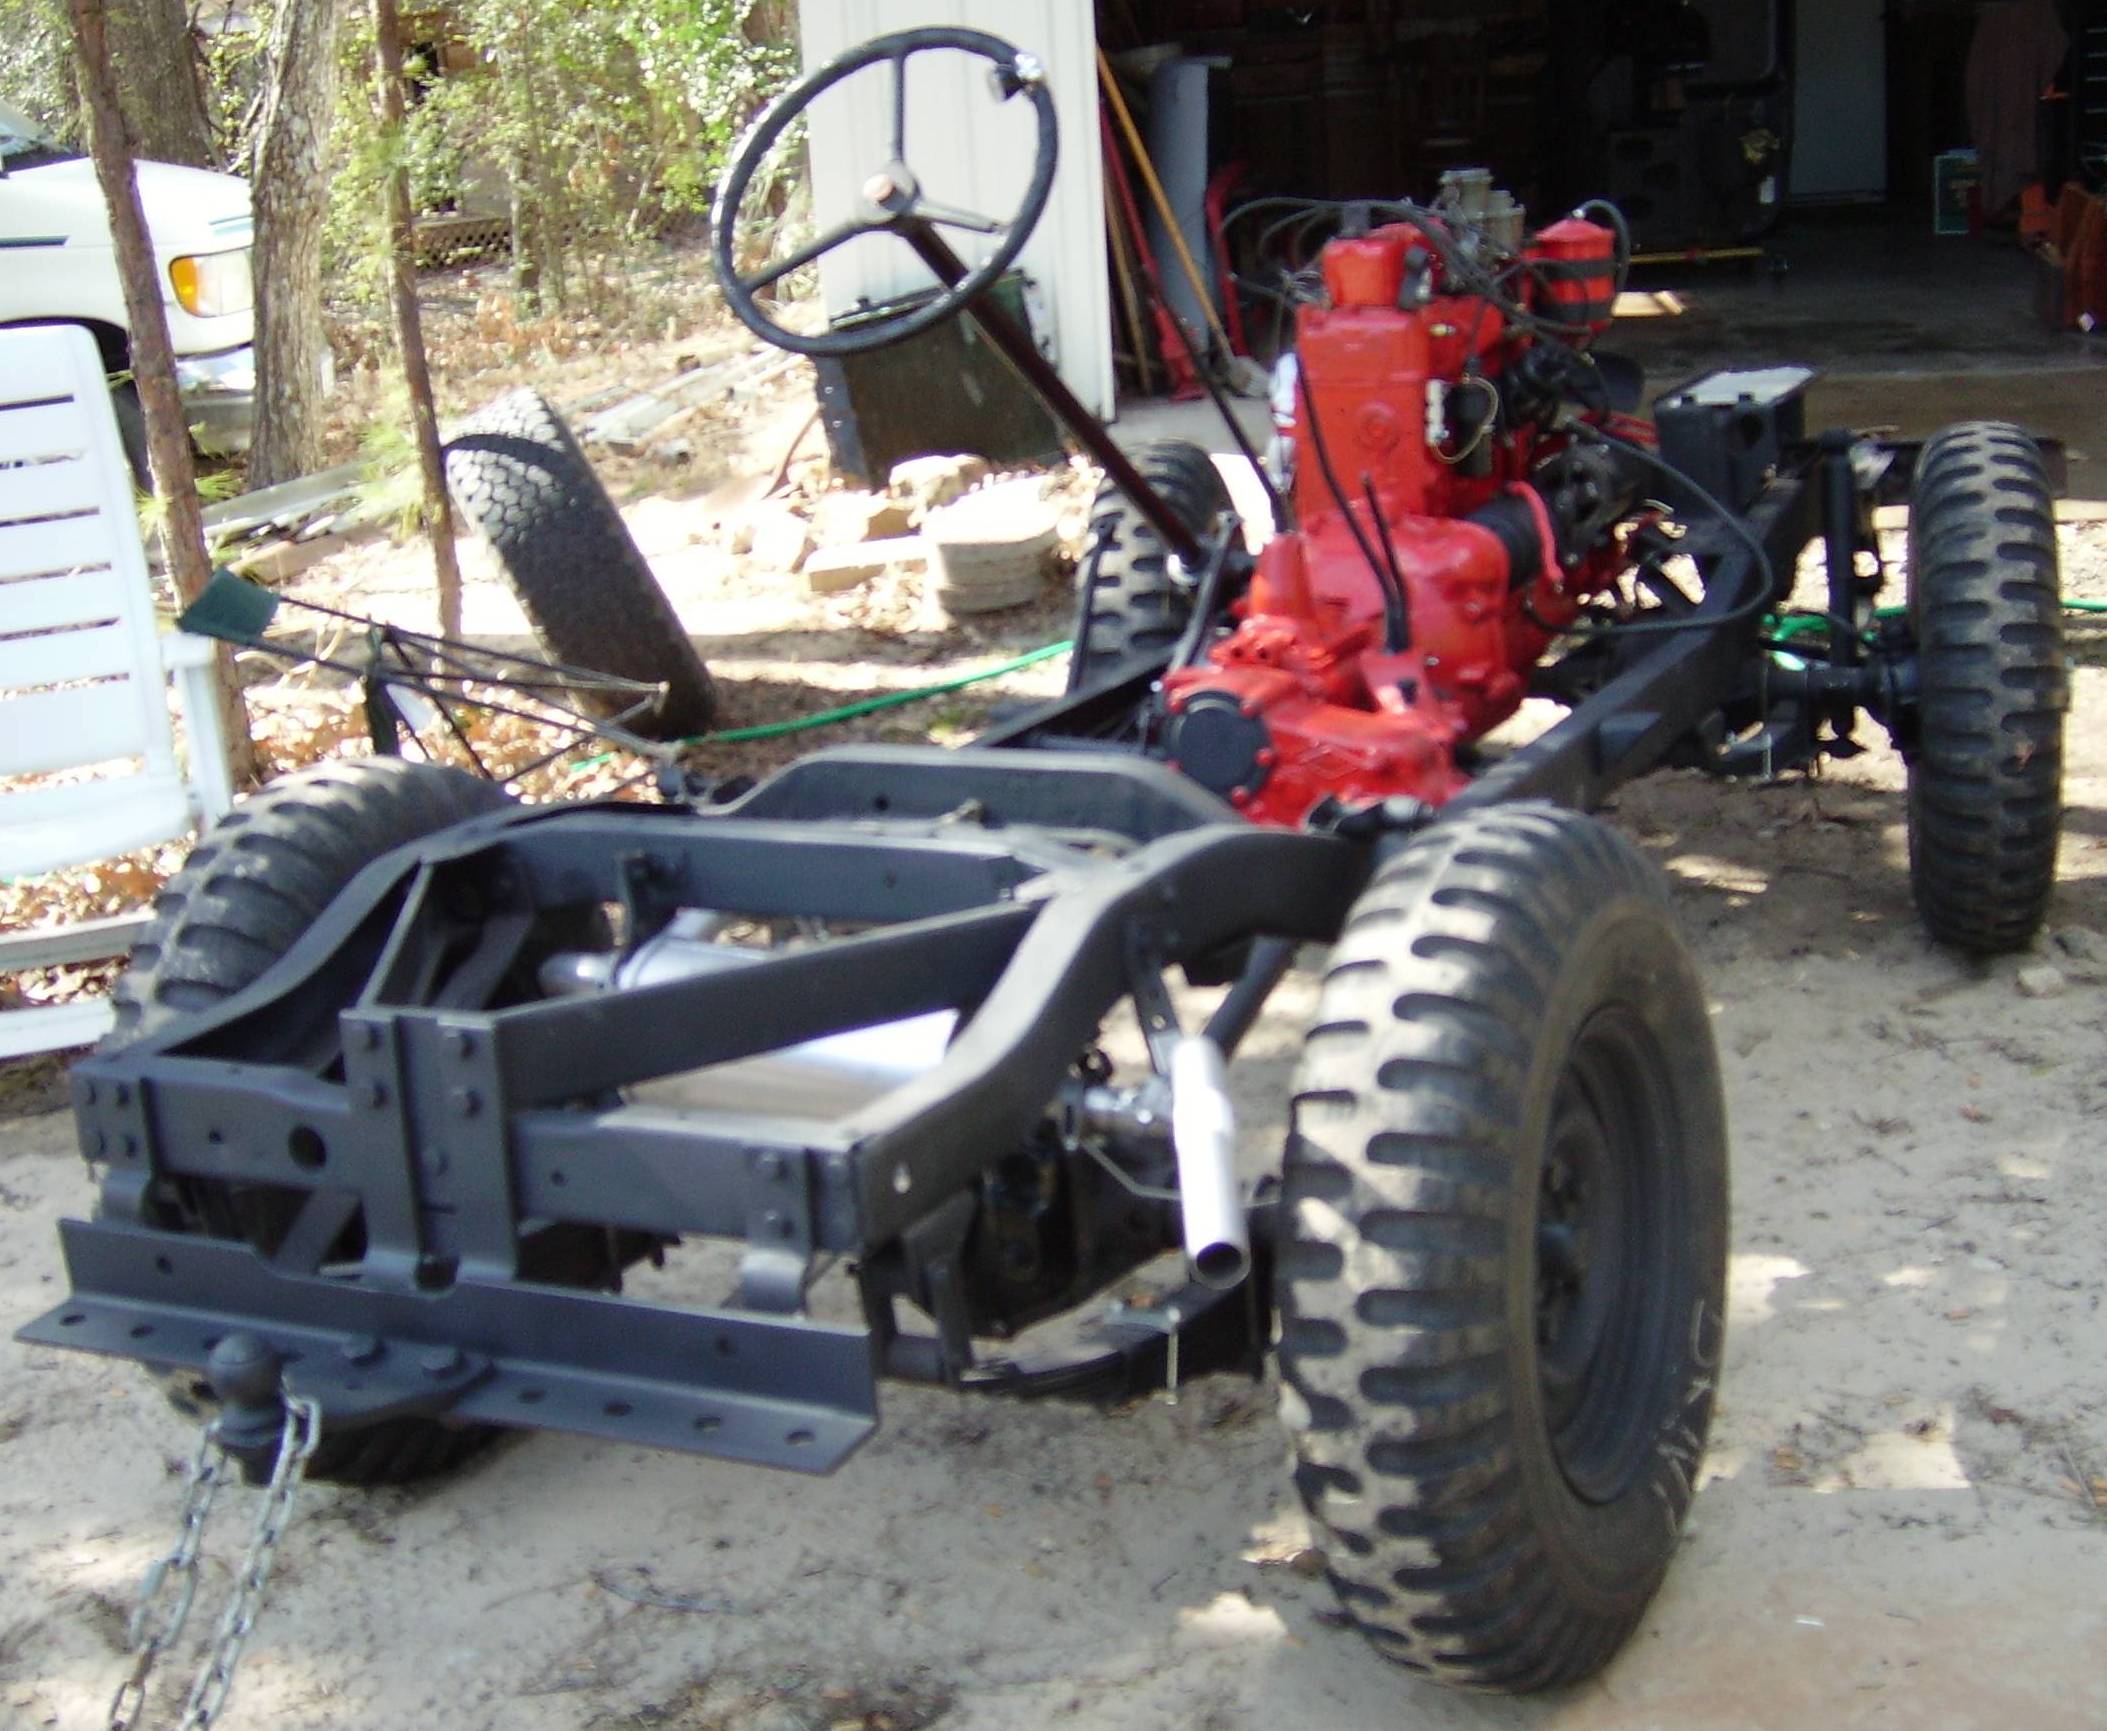
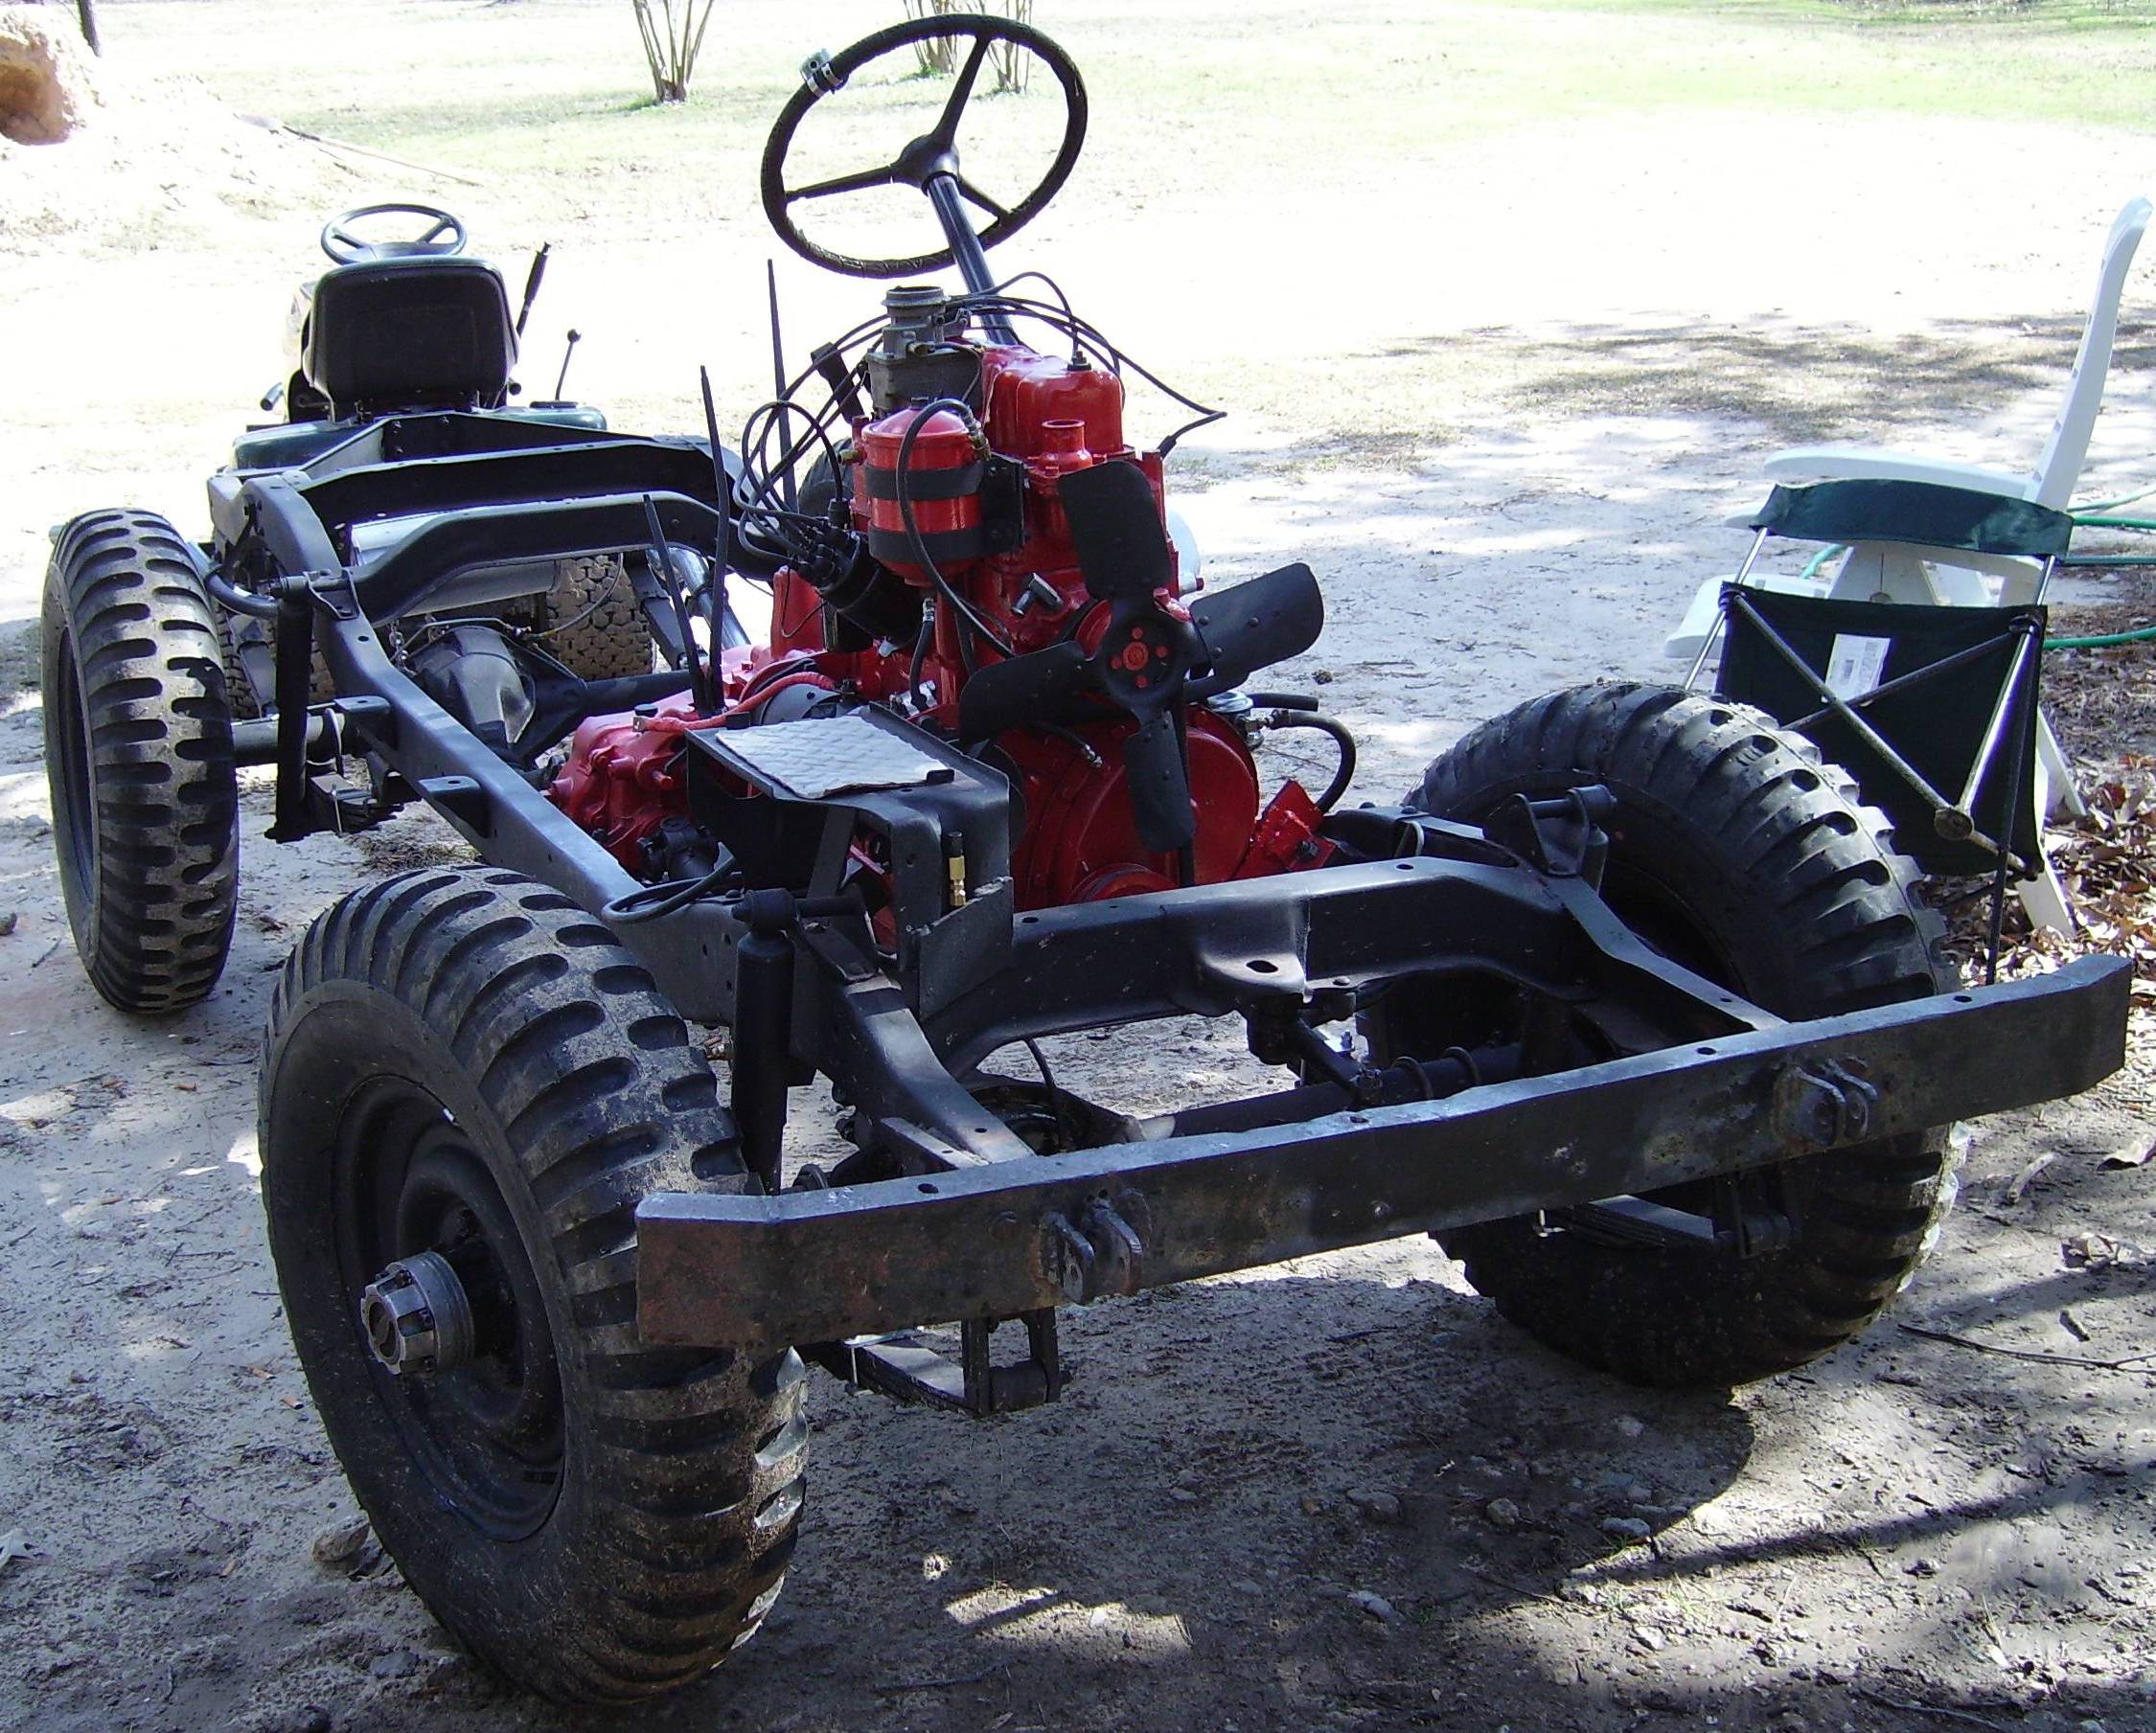
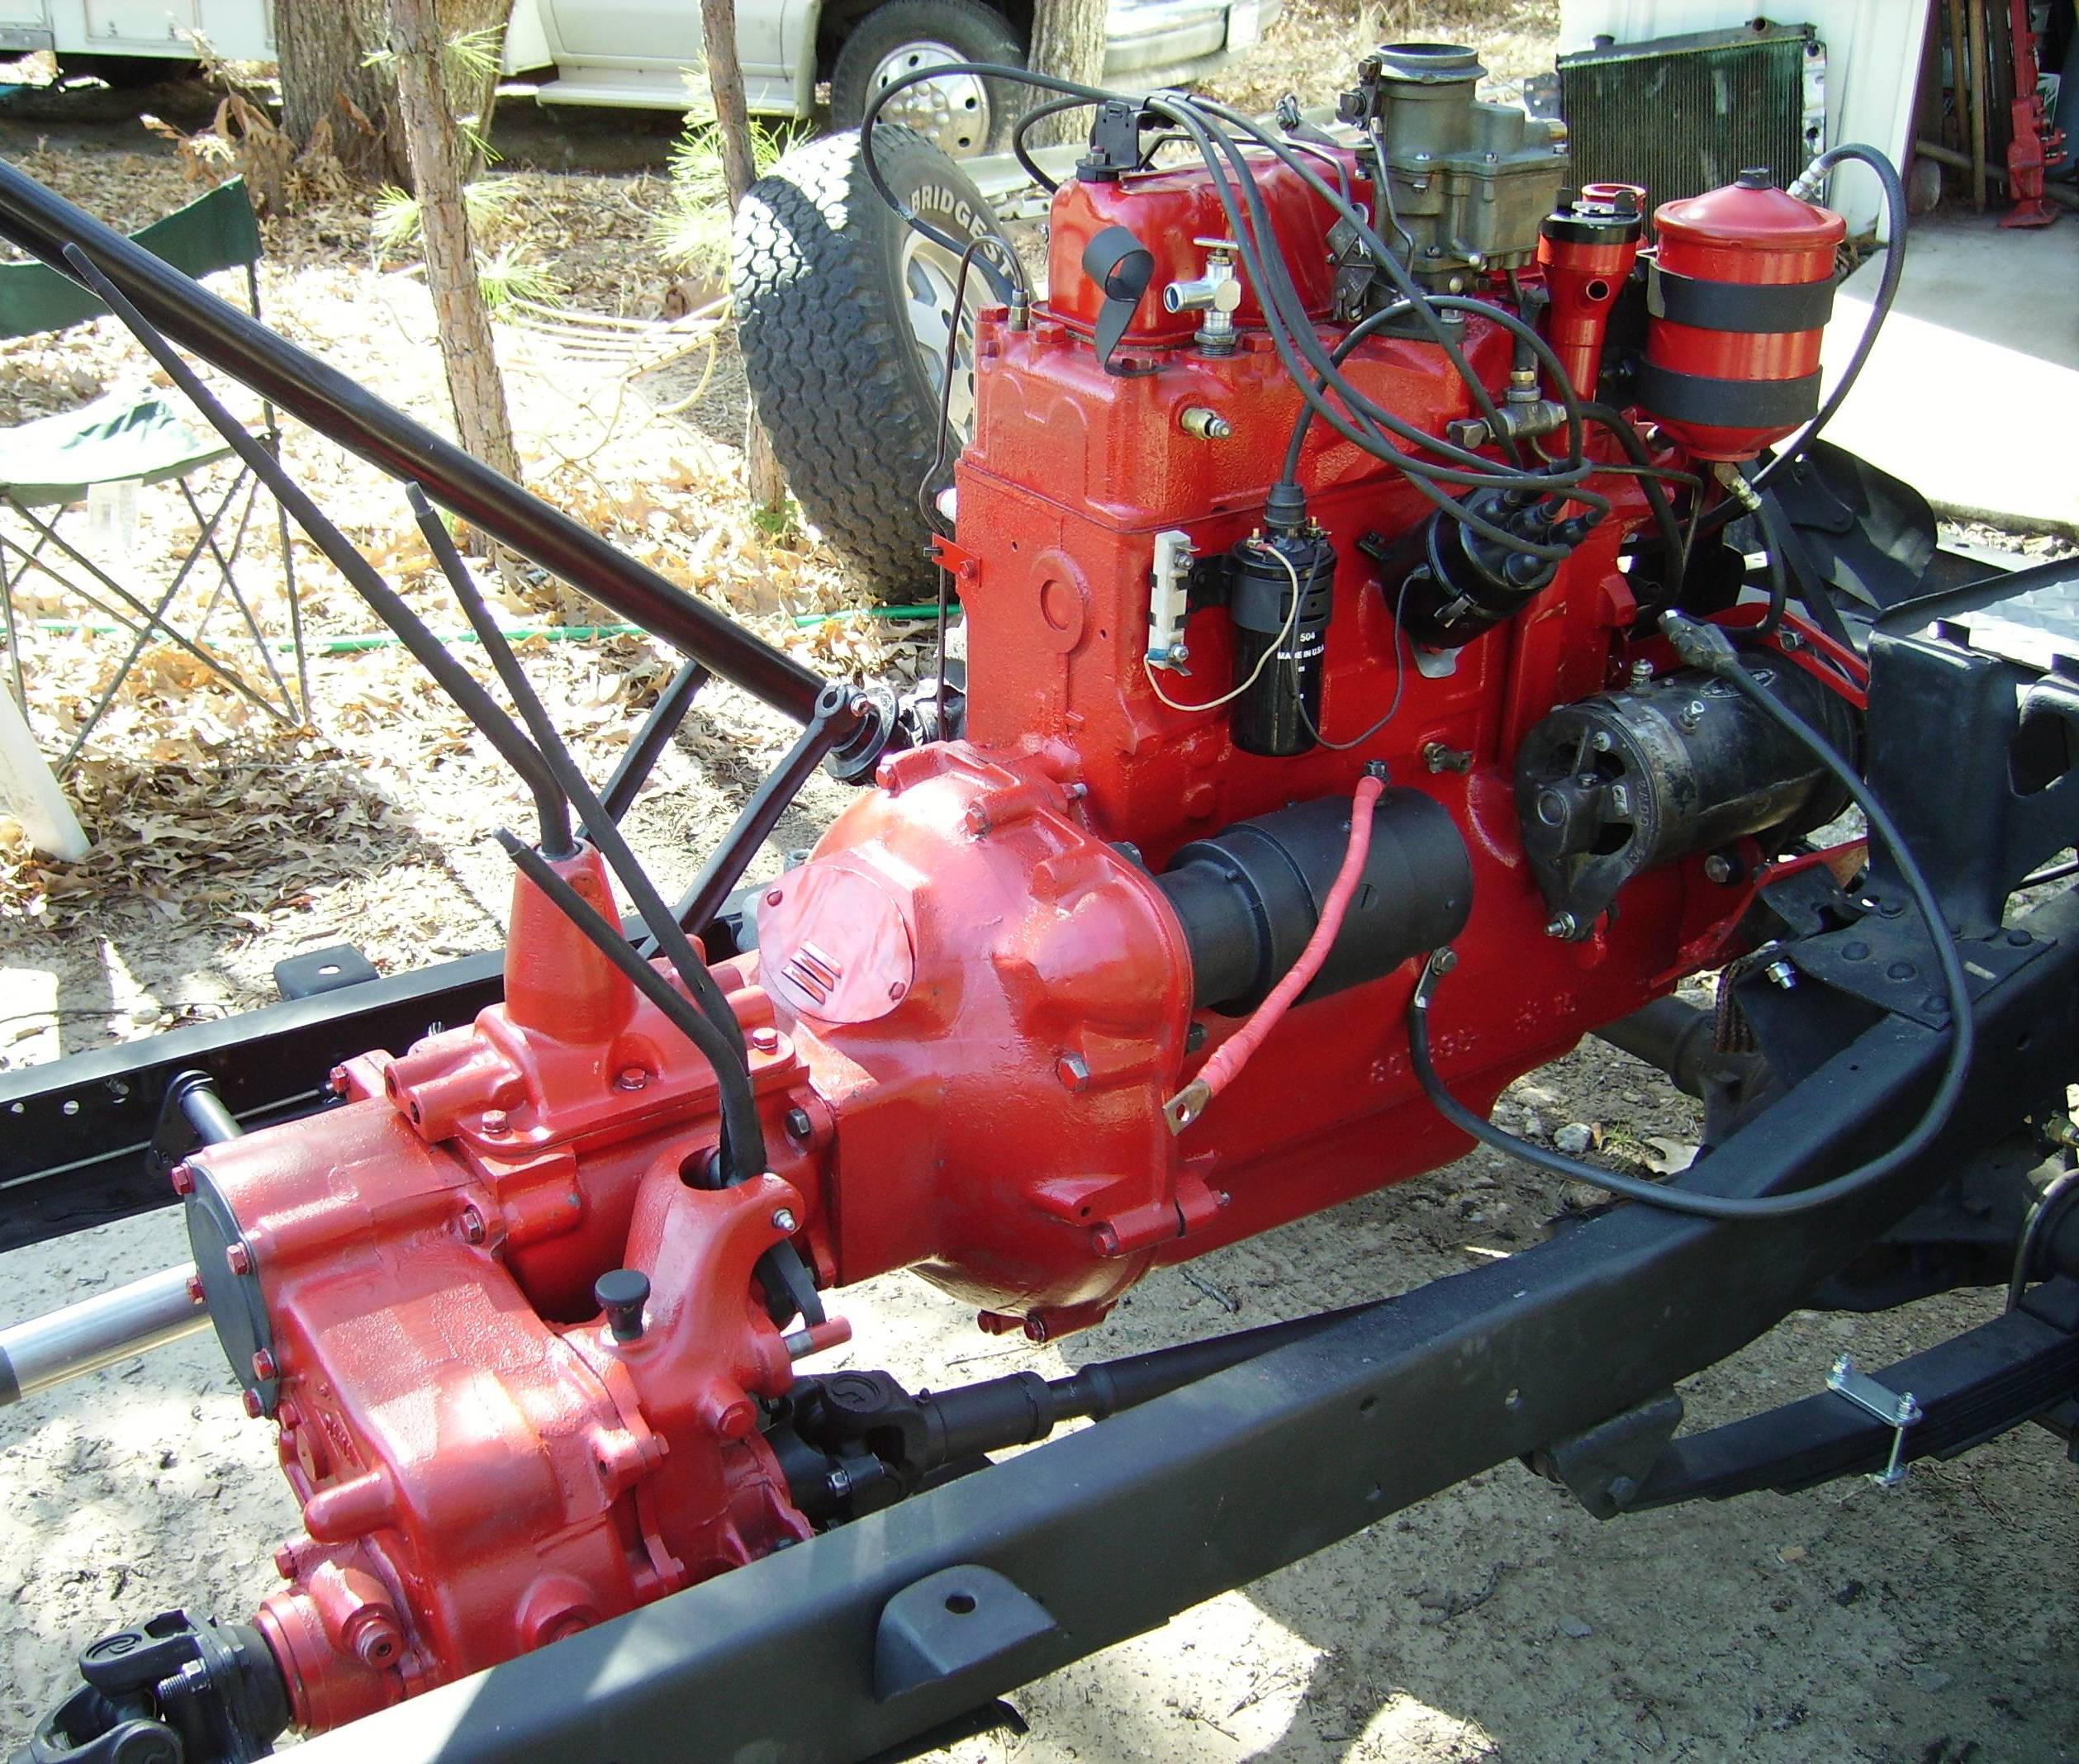
ENGINE
I tried to use/save the original engine
without busting the bank for a total rebuild. In the end I had to
scrap it and install an engine from my parts Jeep. The fellow I
bought it from claimed it had been recently rebuilt. It certainly
looked clean and ran well enough for that to be true. Well...
lesson learned. It burns oil until warmed up, and has coolant and
oil seeping from the front of the pan. There's also a slight leak
in the middle of the exhaust mainfold. Another project for
another day when my budget improves. The engine also has a new Solex carburator
installed.
New parts on the engine also include choke and throttle cables, all
hoses, two heater shut off valves, oil lines, fuel pump, thermostat,
temperature and oil senders, fan belt, battery, voltage regulator, generator mounts,
and high temperature paint. The ignition has a new coil, points,
condenser, plugs and wires (distributor
#IAY-4401). New gaskets were installed for the thermostat
housing, water pump, oil pan, exhaust manifold, and both valve
covers. The clutch, throwout bearing and fly wheel are in
excellent condition.
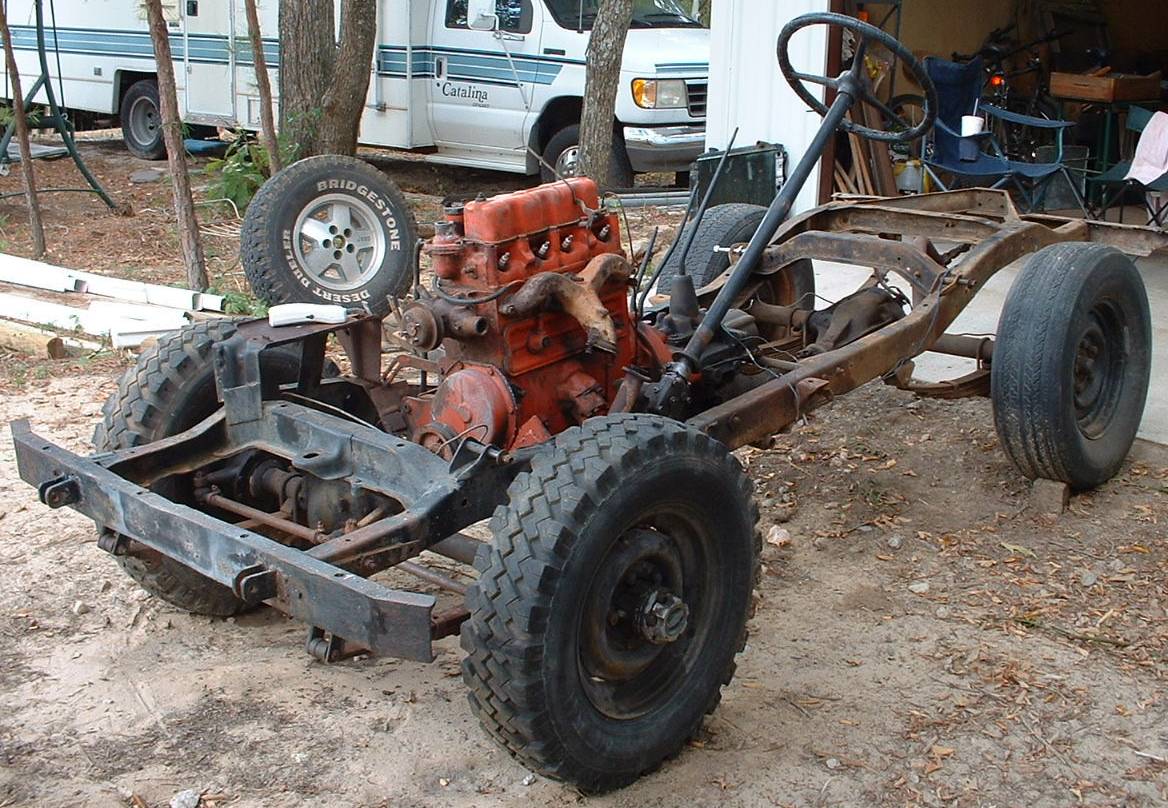
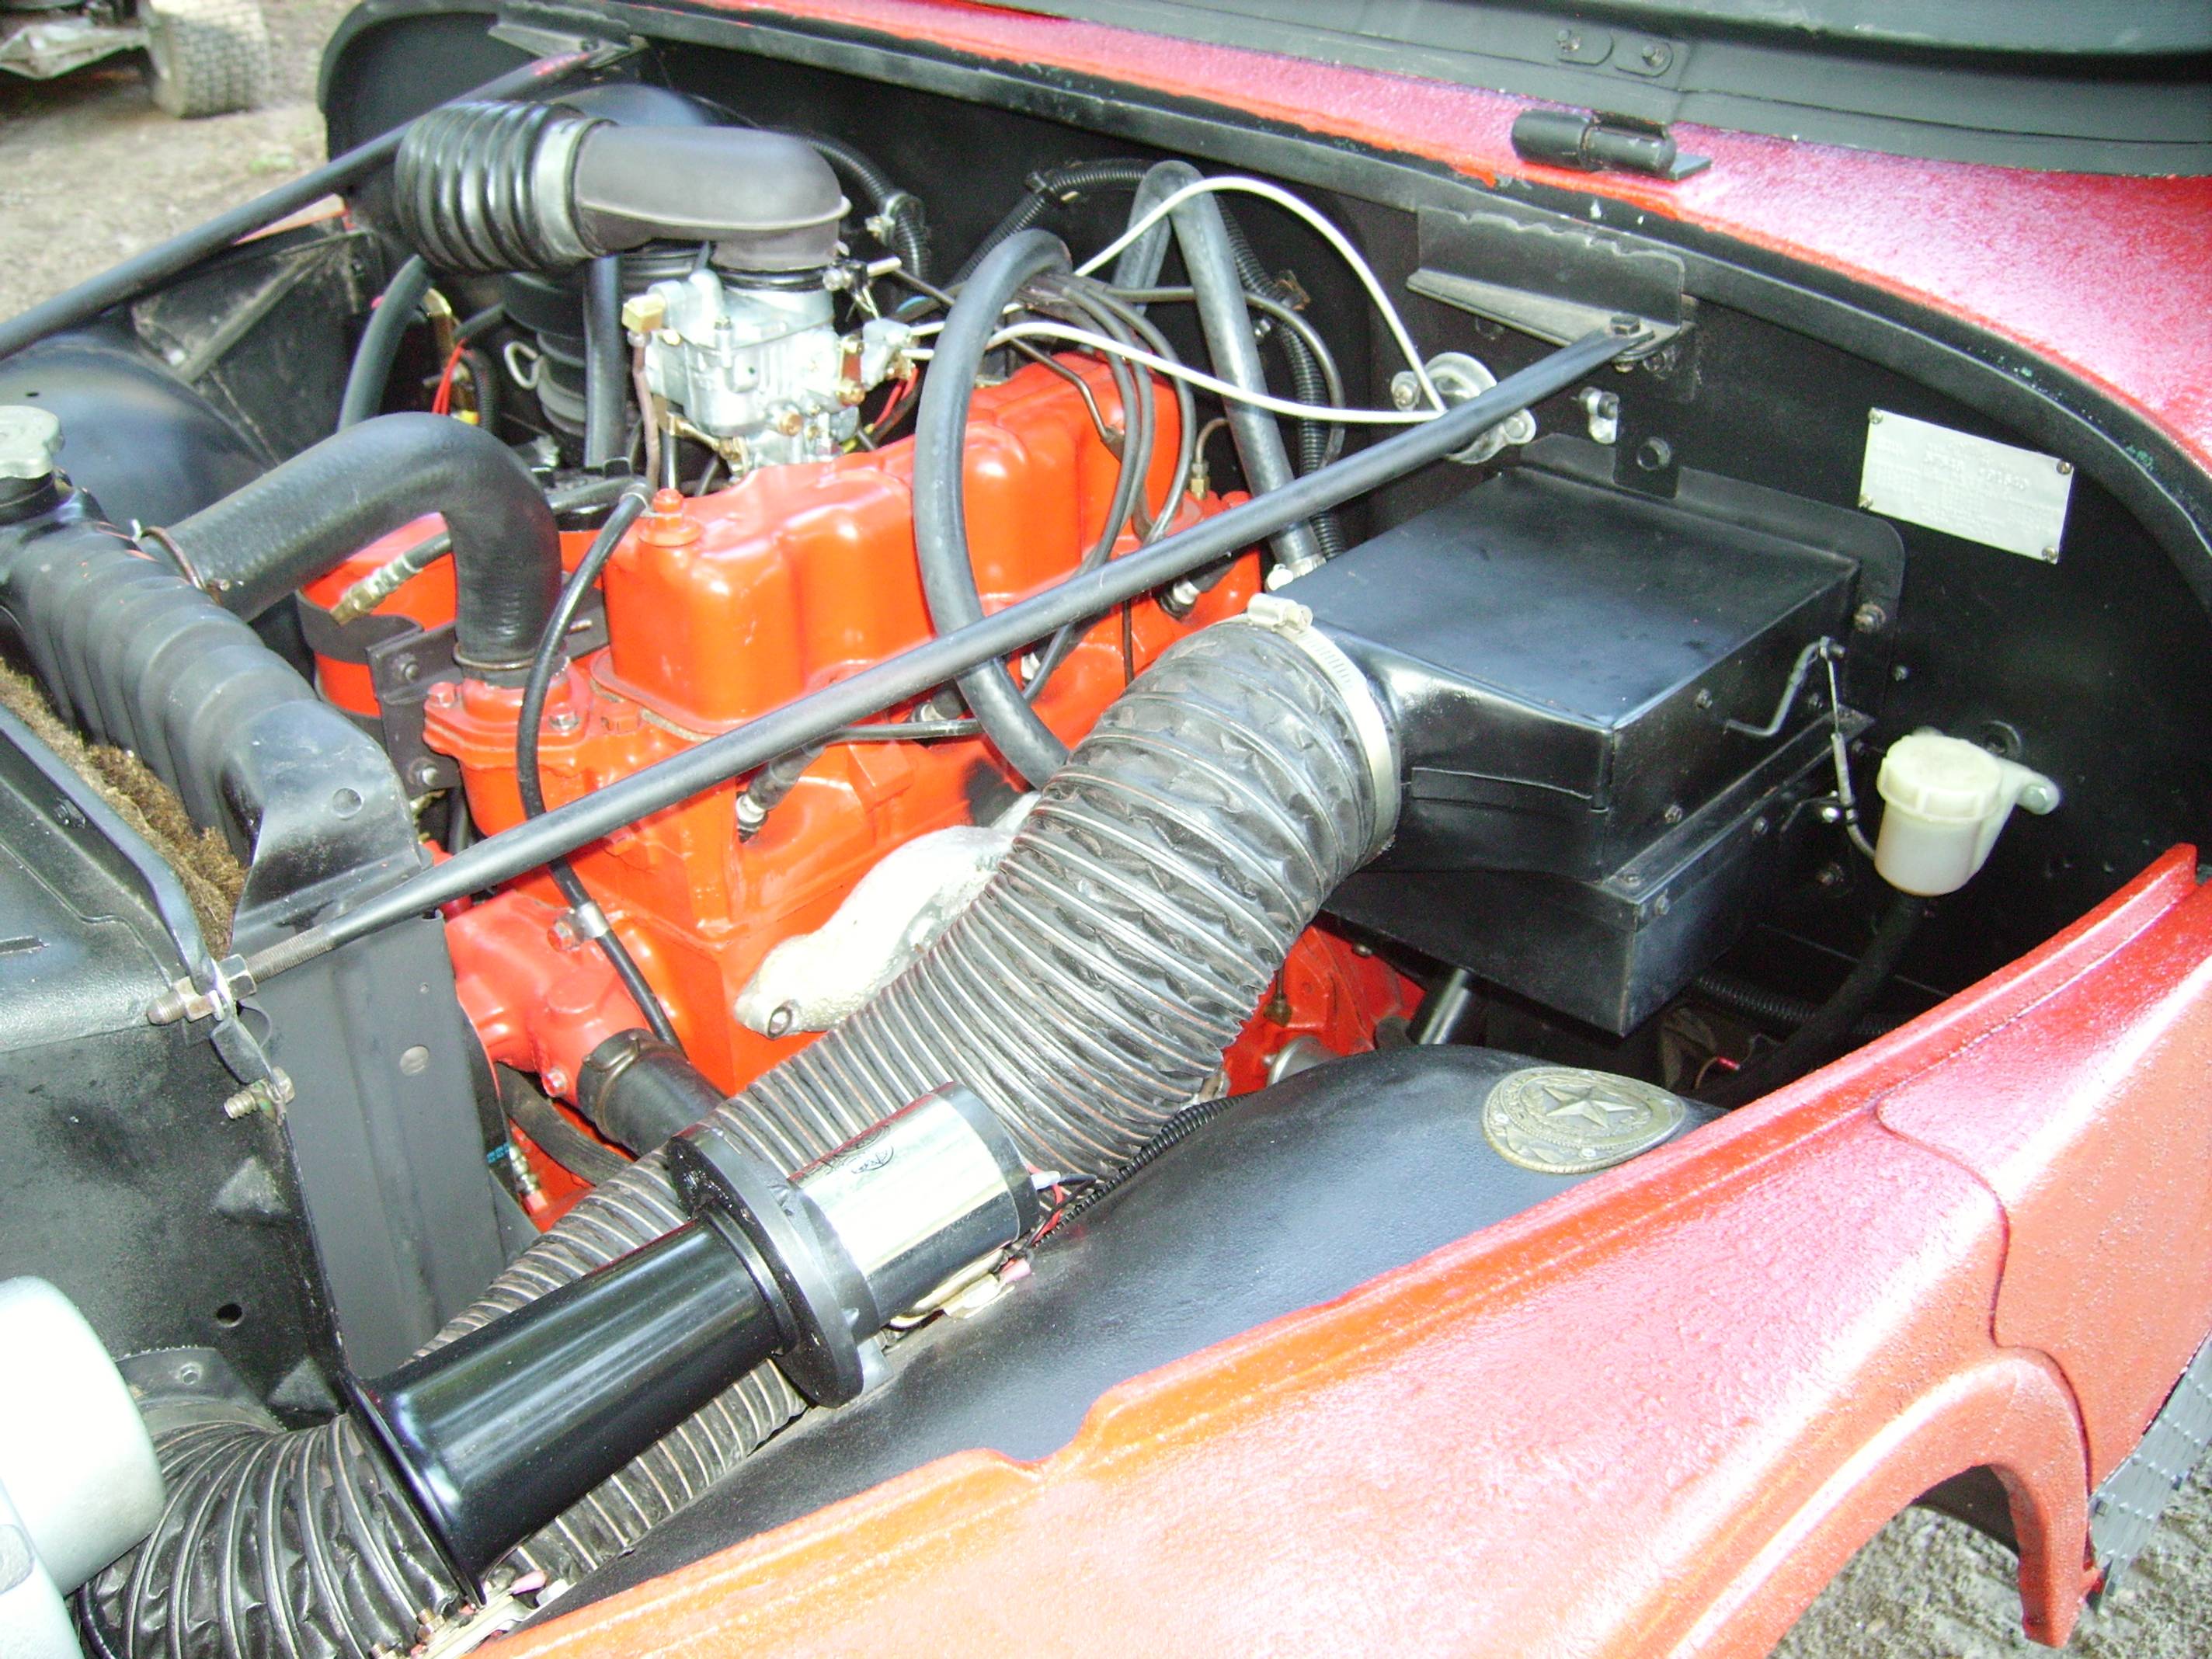
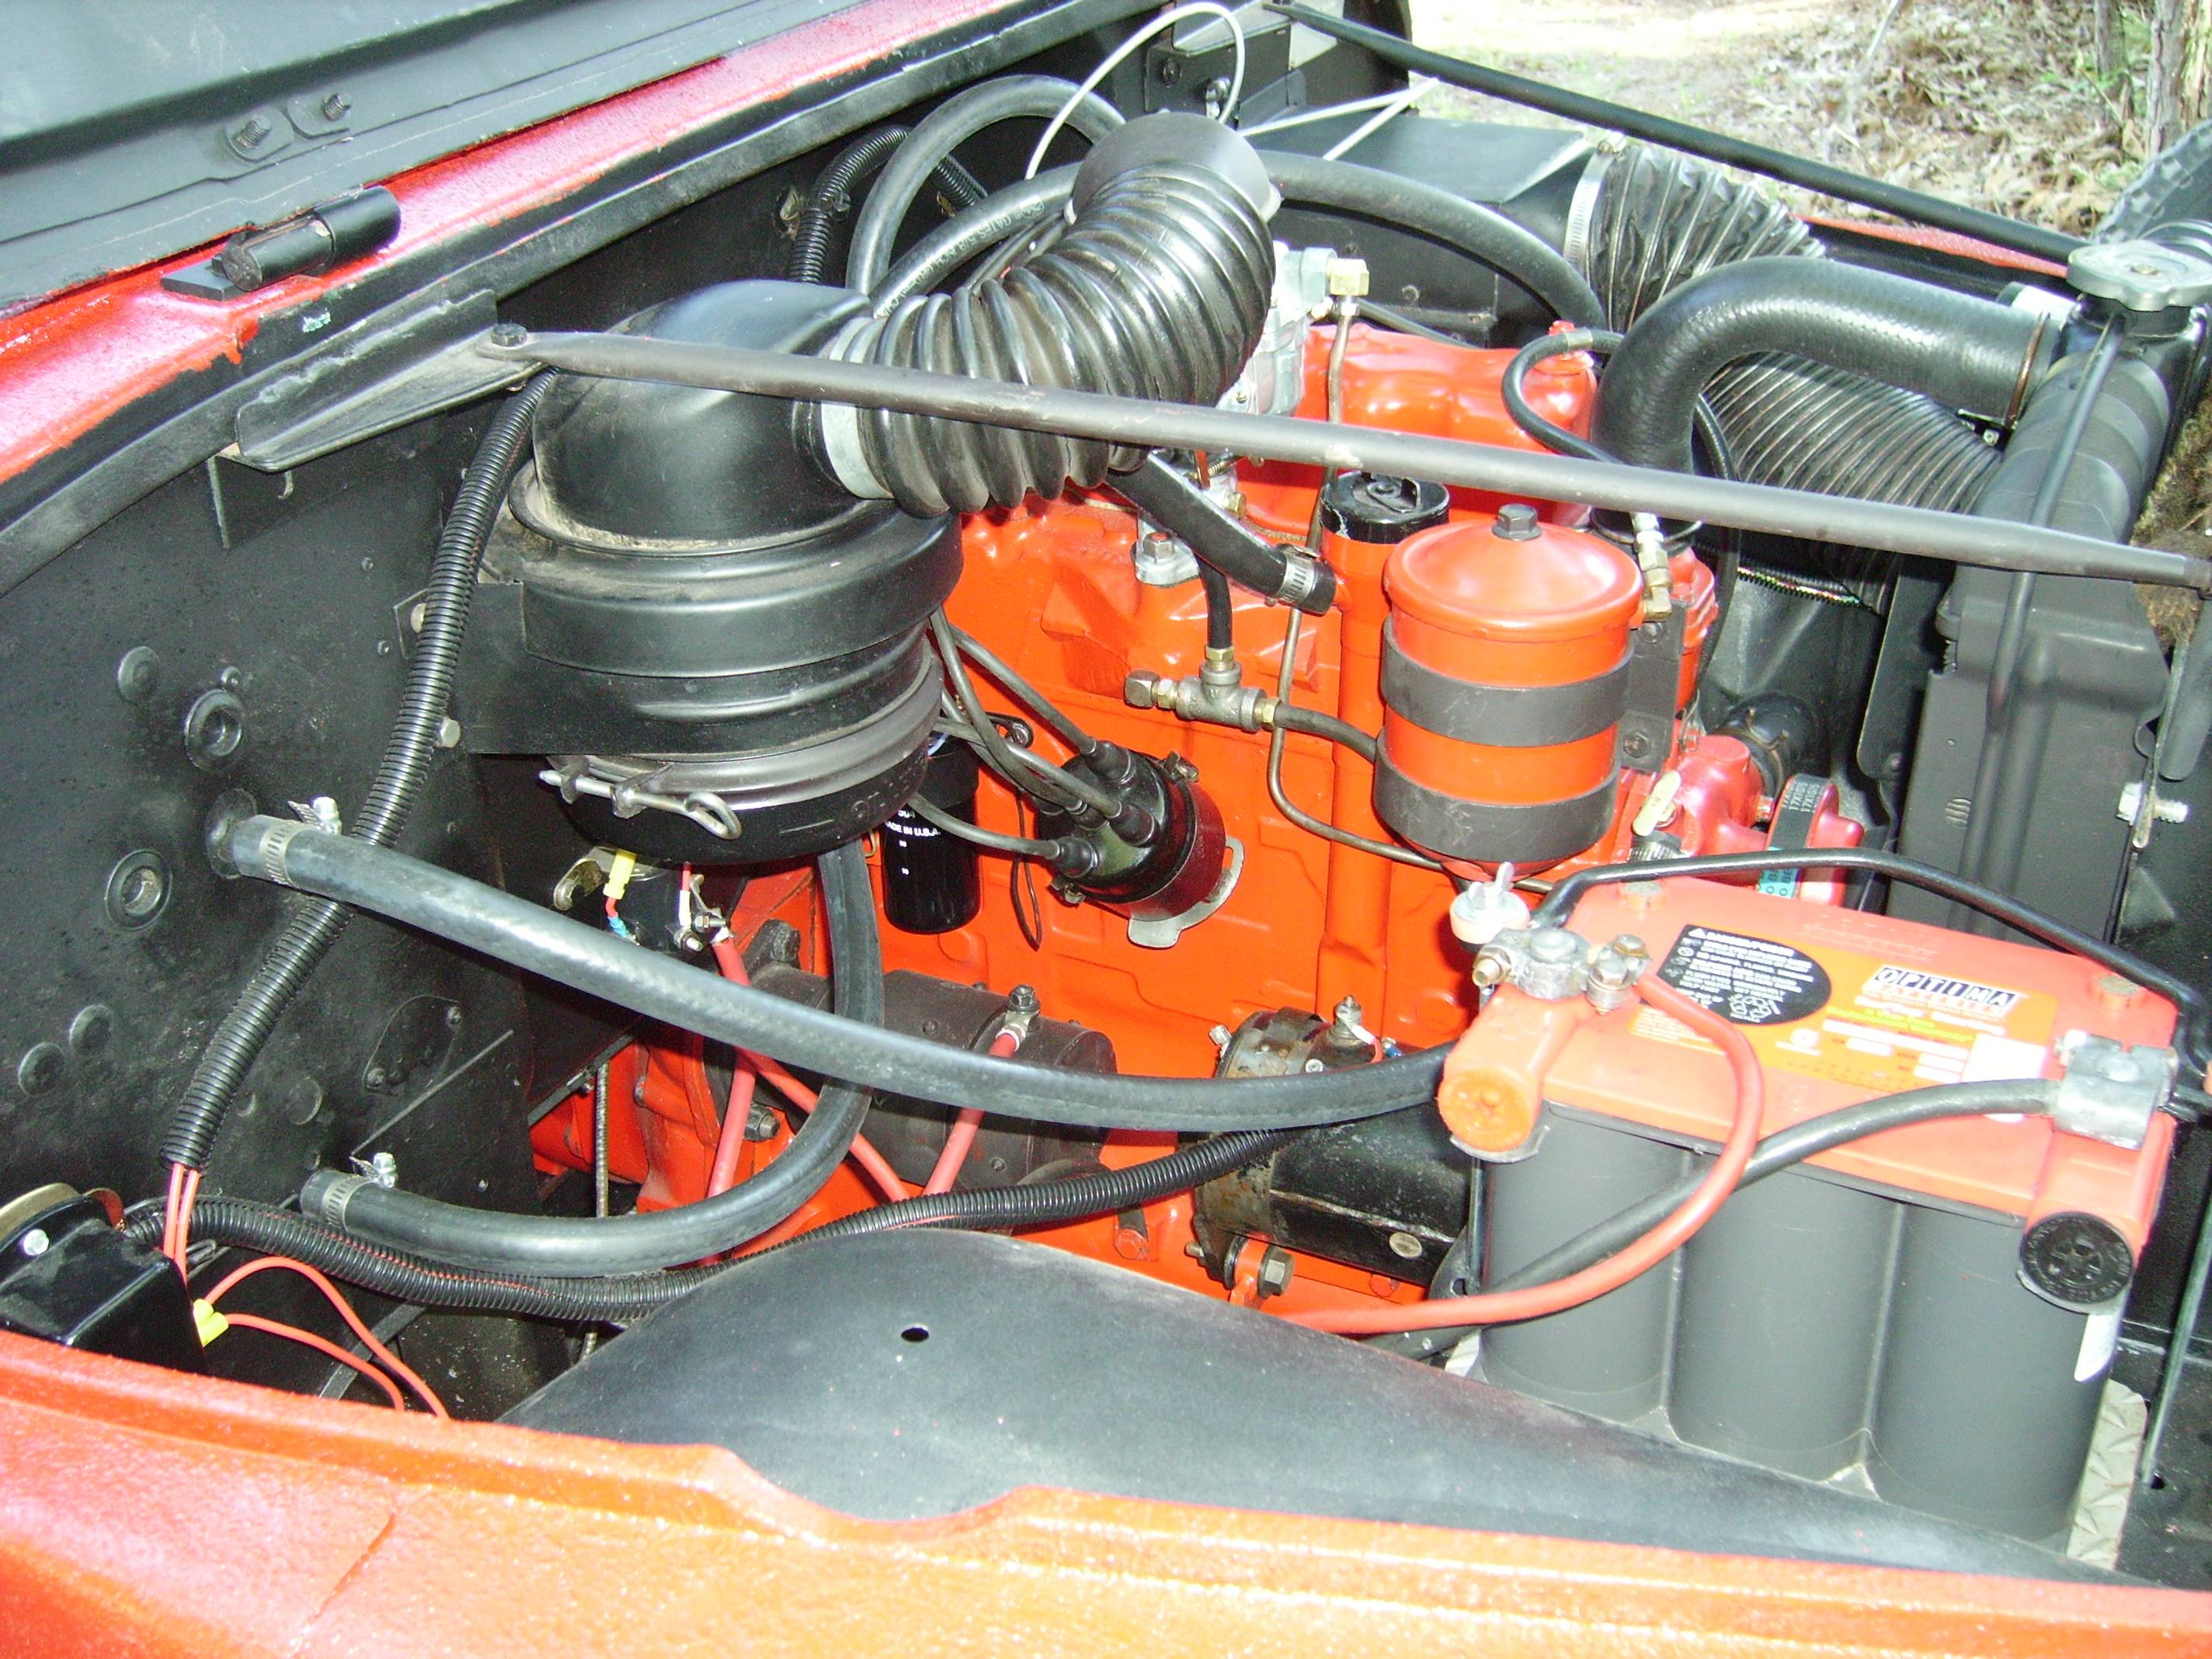
April 2007: Detected a slight rod
knock so pulled the engine again. #3 rod bearing cap had come
loose. Installed new rings and inserts and a different
head. Also installed a one-wire alternator. Mounting
bracket, pulley and tension arm were bought from Willys Works, the alternator from JC Whitney.
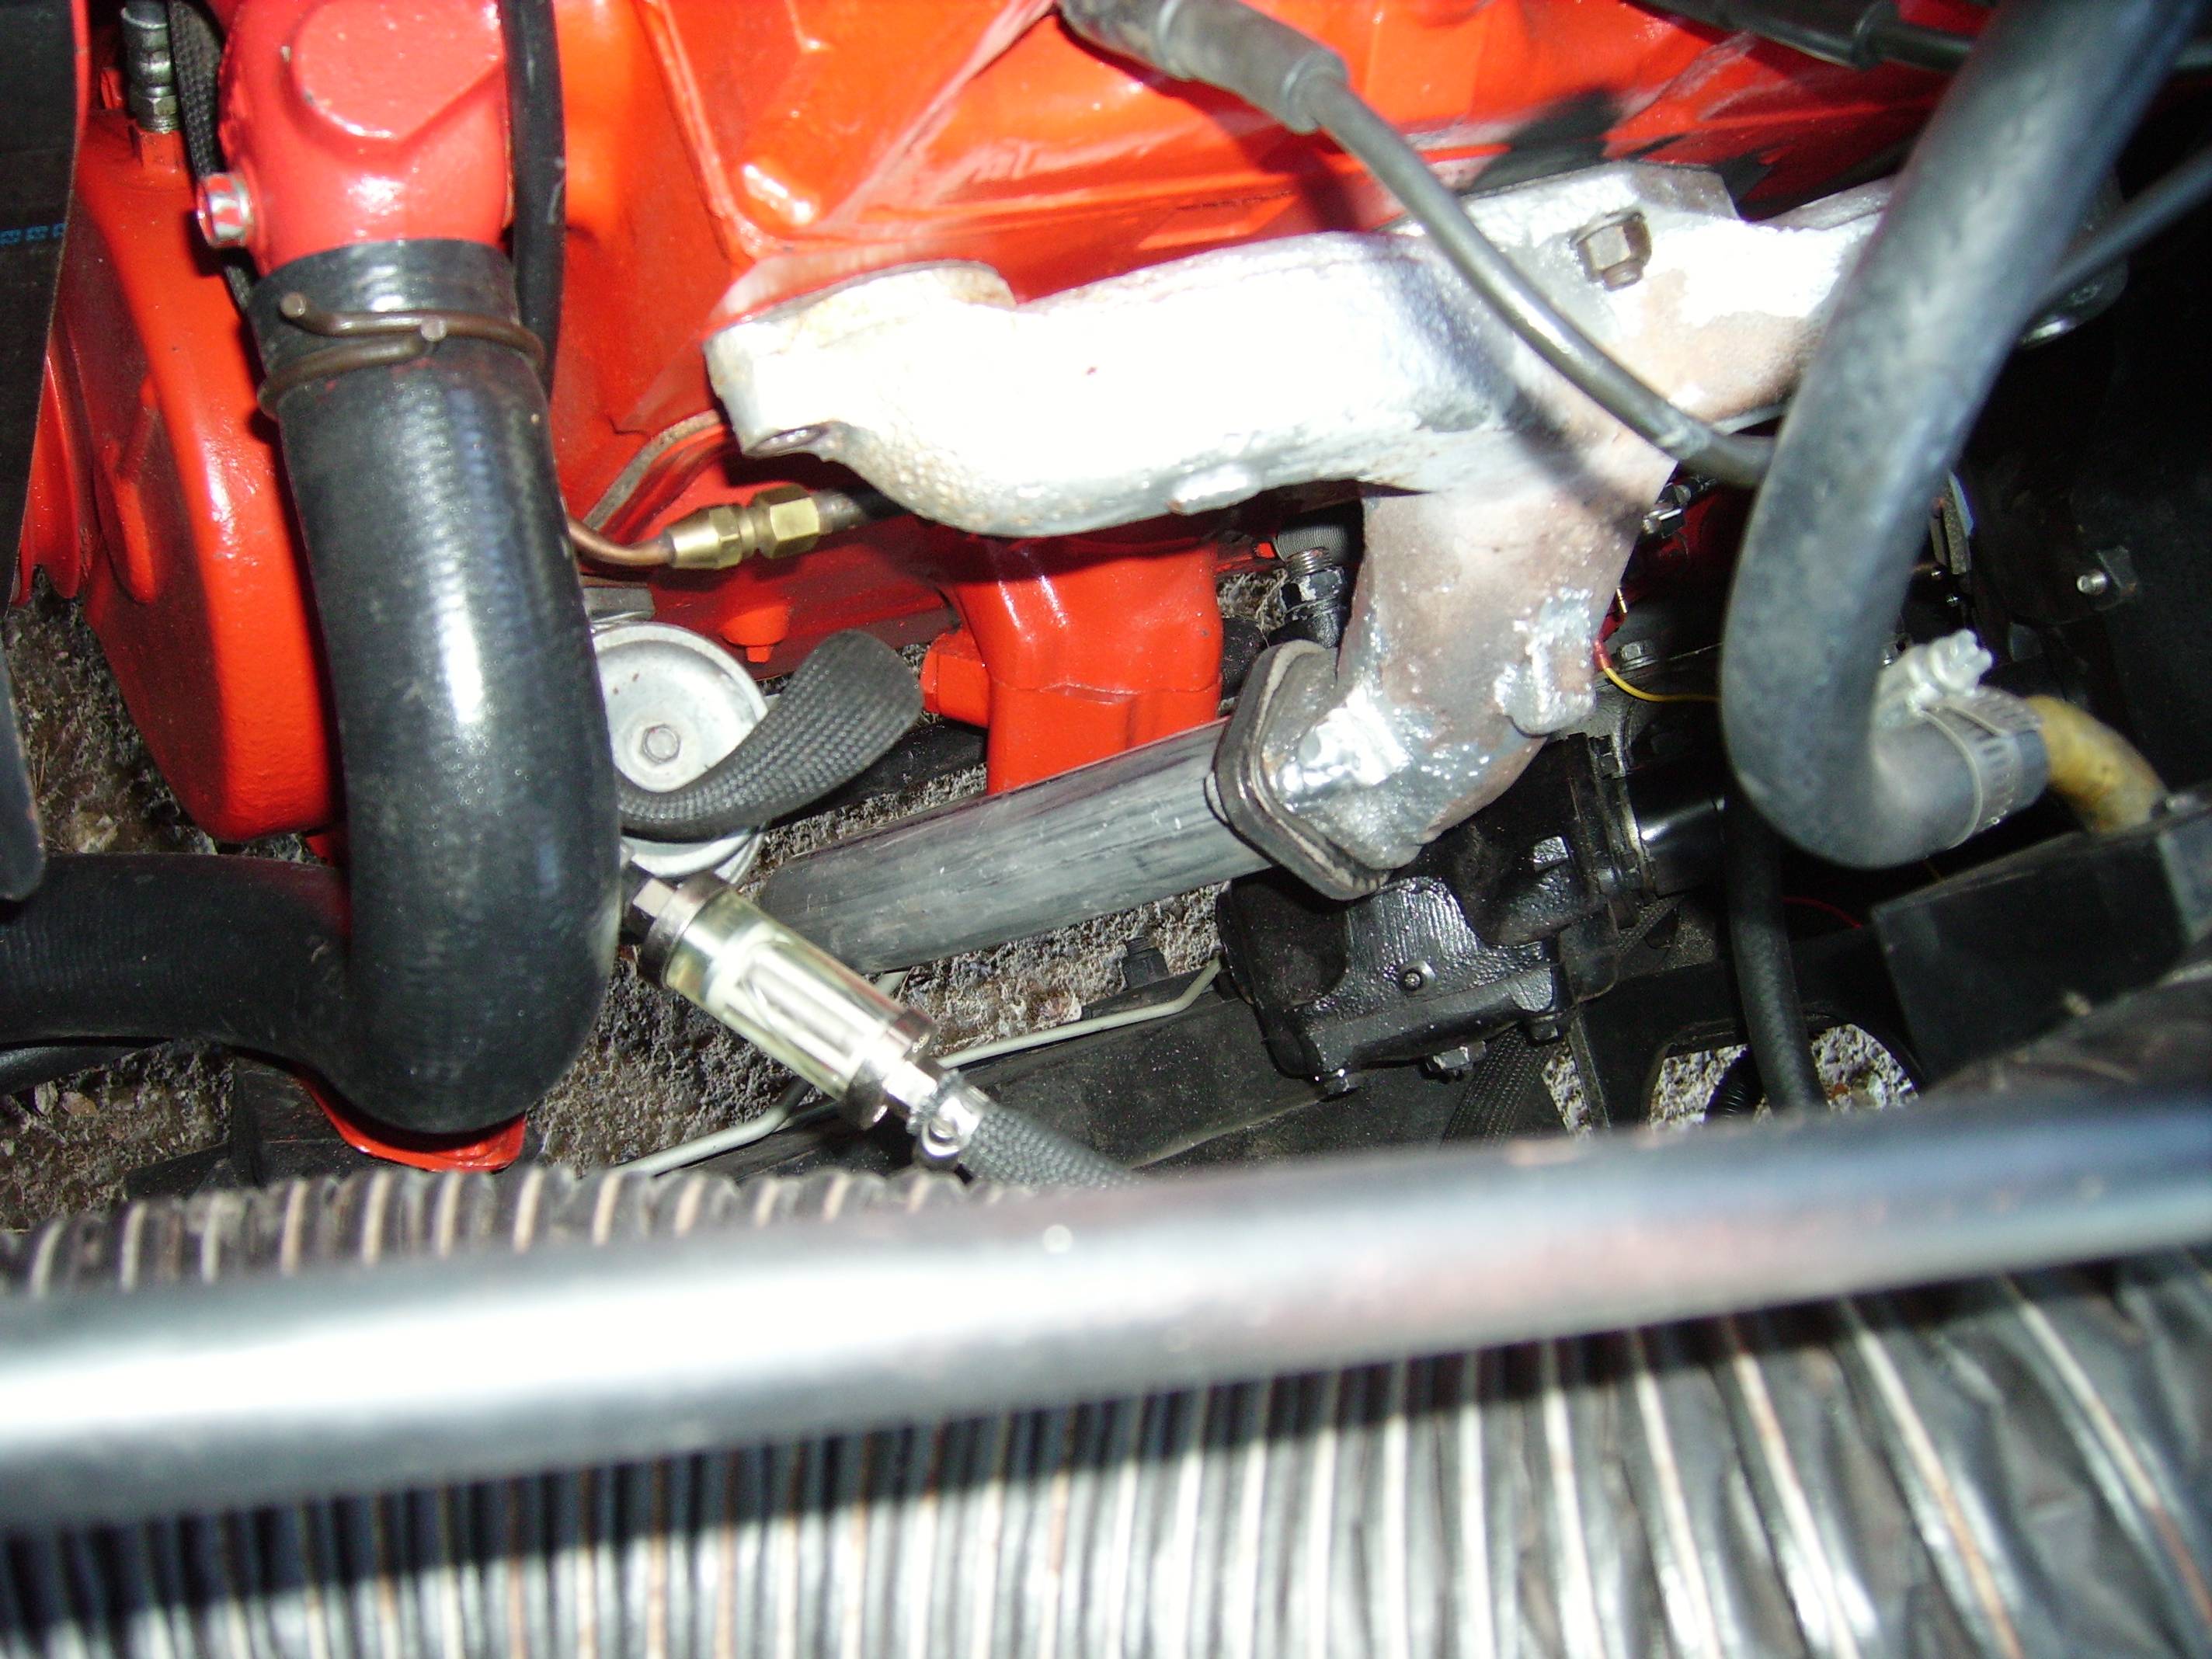
EXHAUST
TRANSMISSION / TRANSFER CASE
After dismantling and cleaning
![]()
![]()
After painting and reassembly with new seals and gaskets
![]()
![]()
I was pleased that the transmission and
transfer case appear to be in good condition. The internals had
some
minor corrosion from 20 years of storage. In the end I still have
a minor seep from the transfer case intermediate gear shaft, which did
not get rebuilt, and from the front of the transmission (I'm sure I
forgot to put the felt seal in when I assembled the housing on the
input shaft). The transmission is noisy on deceleration at speeds
above 30 mph, and has the typical problem of jumping out of second
gear. Again, this will wait until I tackle the engine
problems noted above.
April 2007: Bottom line -- the
original transmission described above was more troubel than it was
worth. Switched to a different transmission from a donor Jeep.
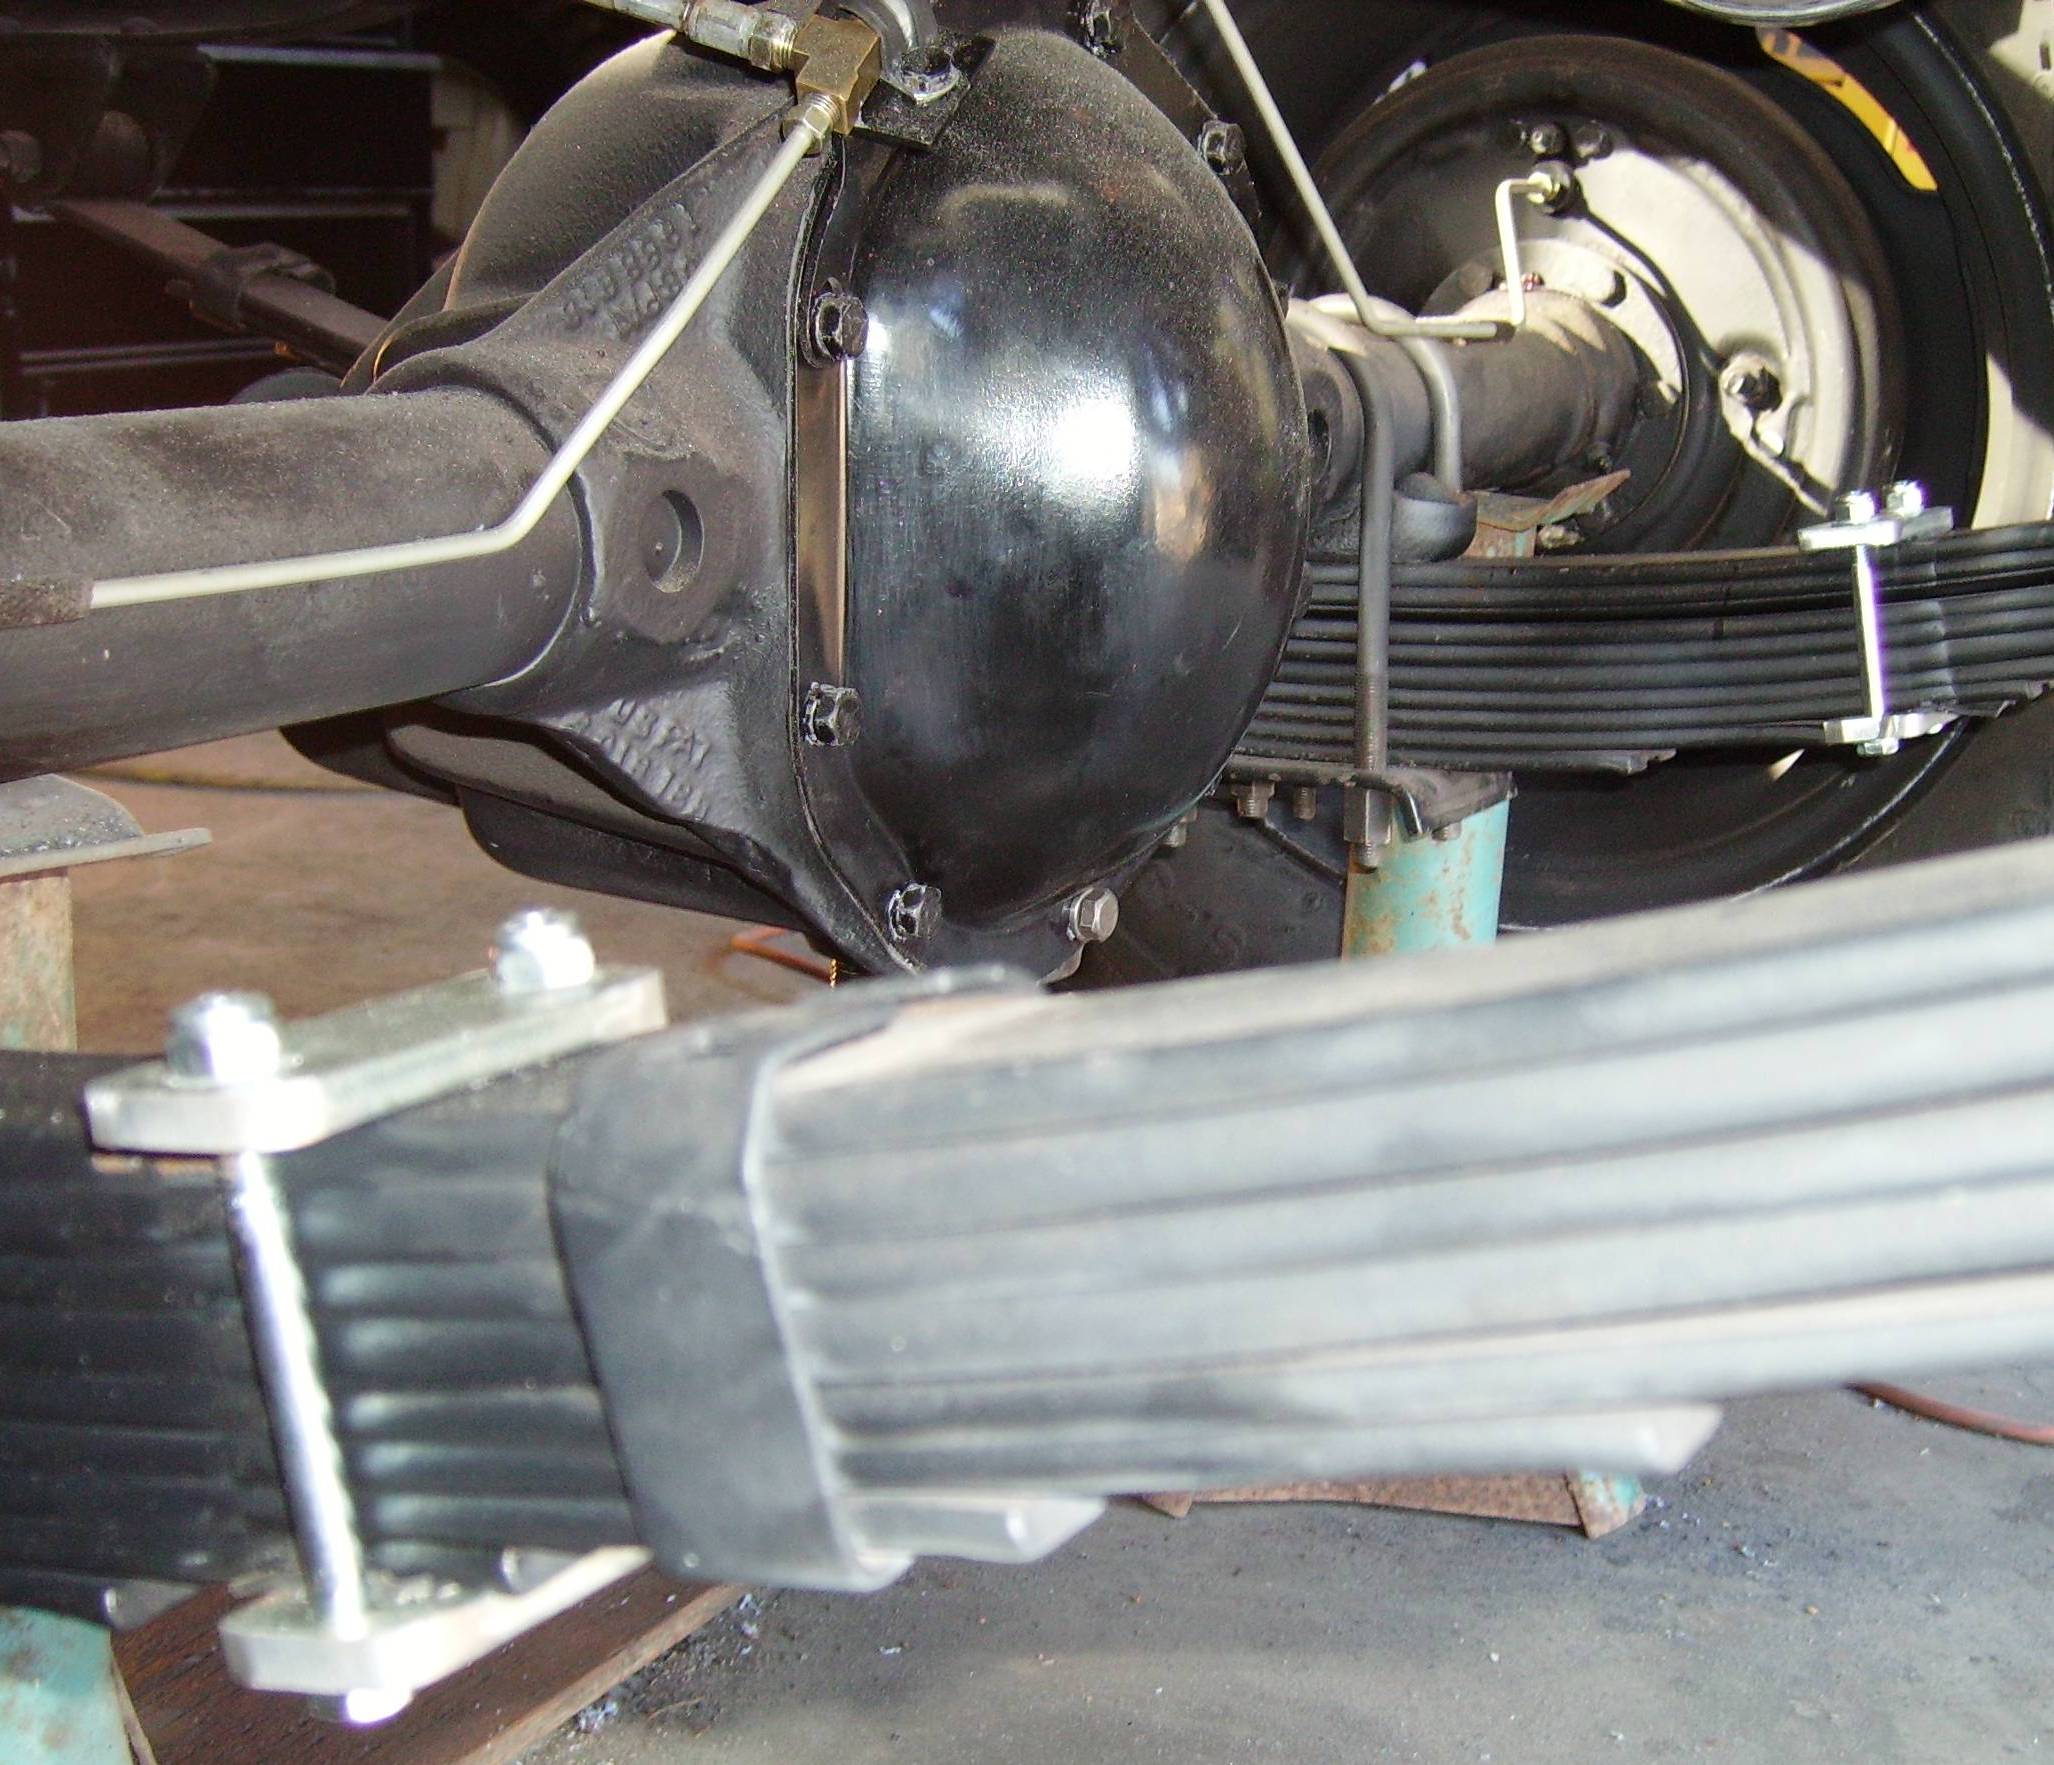
REAR DIFFERENTIAL
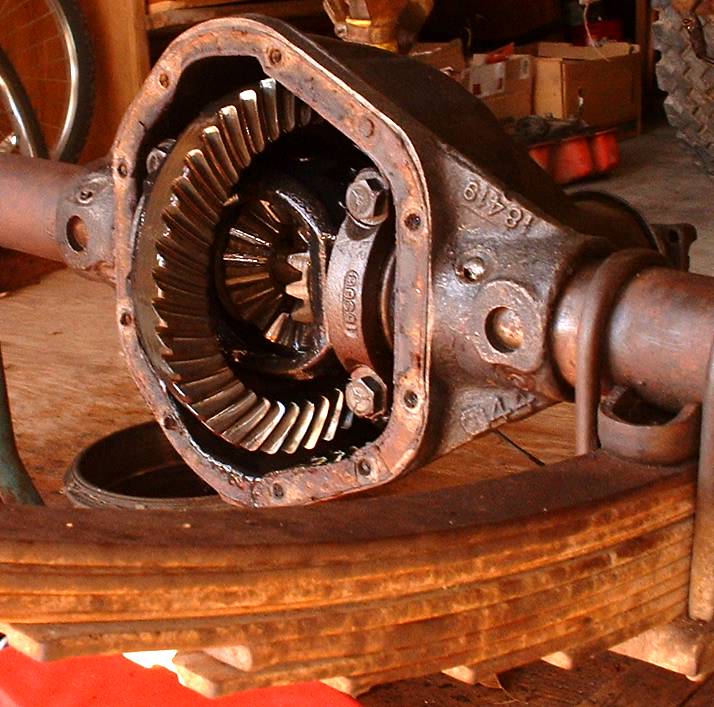

New outer seals were all it needed. The pictures above show the
differential cover and axle ends dismantled. The entire unit was
wire brushed, scraped and degreased with solvent. I did not
dismantle the differential gears. No reason to, there is no
visible wear, the gear lube had very slight contamination with no grit,
and no noise when it was on the road last. There is
some play in the gears, but within normal limits to my knowledge.
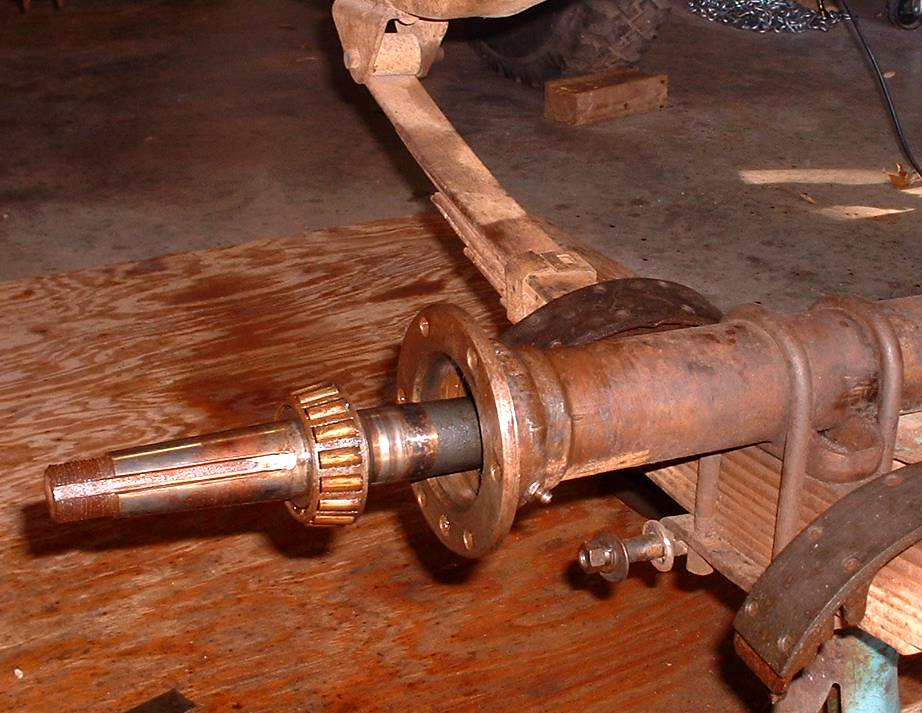
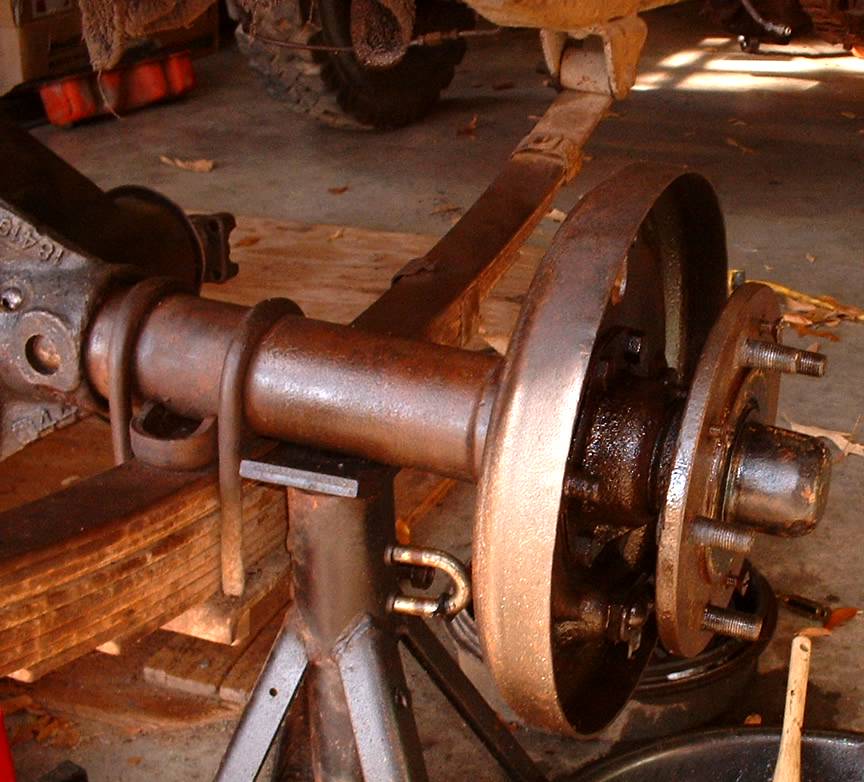
FRONT DIFFERENTIAL, AXELS, HUBS
After dismantling.


The right front hub was in worse shape than the left. I forgot
how messy hubs and knuckles are to rebuild. Both hubs have
new seals, and new king pin bearings/races. The Warn lock-outs
are in excellent condition.
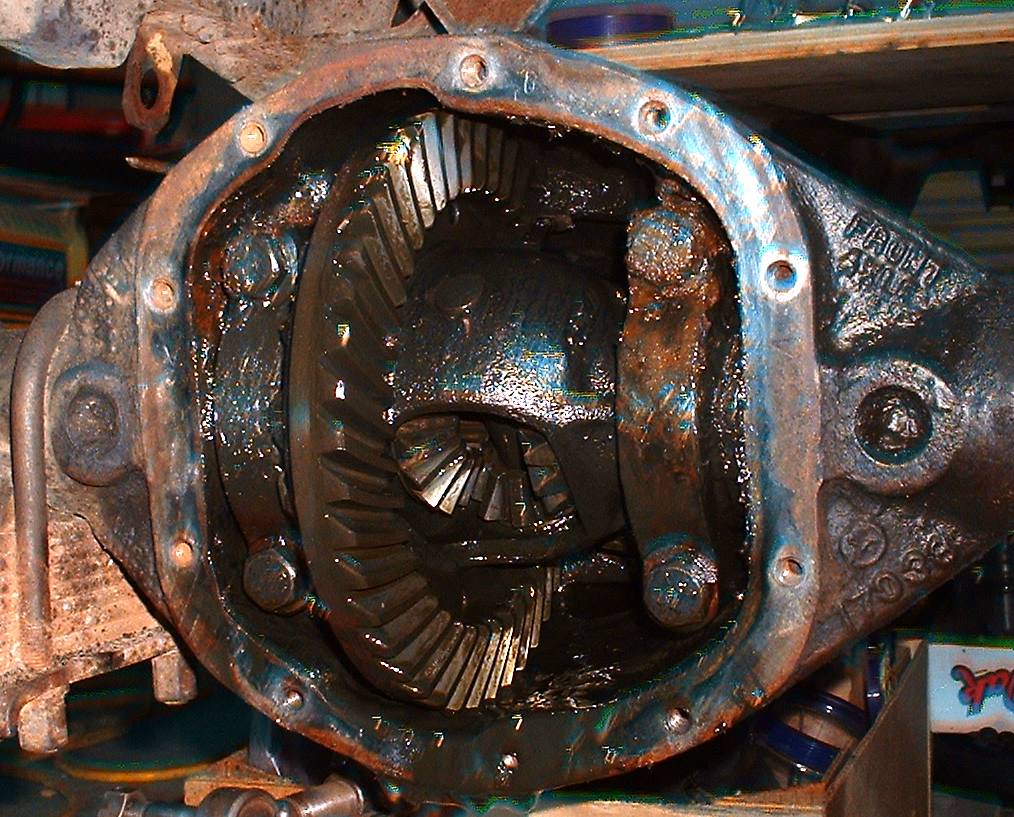
When I drained the differential I did see some contamination in the gear
lube and corrosion inside. Likely seeped in through the
breather fitting on the cover. Once cleaned the differential was in excellent condition.
 The breather fitting rerouted to a higher location in the engine compartment.
The tag found on the differential cover confirms the stock 5.38:1 gear ratio.
The right spindle threads were stripped,
which explains it's condition. A replacement spindle was
installed, and new nuts/washers on both sides.
I used 120 wt gear lube in the
differentials and knuckles. The stuff is thick and
flows slowly. I had to use a funnel and patience. Because of the heavier lube the Jeep is very sluggish for the first couple of miles.
SUSPENSION
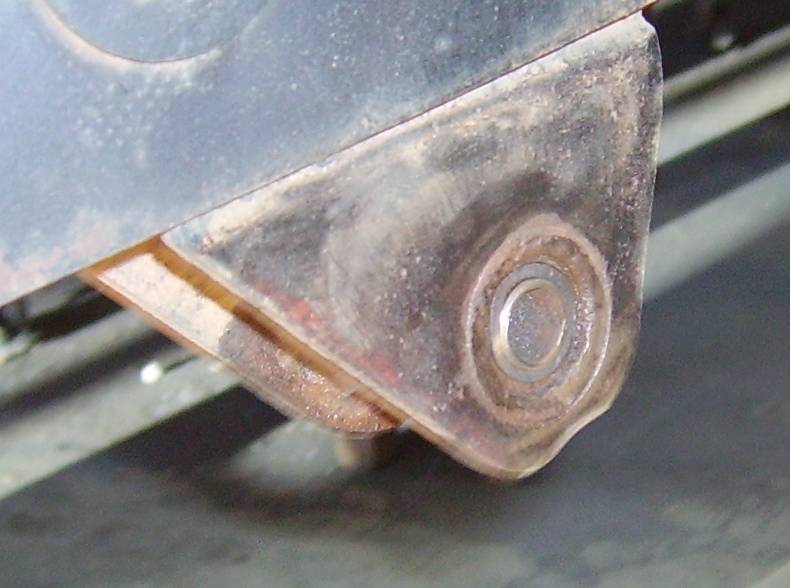
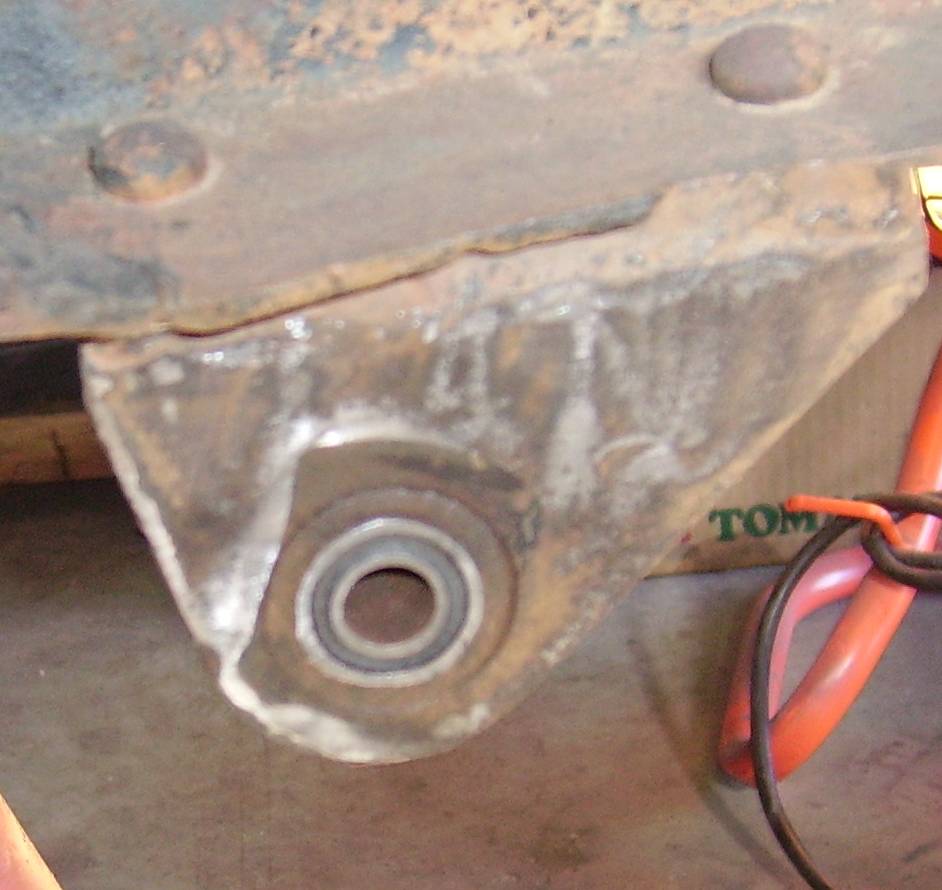
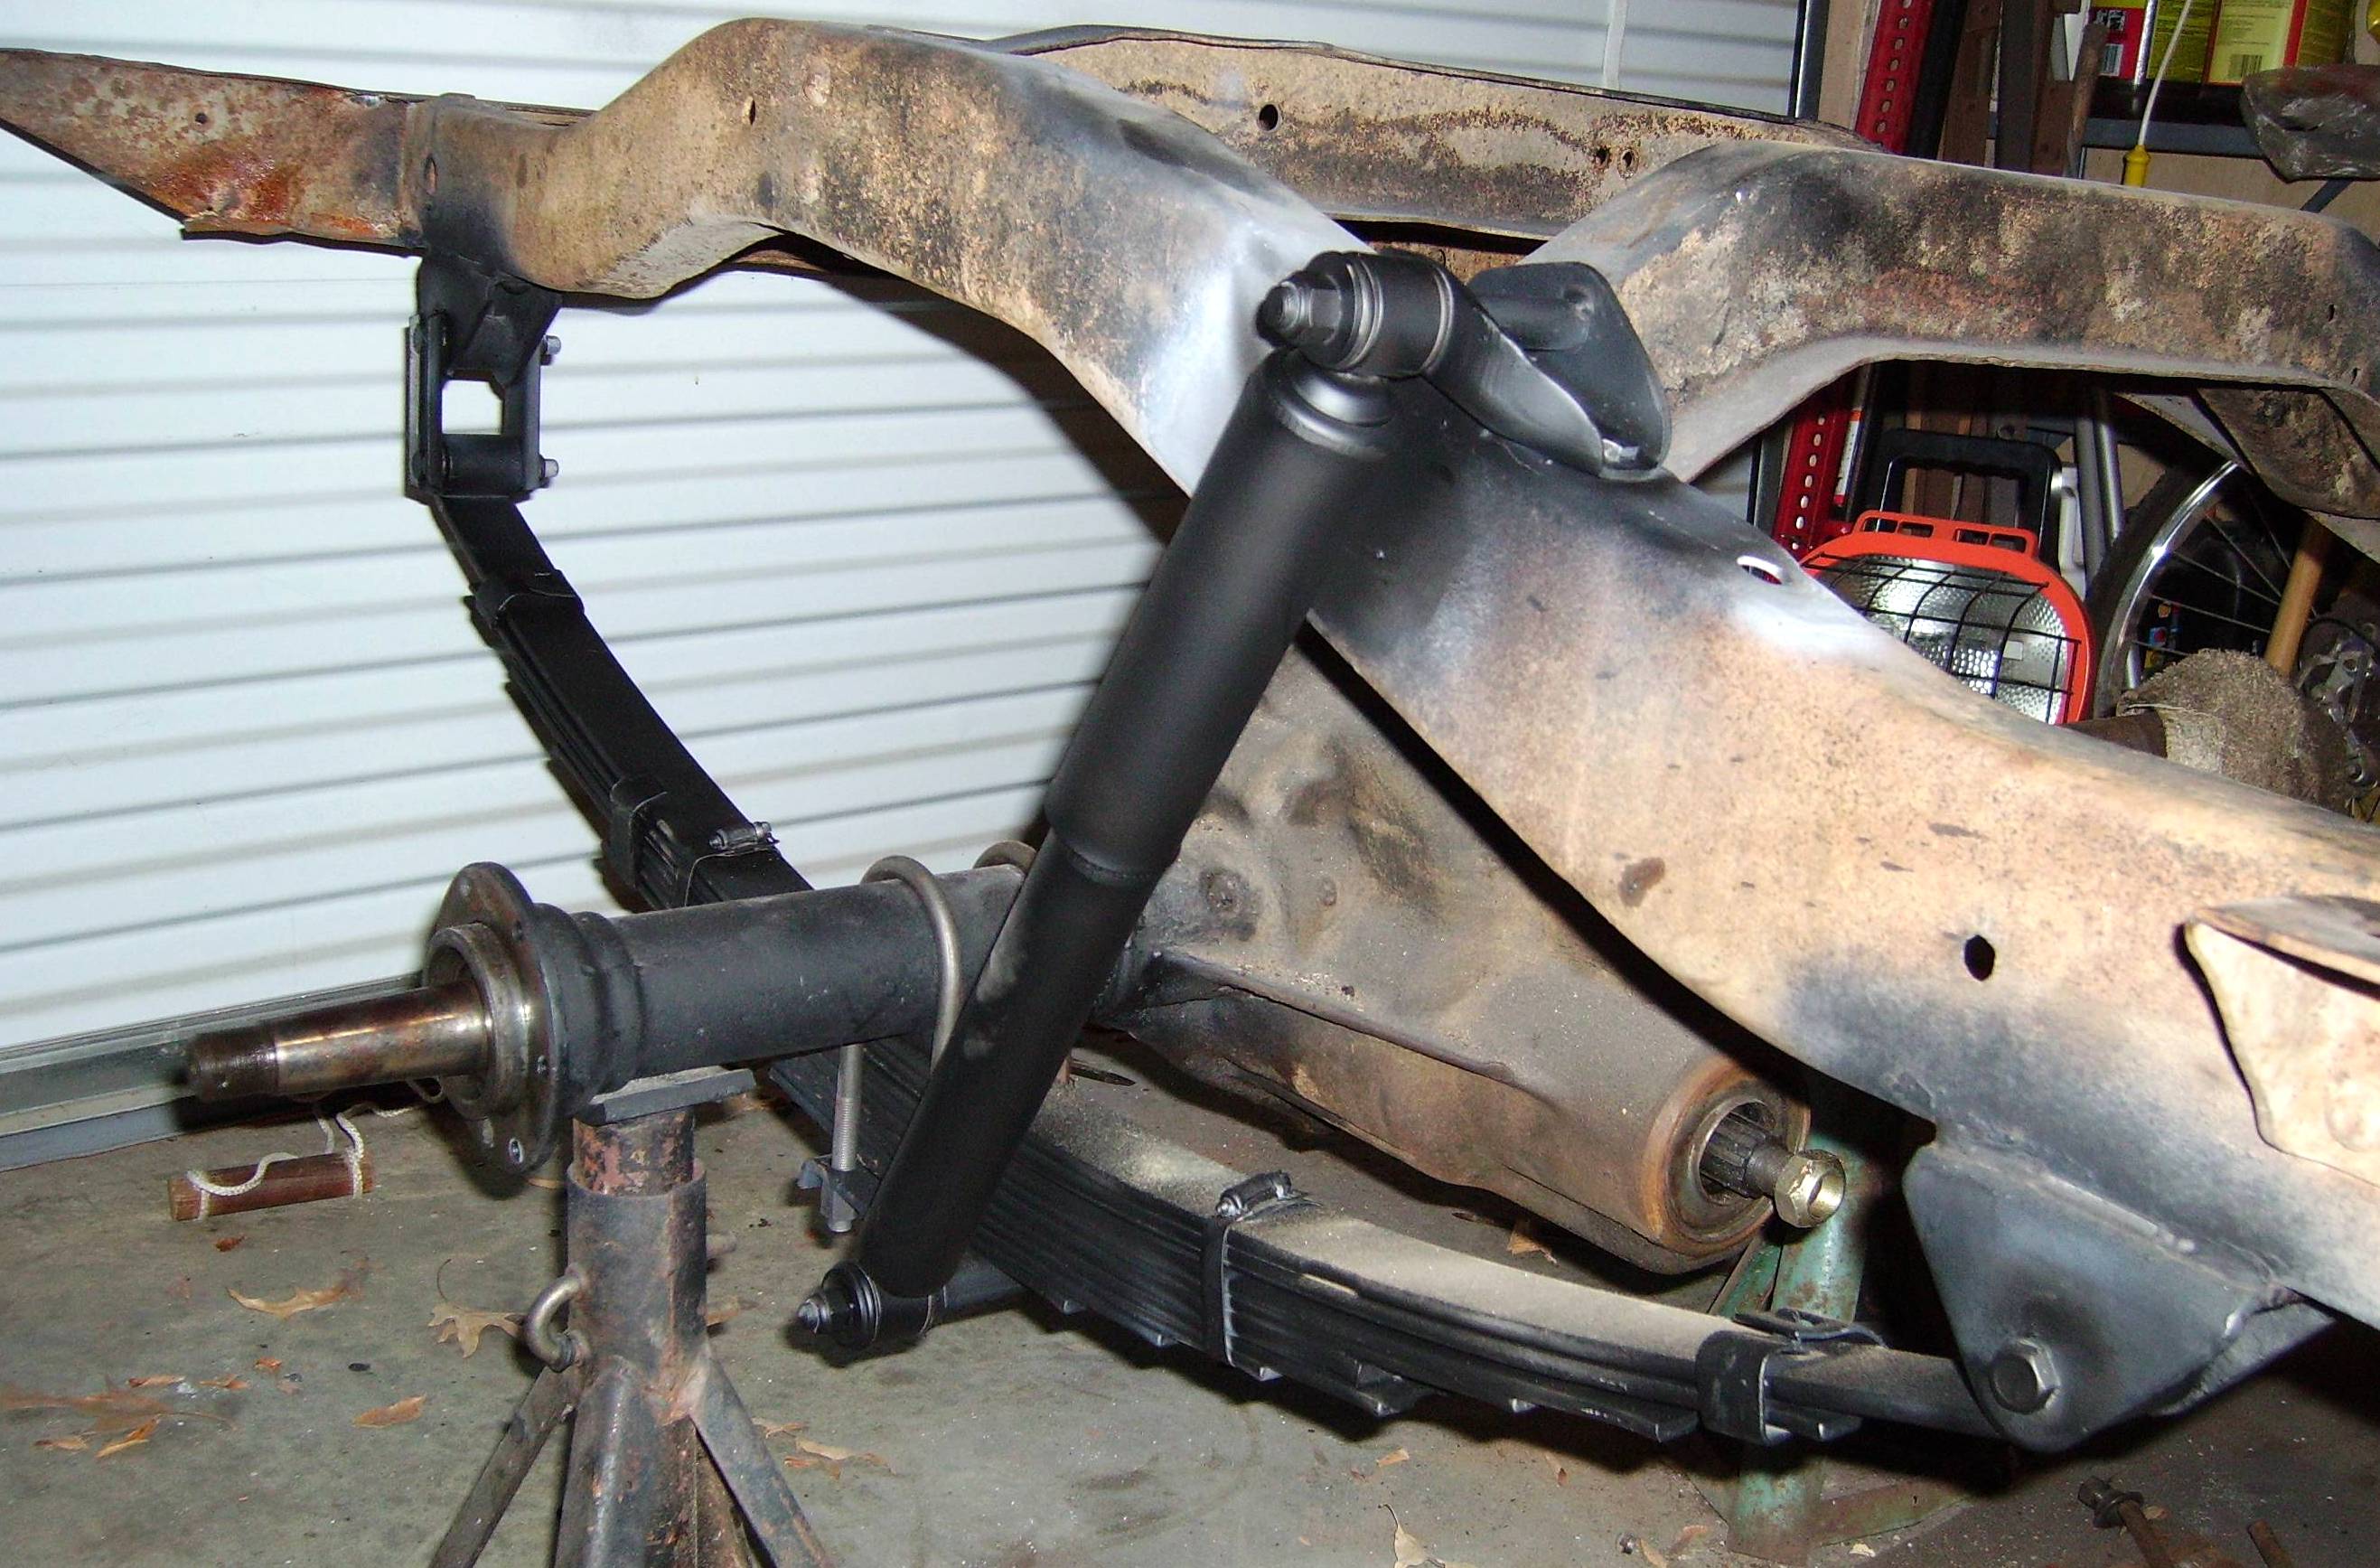 Right rear spring installed.
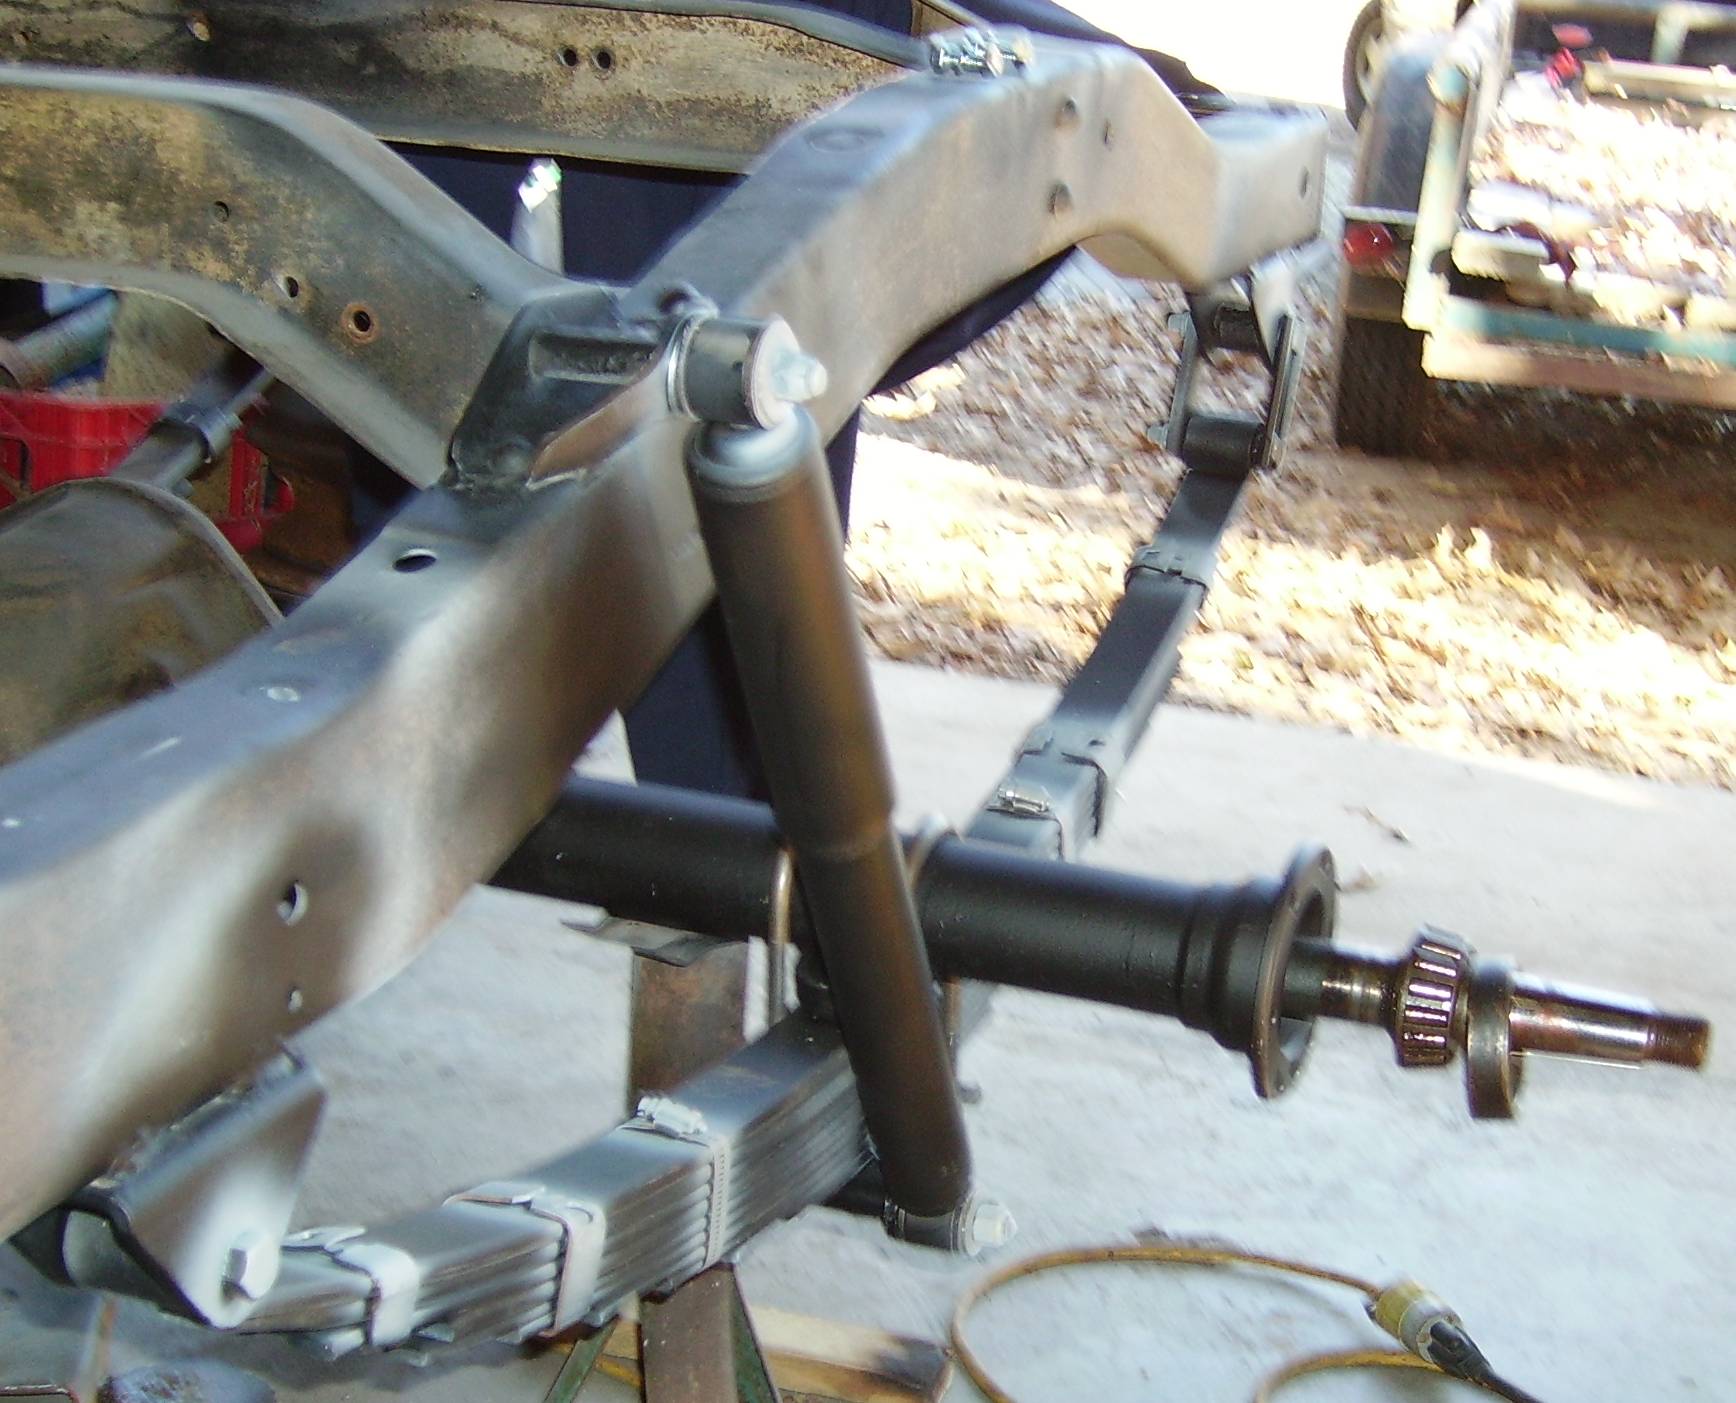 Left rear spring installed.
All springs are in fair shape. All
of the springs have had at least one replacement leaf added (total
stack 10 rear, 7 front).
The
differential, axle and brakes on the rear dismantled without a
problem. The spring shackles were another story. The
frame mounted shackle bushings were rusted in place. One was worn
with only
the outer bushing case in place. Penetrating oil had little
effect. I
started with a cold chisel, then realized if I cut a groove it would
come out easier. A triangular rattail file made quick work of
that. I still ended up using a large hammer, but it came out with
minimal damage to the mount. The springs were reinstalled with
new shackle
bushings and bolts, new center bolts, new U-bolts and spring
plates. And new shocks, of course.
Except: the forward bushing on each of the front springs. These bushings were still in good shape.
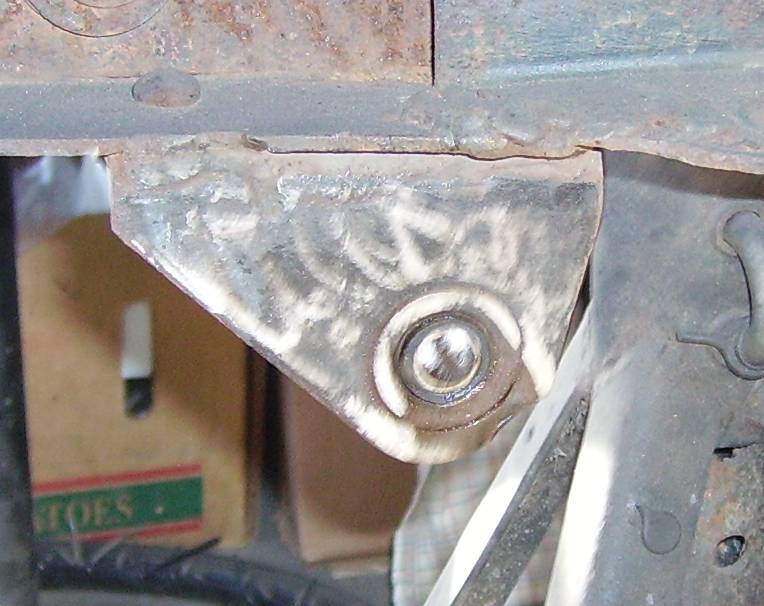
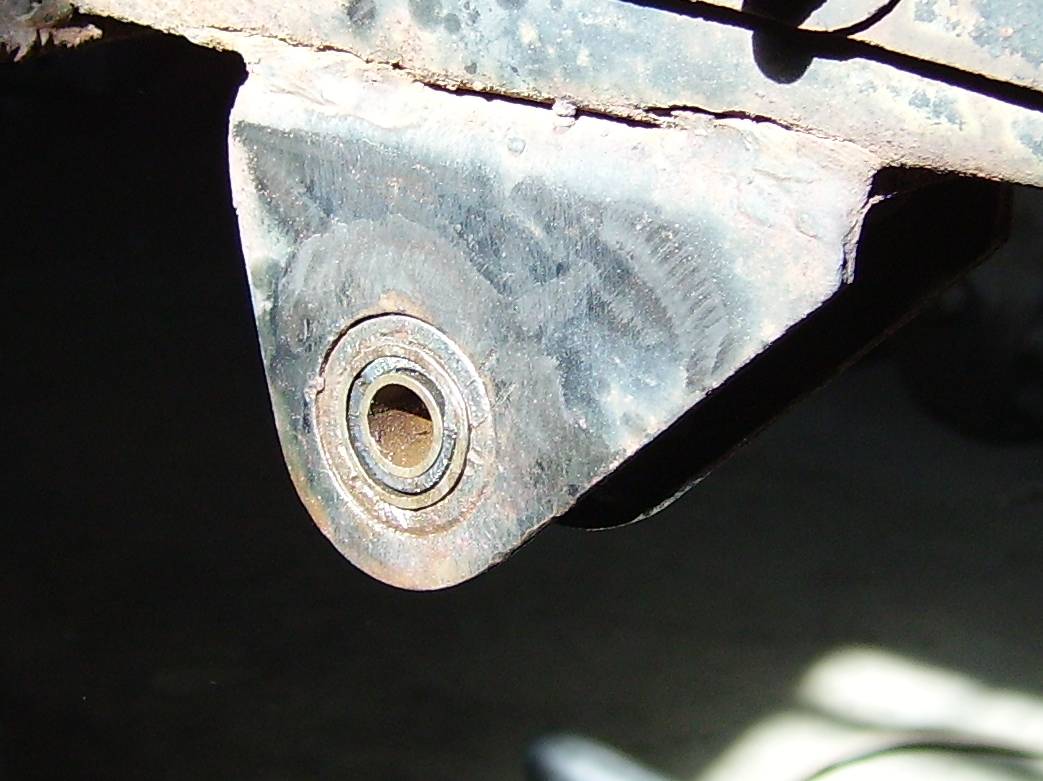 Left front shackle bushing.
 Right front shackle bushing.
 Custom made spring clips. For the final installation the clips
were installed side-to-side rather than top-to-bottom. The old
clip shown will be removed.
Also note the brake line clamp on top of the differential.
Custom made spring clips. For the final installation the clips
were installed side-to-side rather than top-to-bottom. The old
clip shown will be removed.
Also note the brake line clamp on top of the differential.
STEERING
The drag link is in good shape and was
rebuilt with a repair kit installed. The bell crank was
rebuilt. The tie rod ends are in excellent condition and have new covers. The steering
box was also rebuilt with new seals.
The bell crank turned into a harder job than necessary. After
a bit of pounding and coaxing it came apart. The problems started
during reassembly. Bottom line -- use emery cloth or a hone to
clean the shaft hole. You can then reassemble with minimal
aggrevation. In hind sight I should have known that, but I was
too enthused about getting it back together.
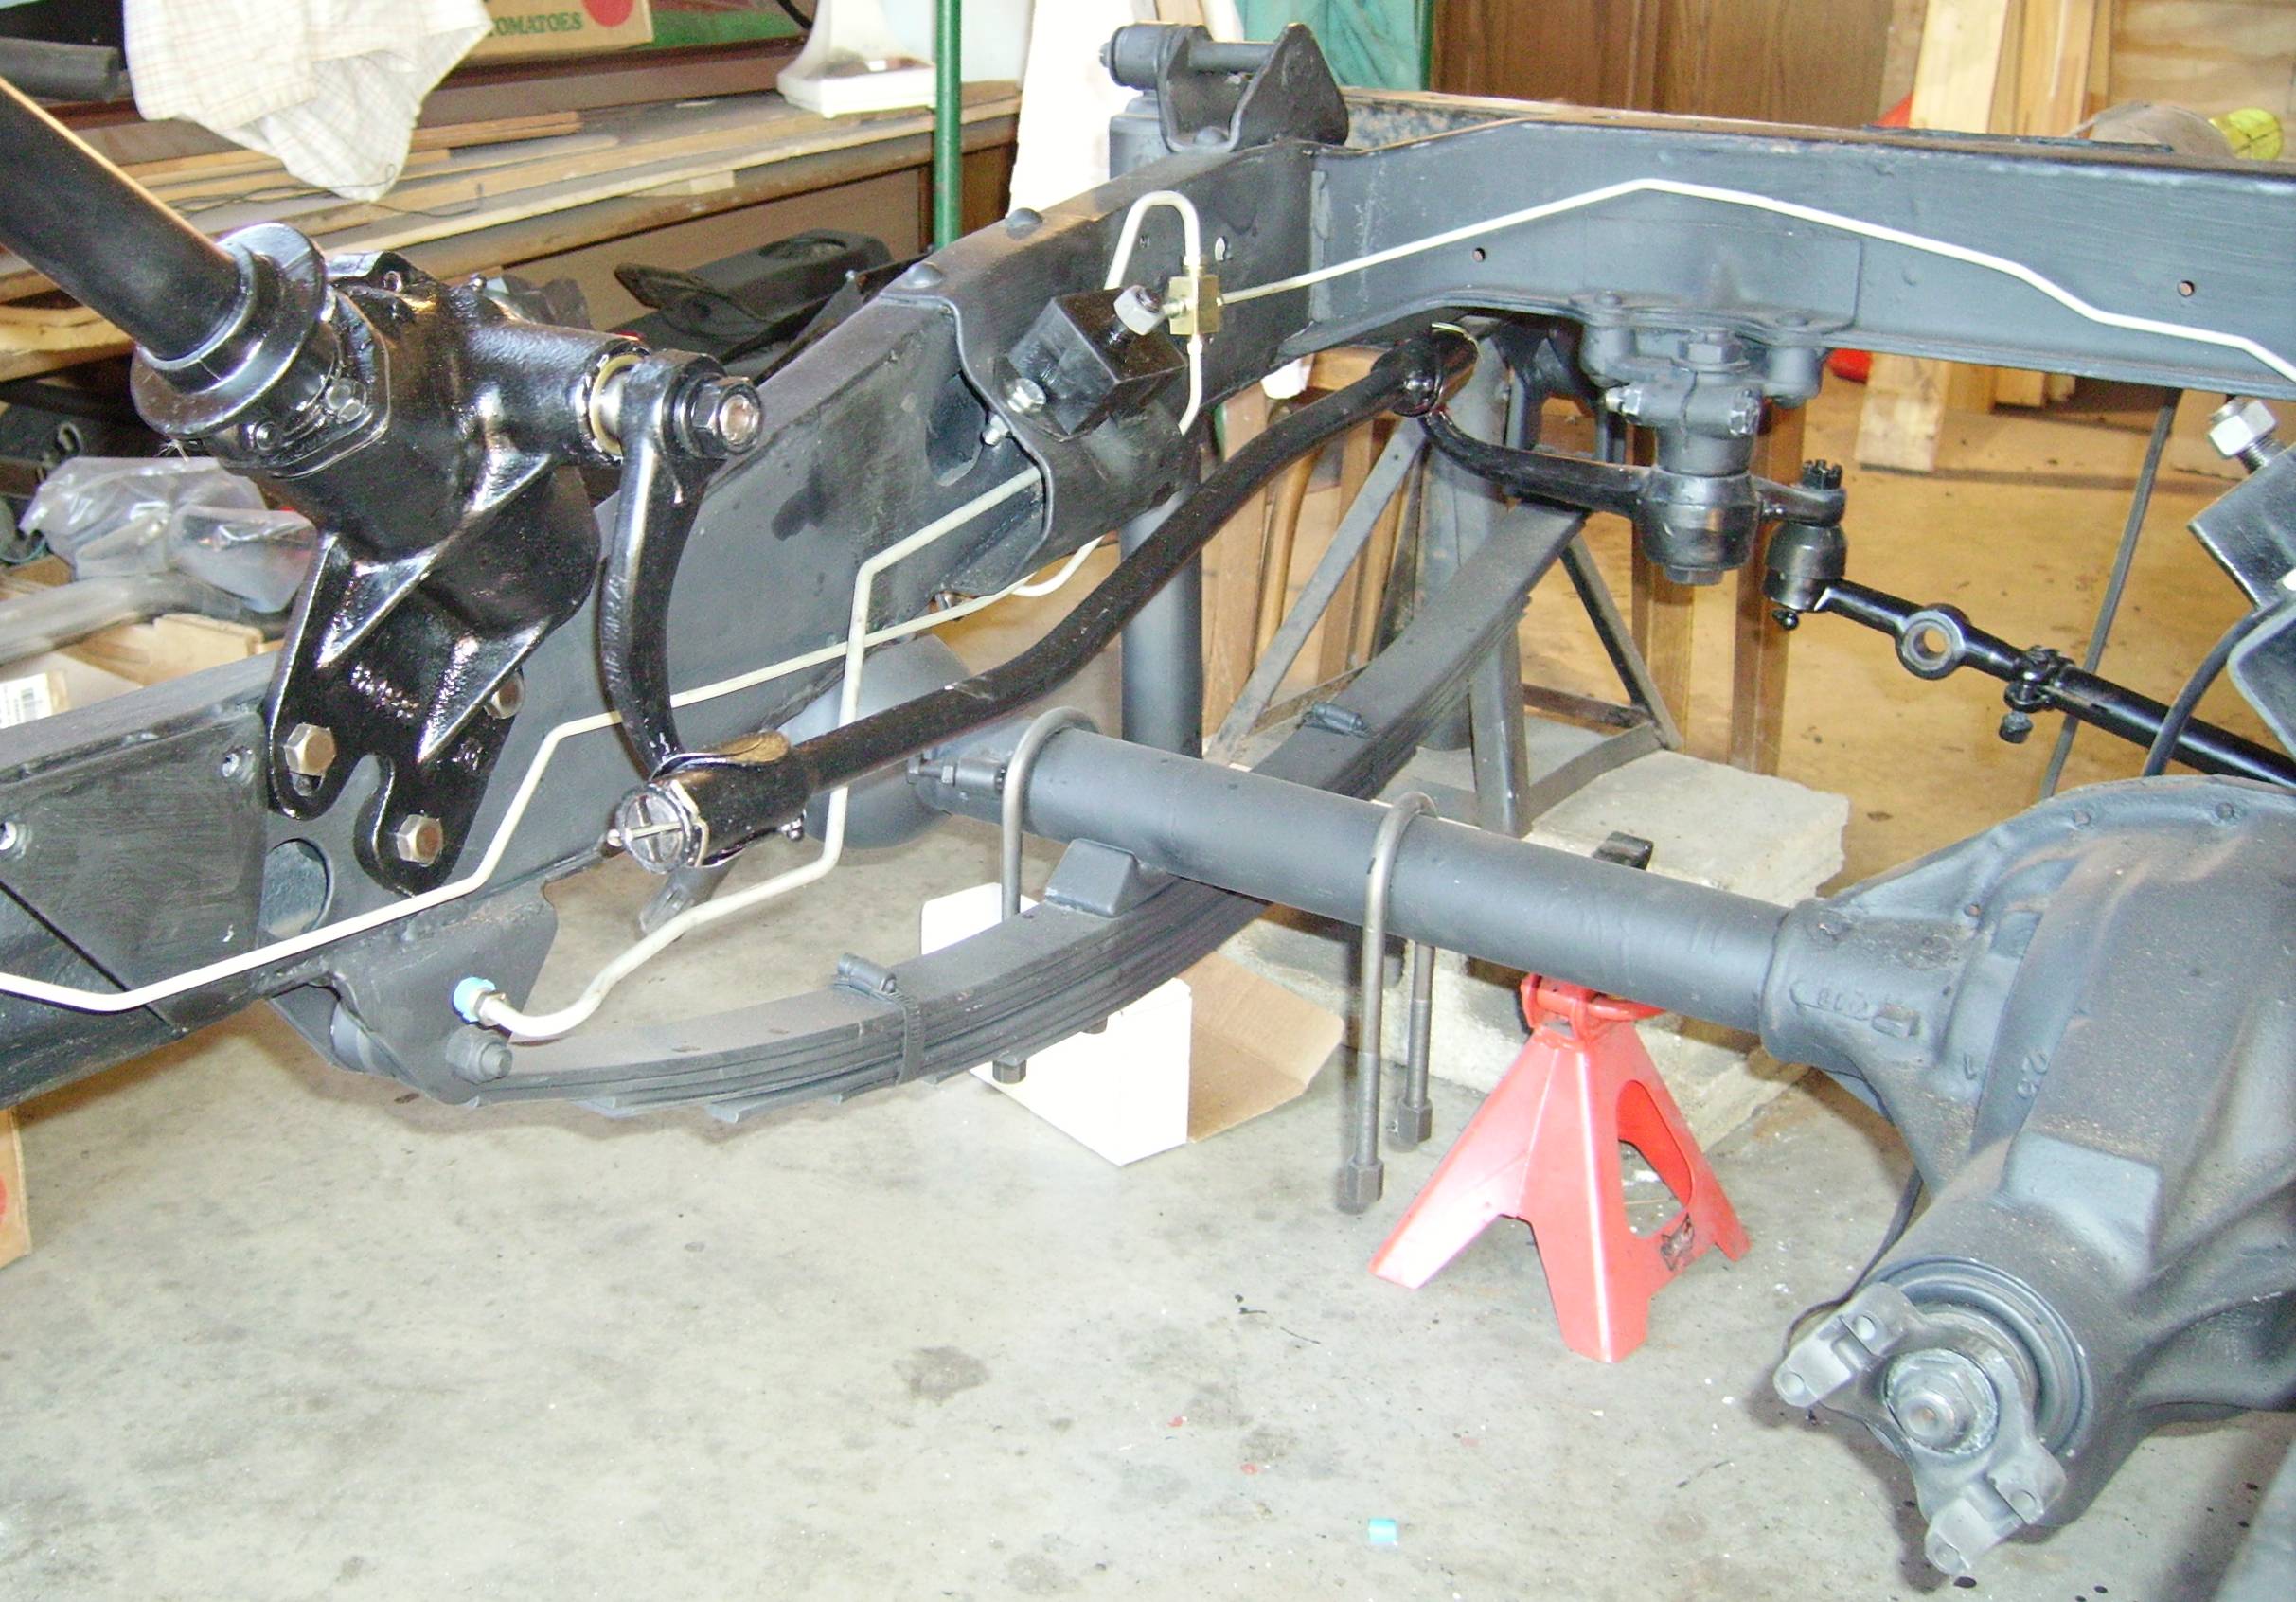 Steering box, drag link and bell crank rebuilt and reinstalled. Note the new brake lines.
 Drag link grease retainer. I used plastic ties to achieve a tighter seal.
The steering system needs more
work. It still has too much play. In my research I
determined that the cause is wear in the steering box (worn shim and
bearings) and worn ball
ends where they attach to the drag link. Another project for
another day. As a final touch I covered the steering wheel with
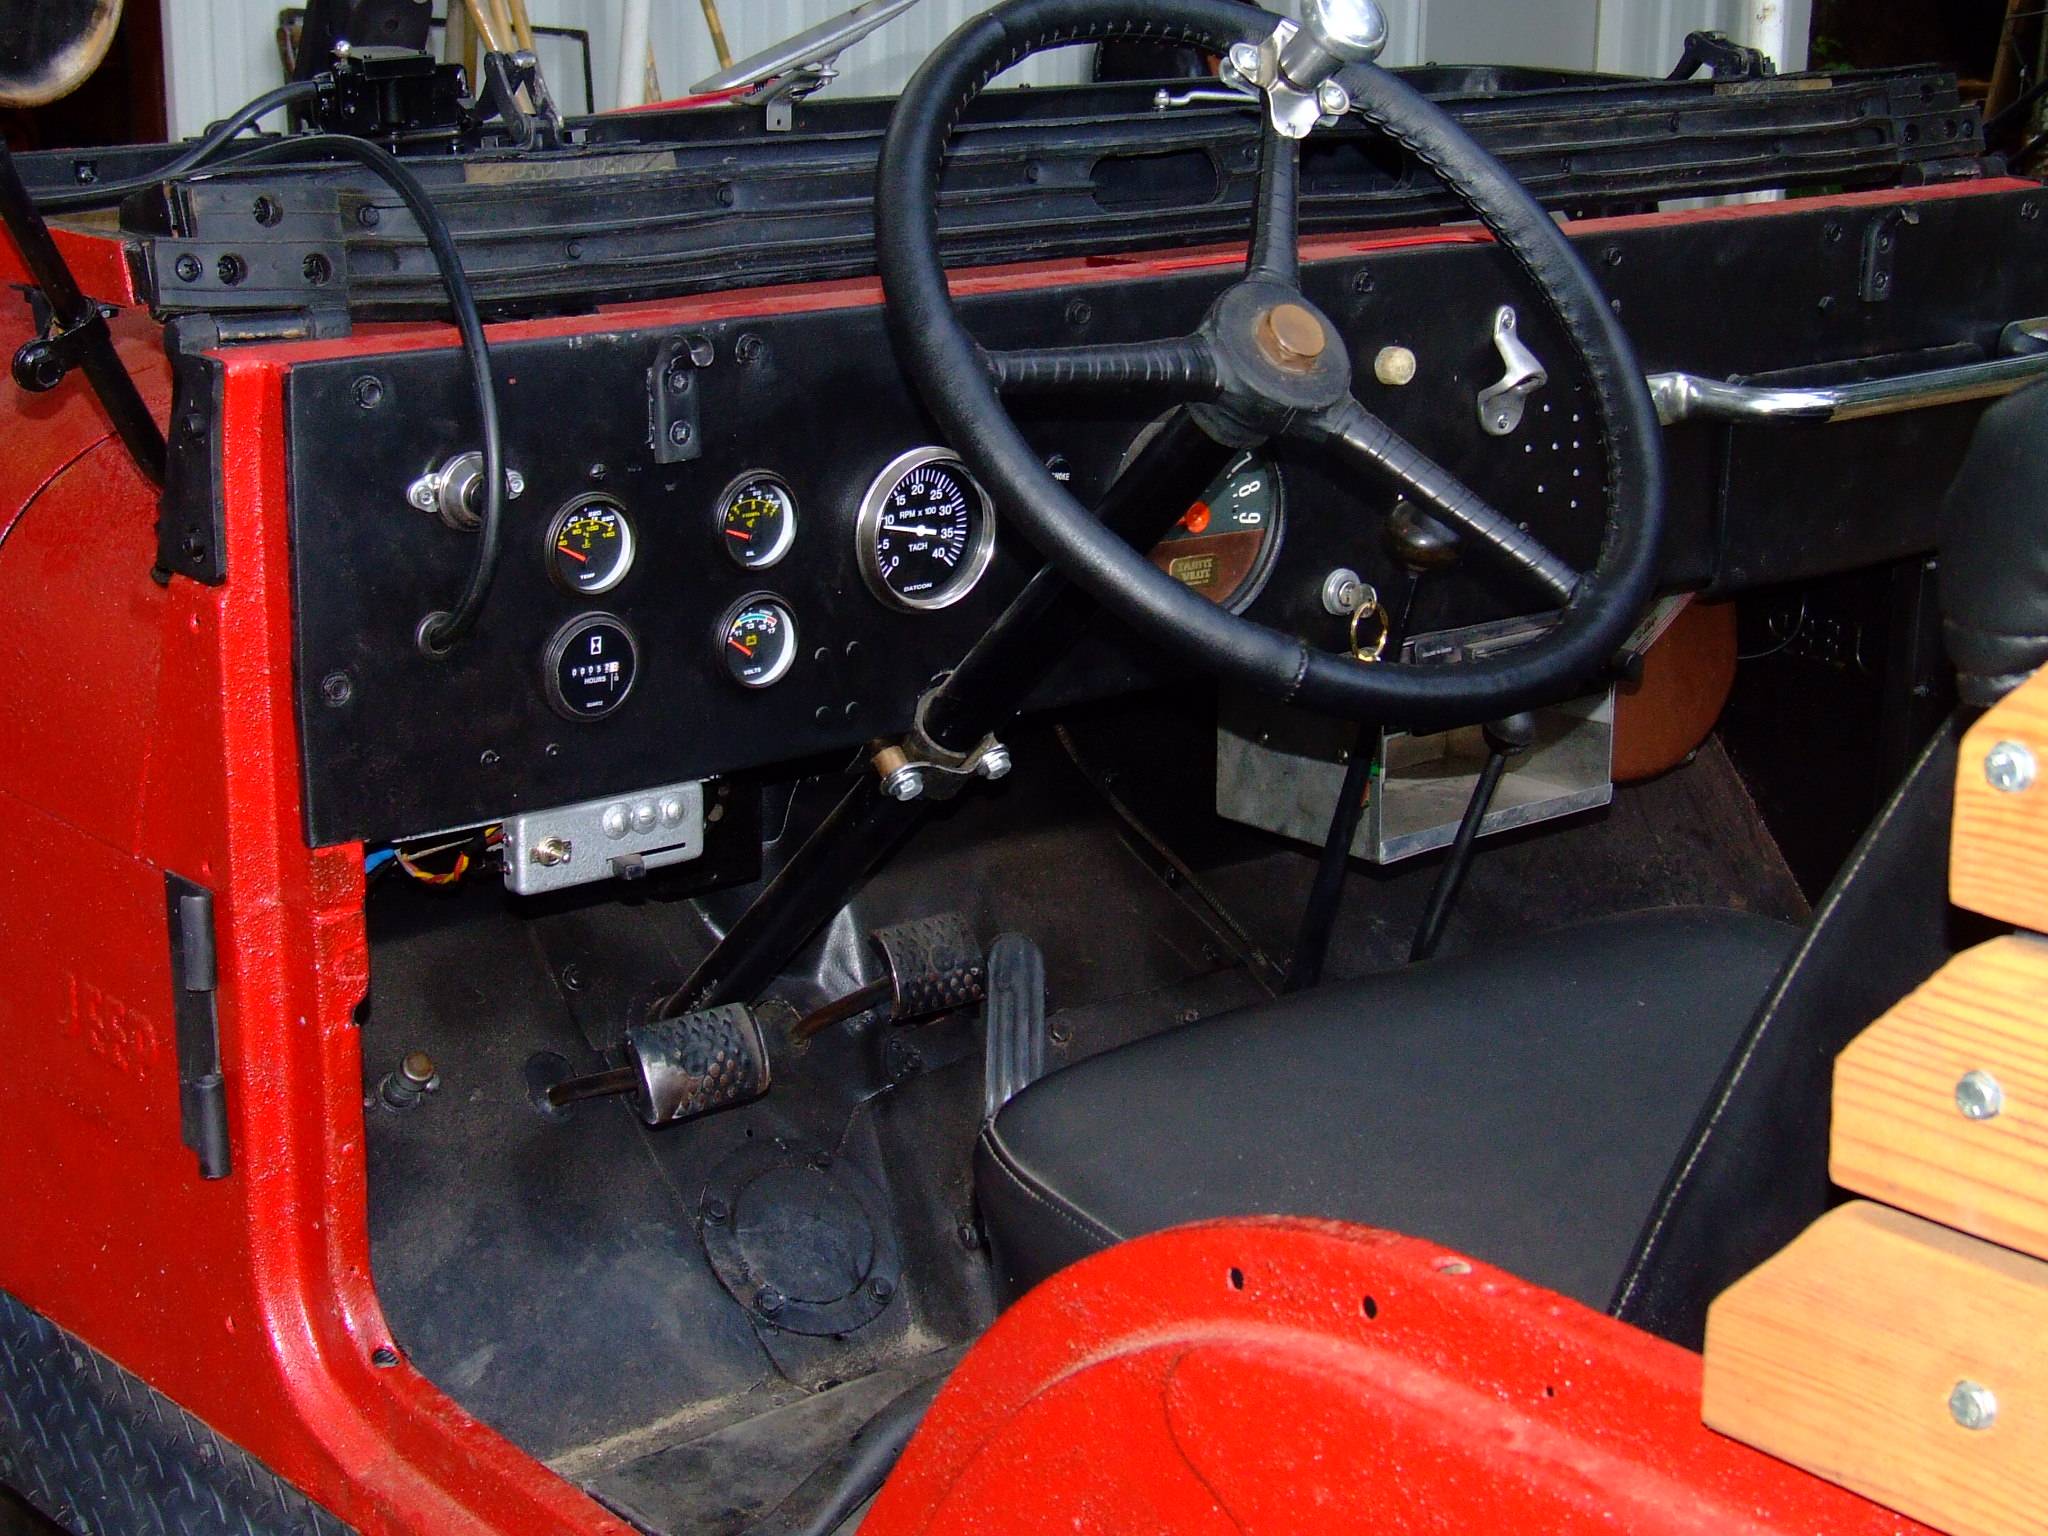
leather (Wheelskins) and added a suicide knob (from Tractor Supply).
BRAKES
Brakes shoes are in excellent
shape. The drums were turned. The wheel cylinders and
master cylinder were honed and new kits installed. New brake
lines were also installed.
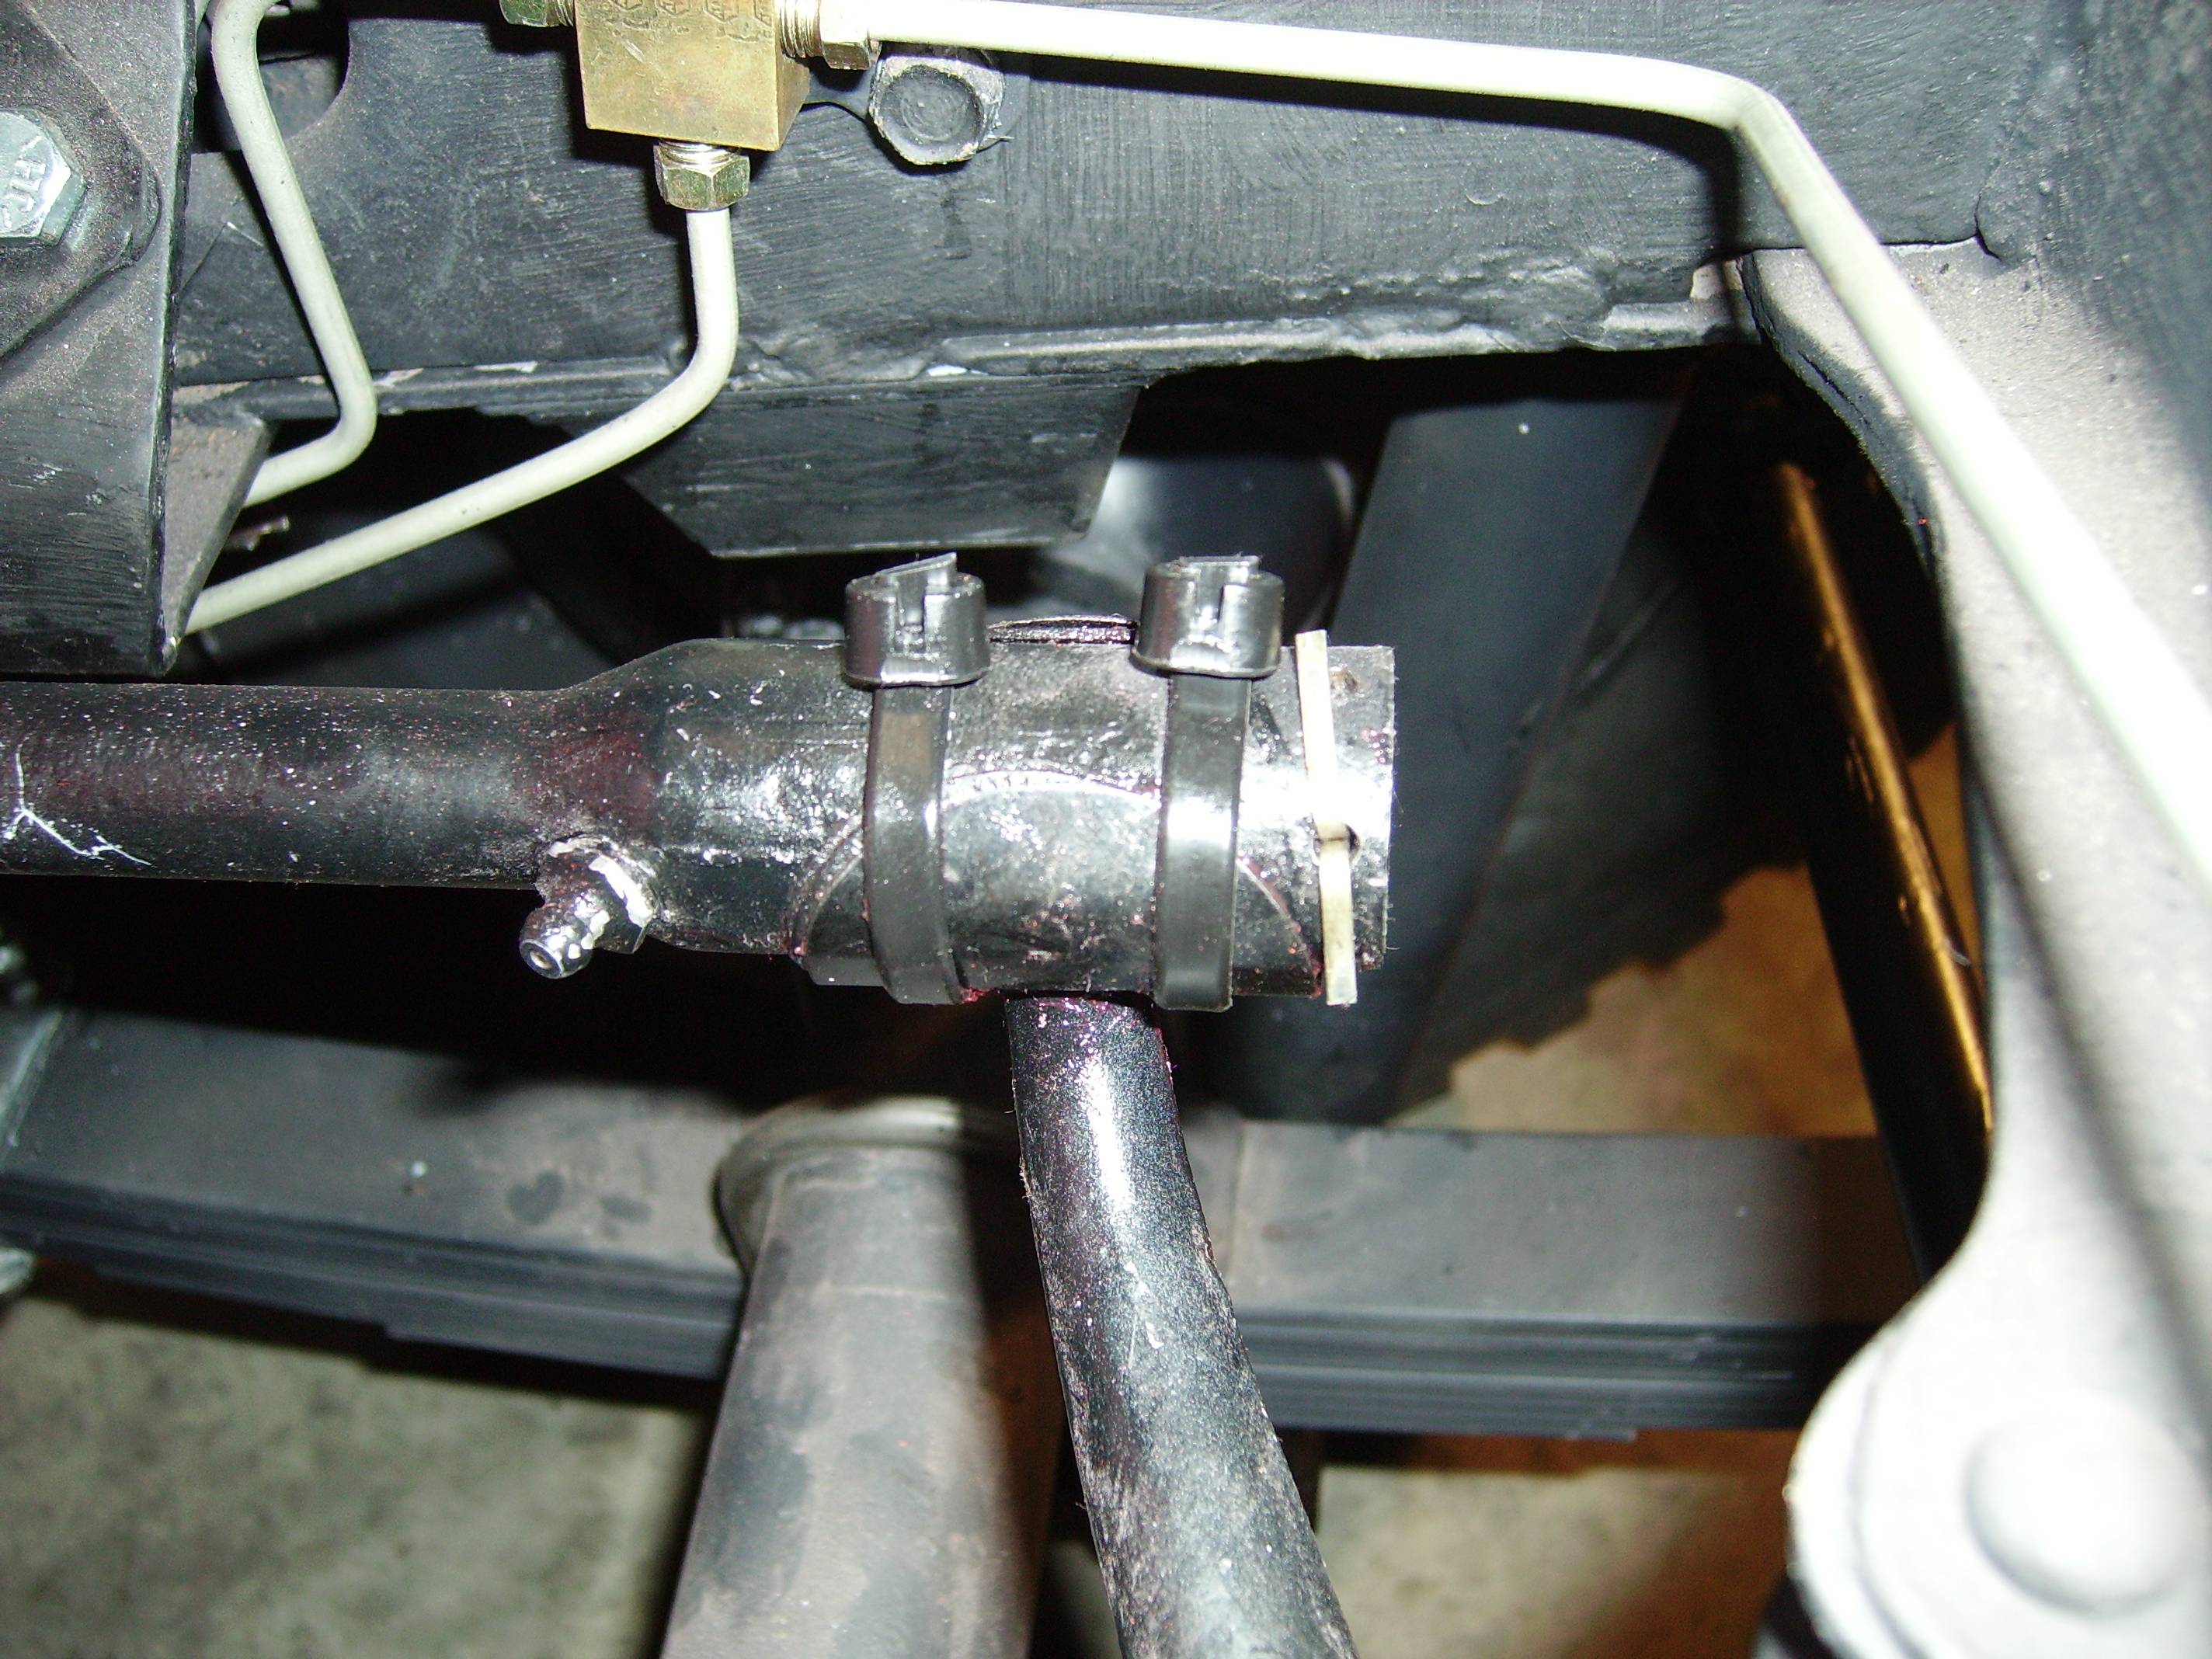
 The photo is of the preexisting master cylinder cap disassembled. The hose attaches
to the fitting inside the cap and is sealed using silicone sealant. A previous owner had already
fabricated this upgrade which allows remote access for adding brake
fluid. I added a reservoir (attached to the firewall next to the heater box) to complete
the system.
The photo is of the preexisting master cylinder cap disassembled. The hose attaches
to the fitting inside the cap and is sealed using silicone sealant. A previous owner had already
fabricated this upgrade which allows remote access for adding brake
fluid. I added a reservoir (attached to the firewall next to the heater box) to complete
the system.
WHEELS AND TIRES
After dismounting, derusting and cleaning
I found the wheels are different styles and sizes. Two of them
are 15 X 4.5 with riveted centers, two are 15 X
5.5 with welded centers, and one is 15 X 5 with riveted center.
(Two of the original wheels were bent, which I did not see
until the tire shop put them on the balancer. Finding replacement
wheels was difficult.)
After all was said and done I put 700 x
15 NDCC Firestone military tread tires with tubes all around.
Another aberation is the right front wheel lugs are left hand thread
(as it should be), however the right rear wheel lugs are right hand
thread. That will drive me nuts someday.


COMMENTS