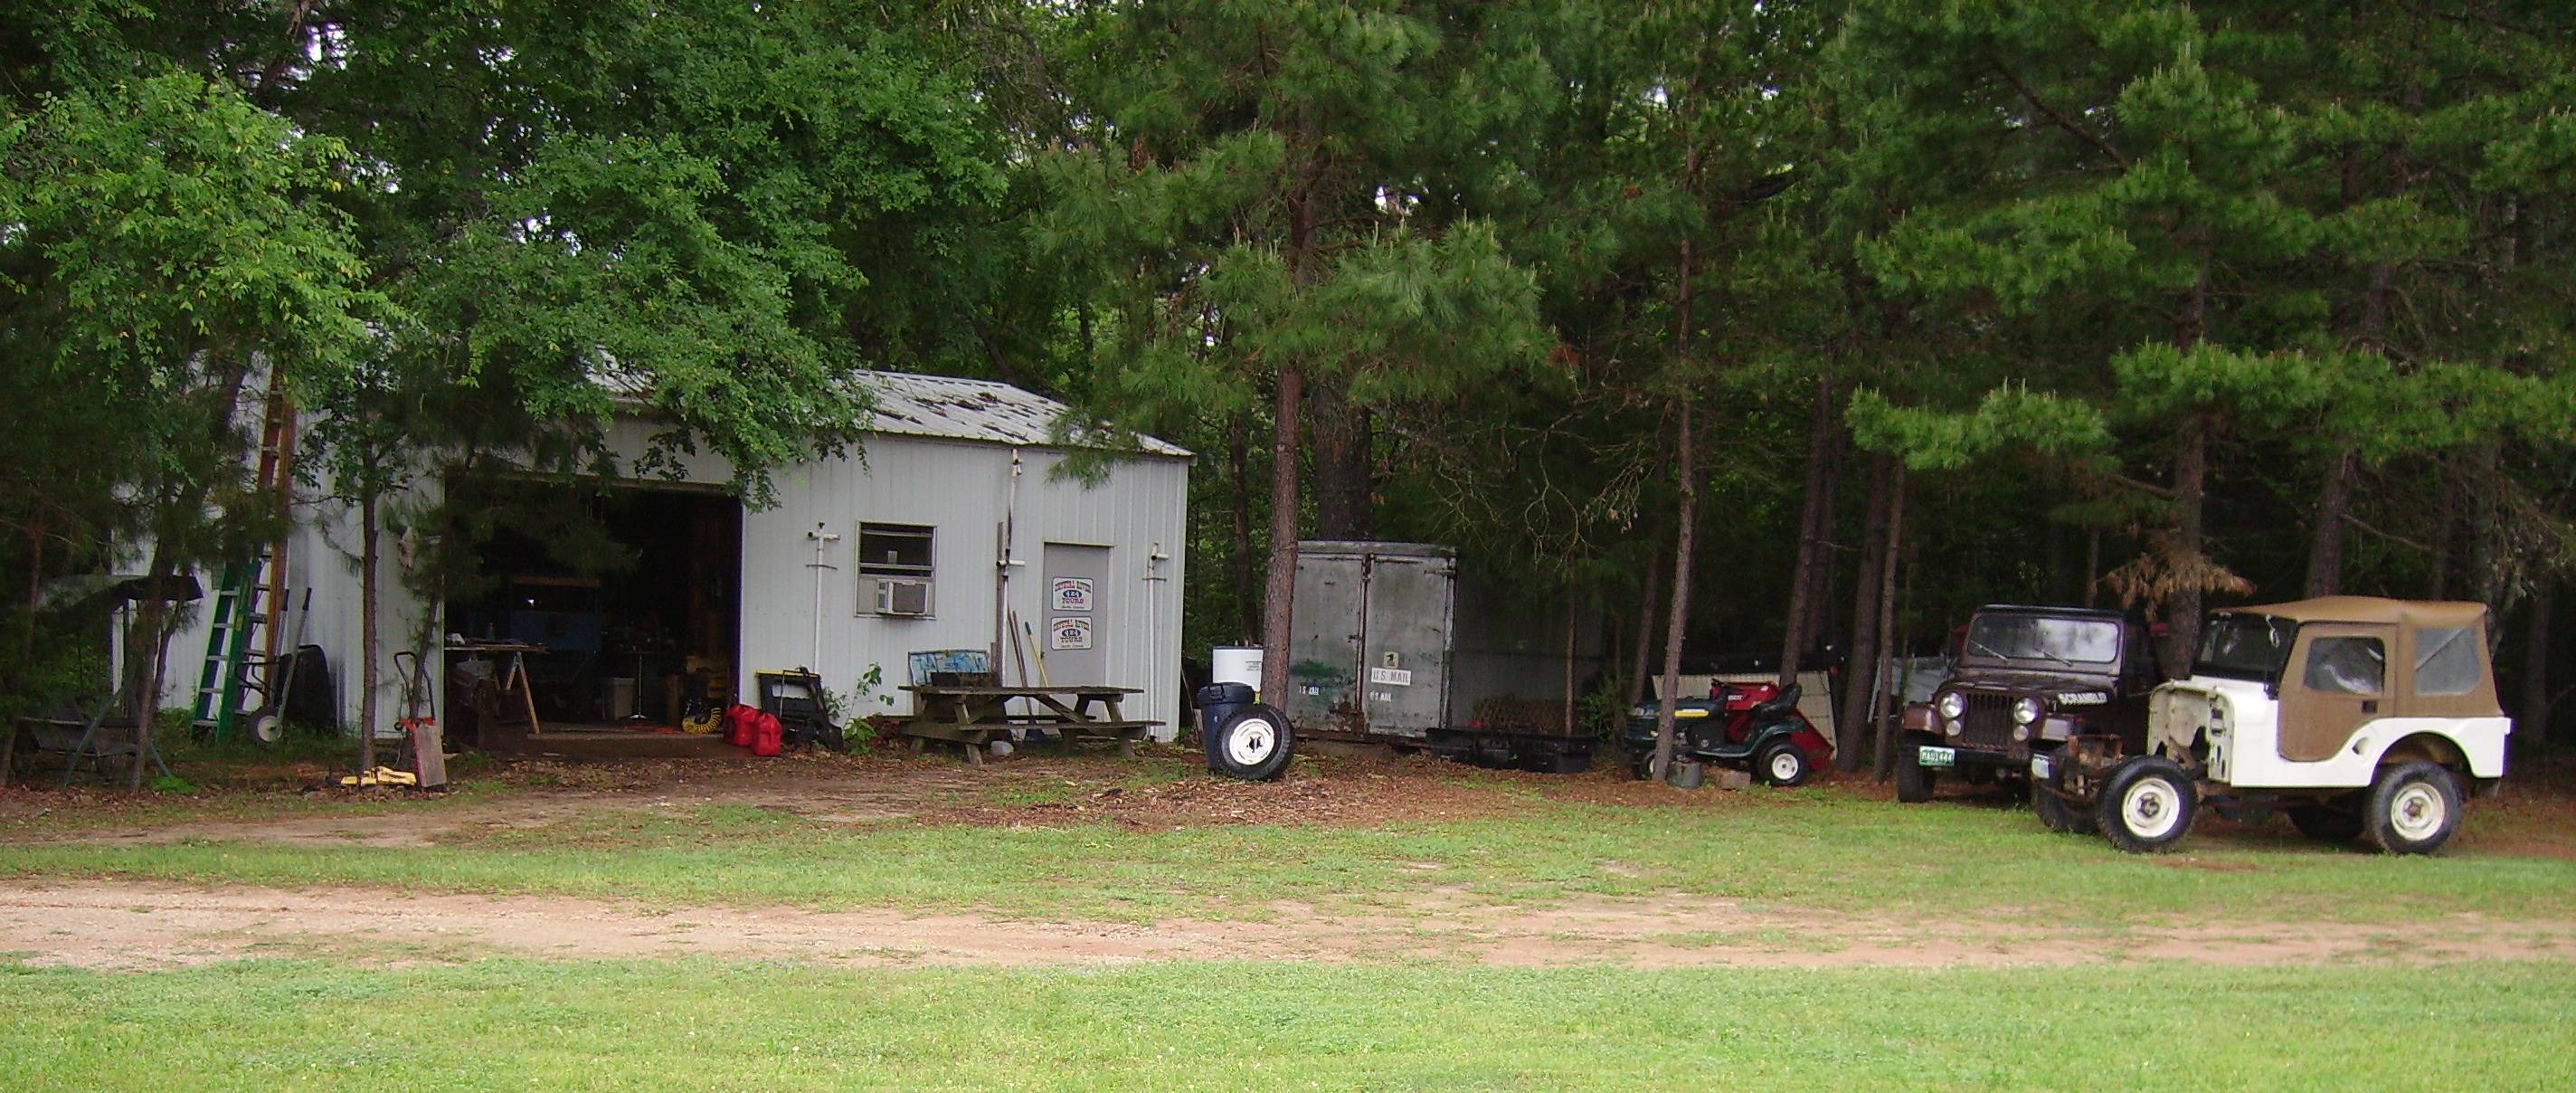
Menu Options:
Home Page.These are pictures taken before and during restoration. Click the thumbnail to see the full size version. Use the browser return button to come back to this page. The Smittys Willys logo button will take you to the home page.
Pictures, Completed Restoration.
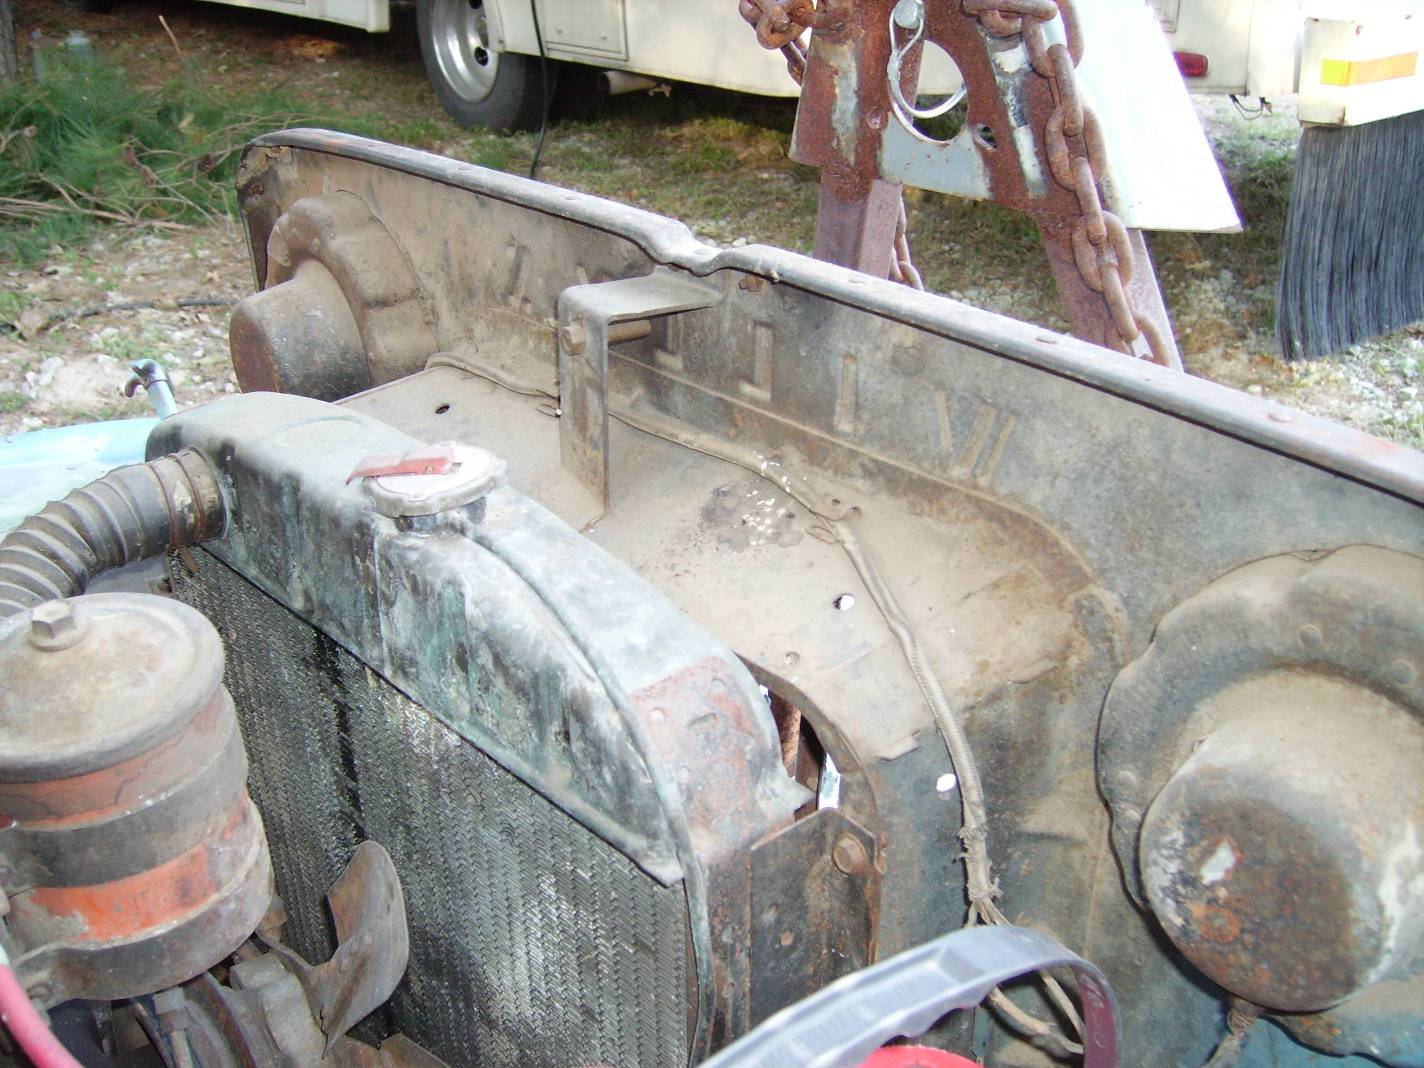
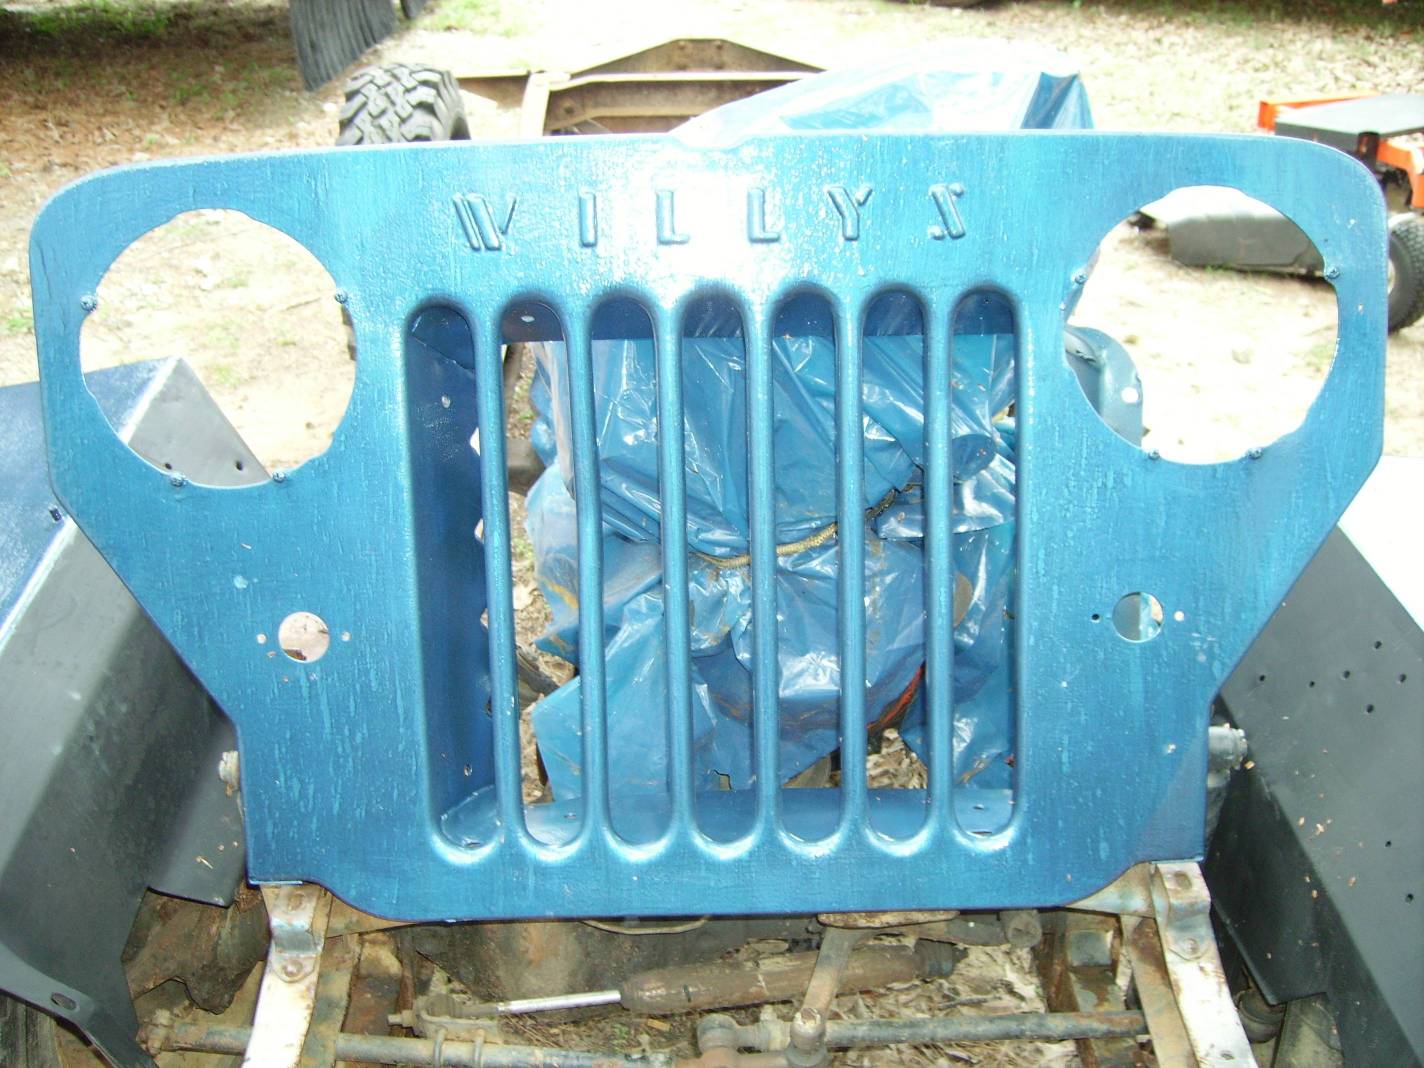
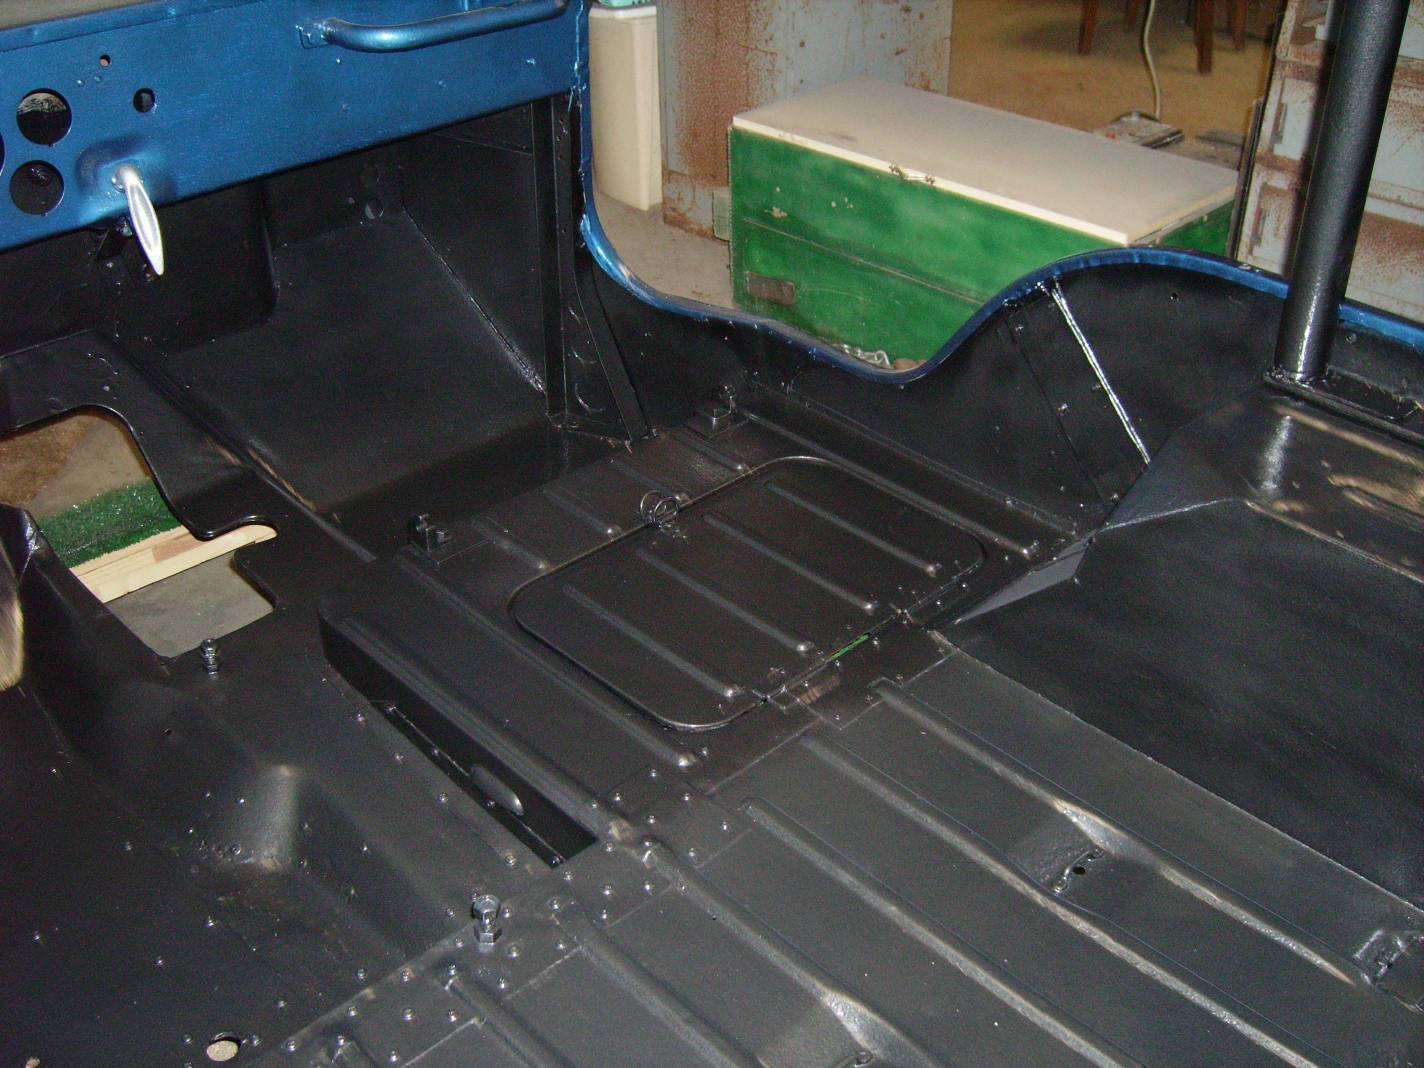
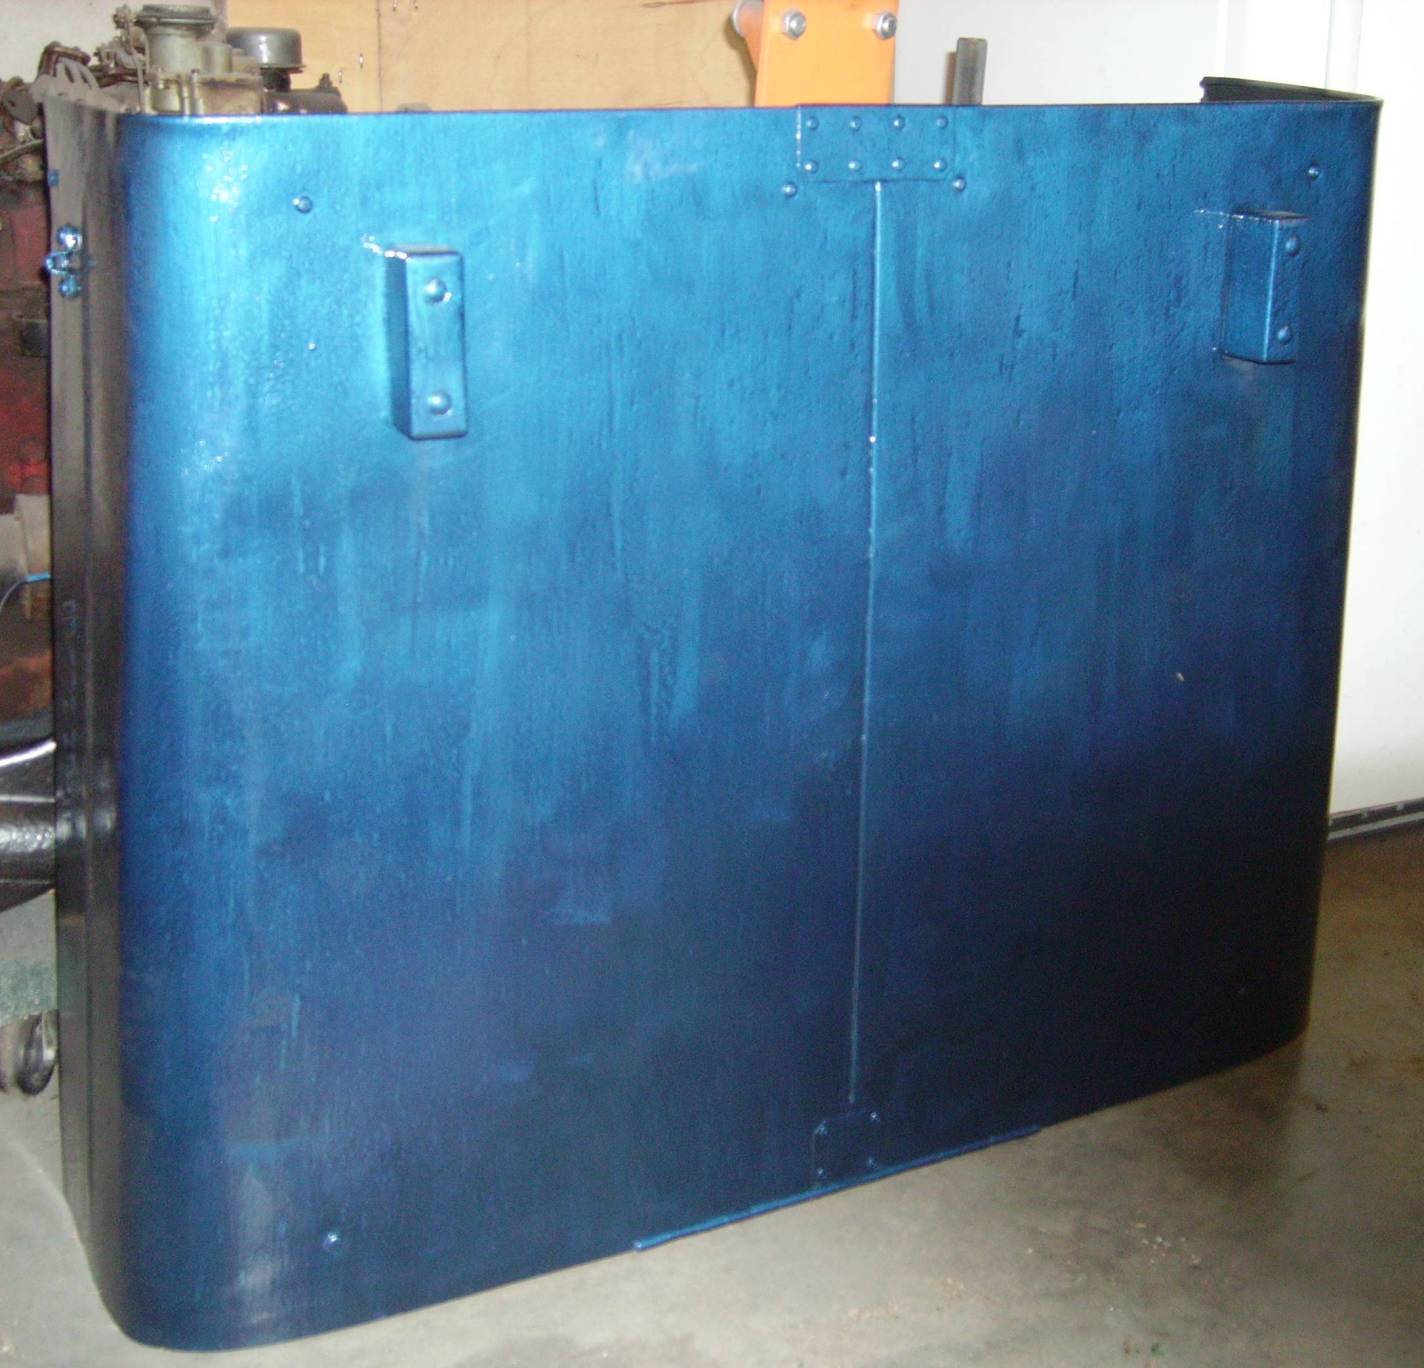
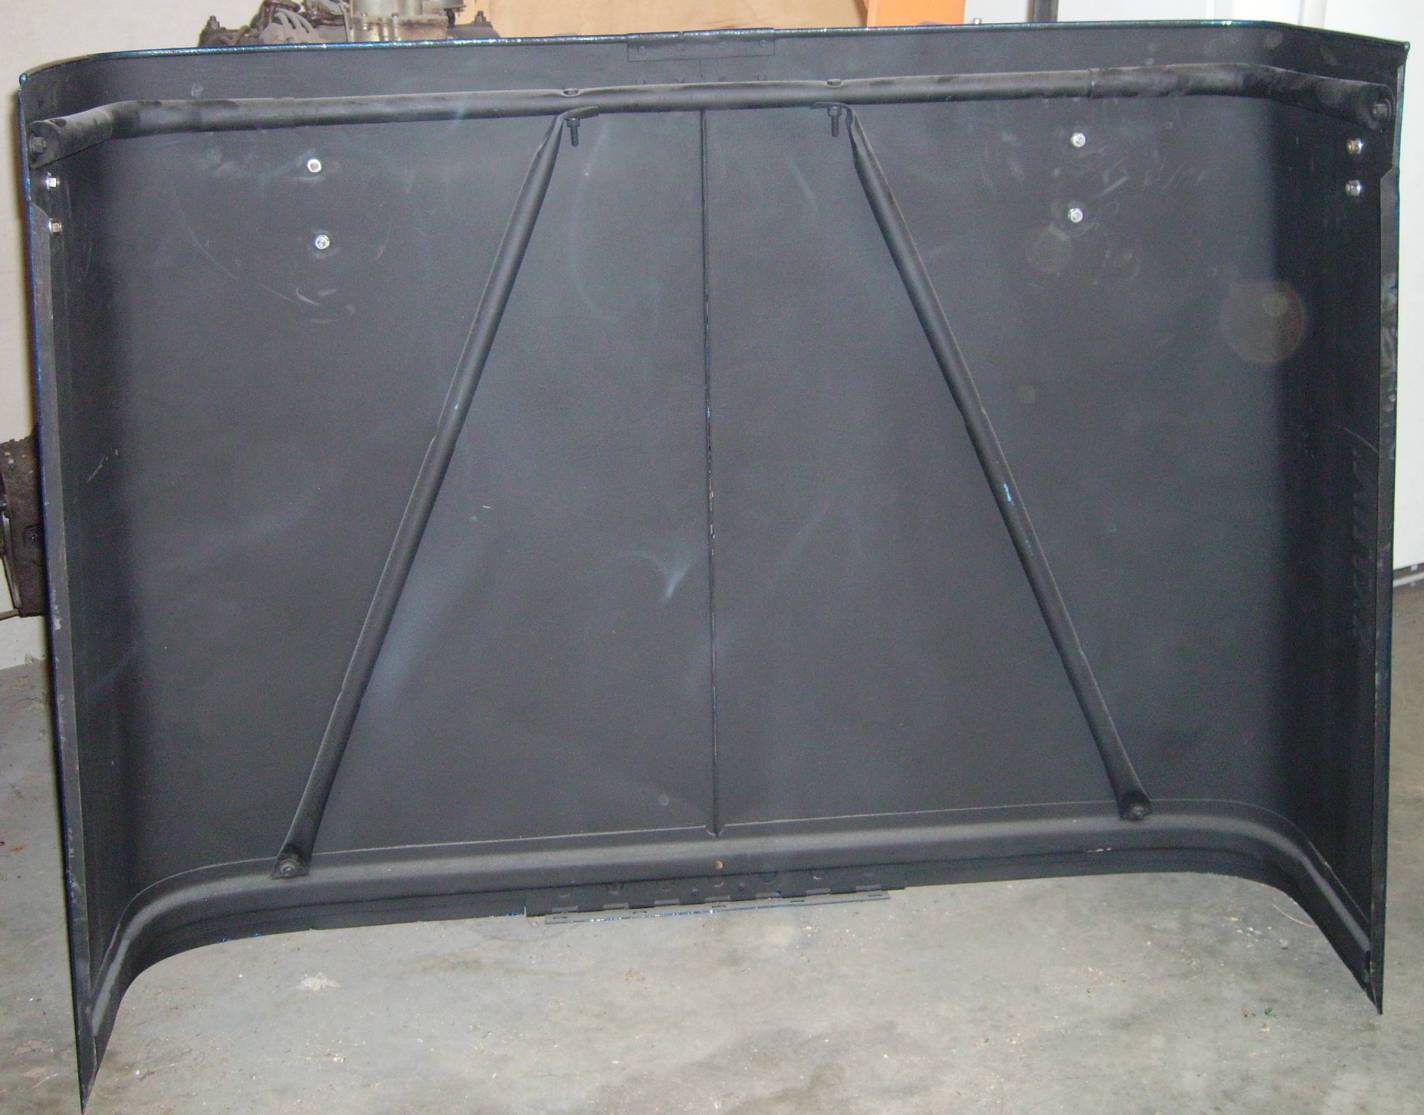
BODY (April 2007)
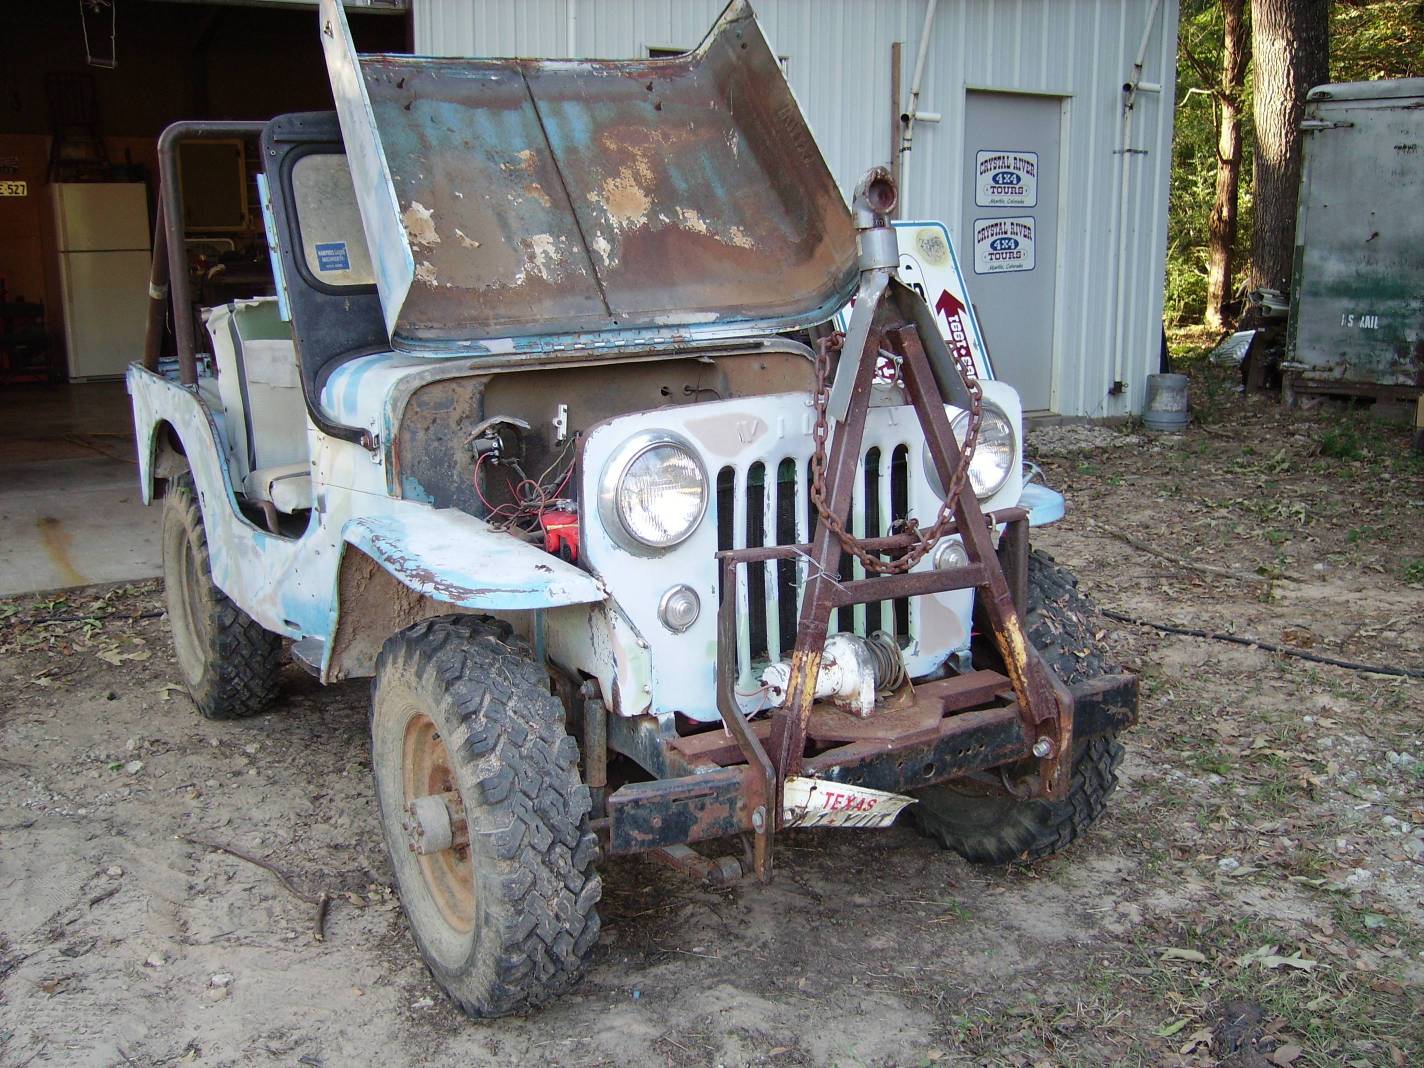


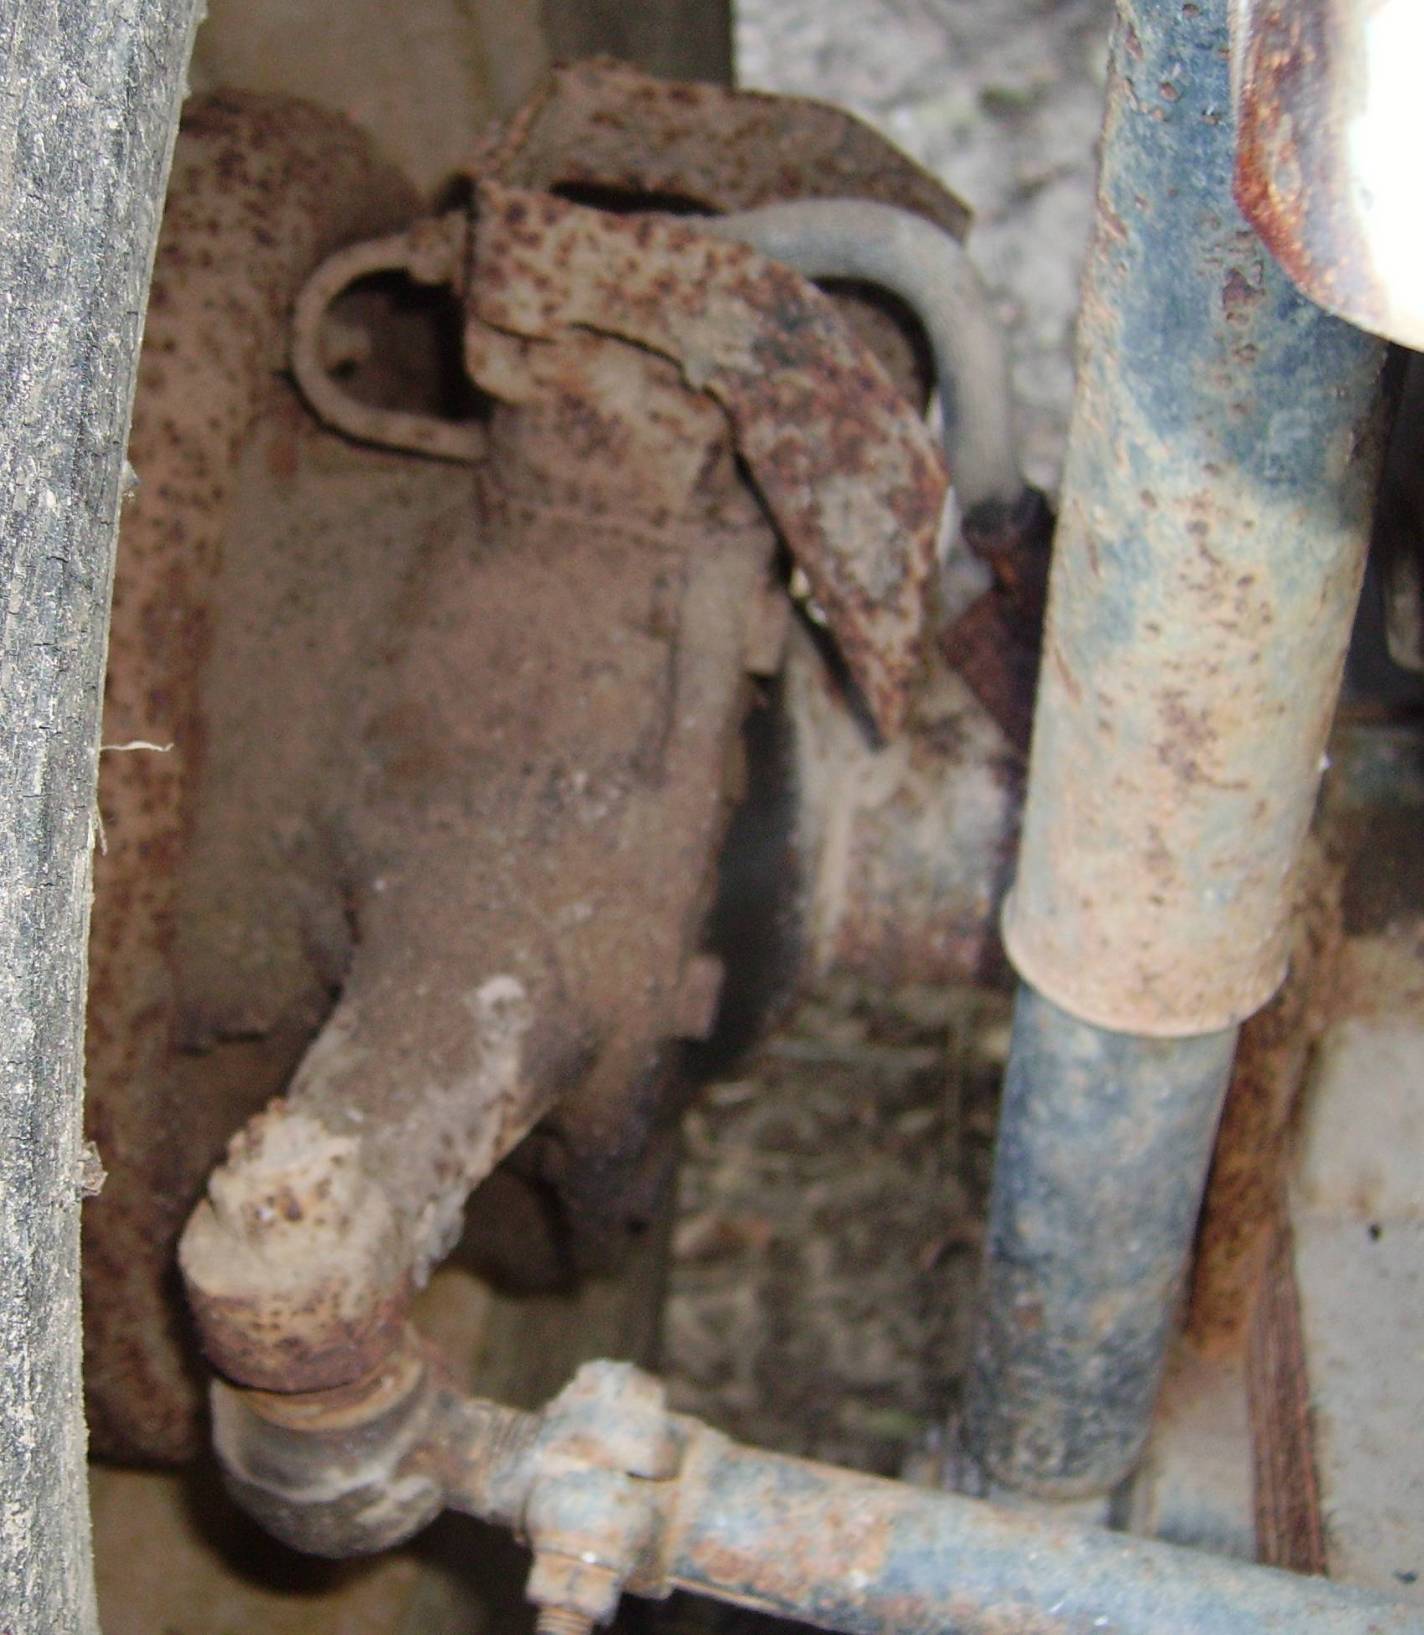
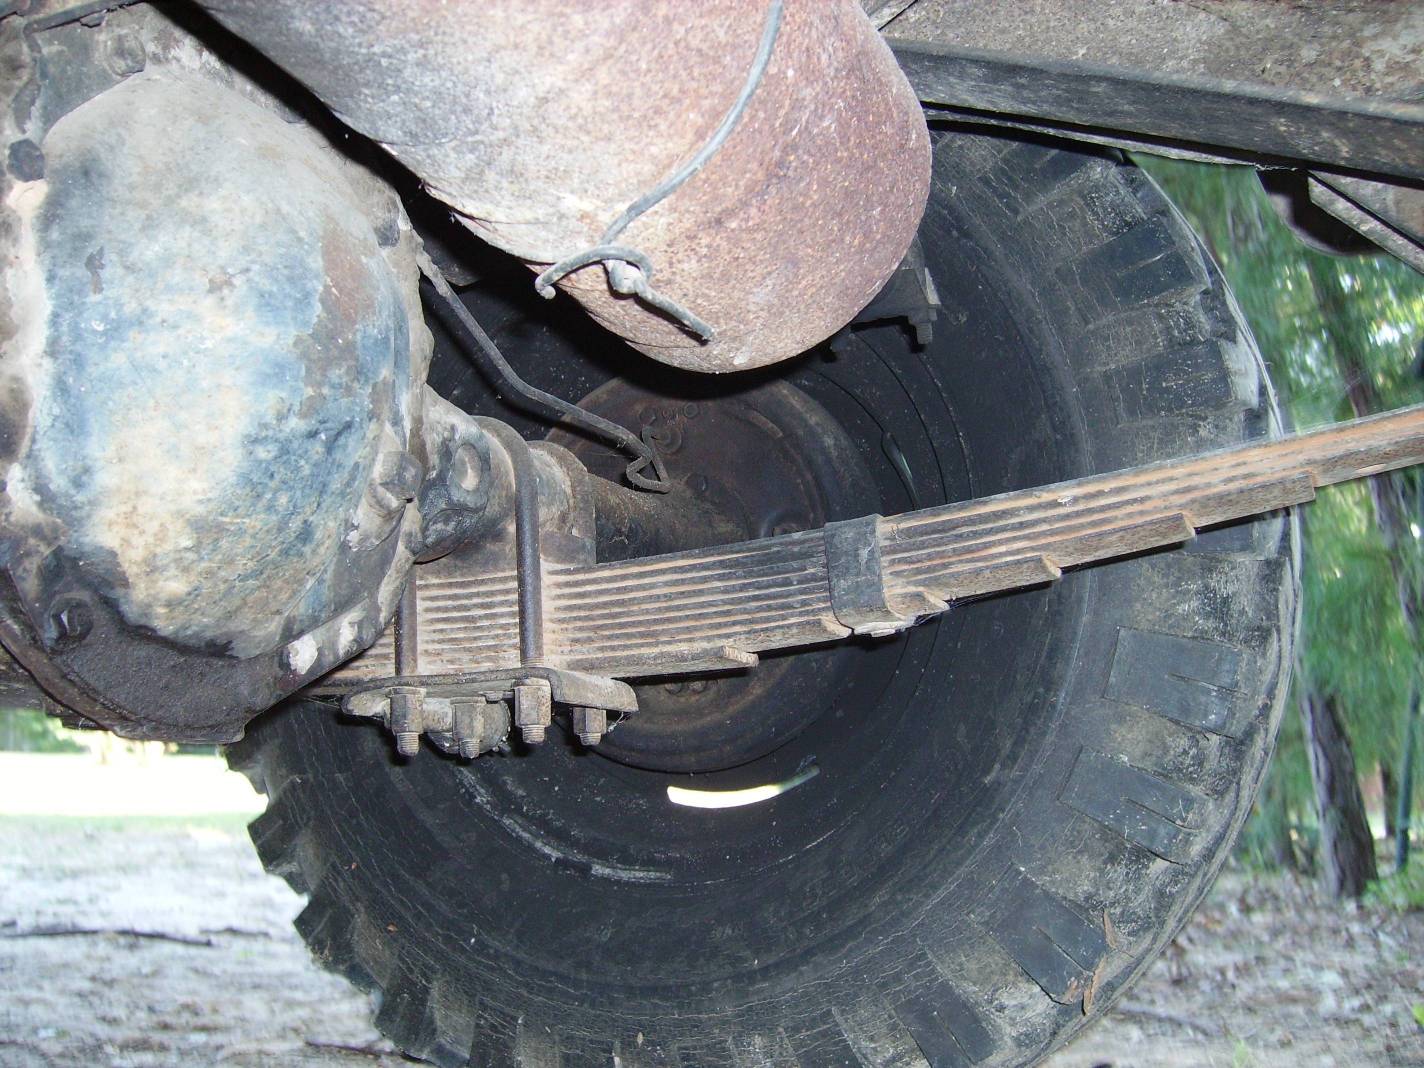
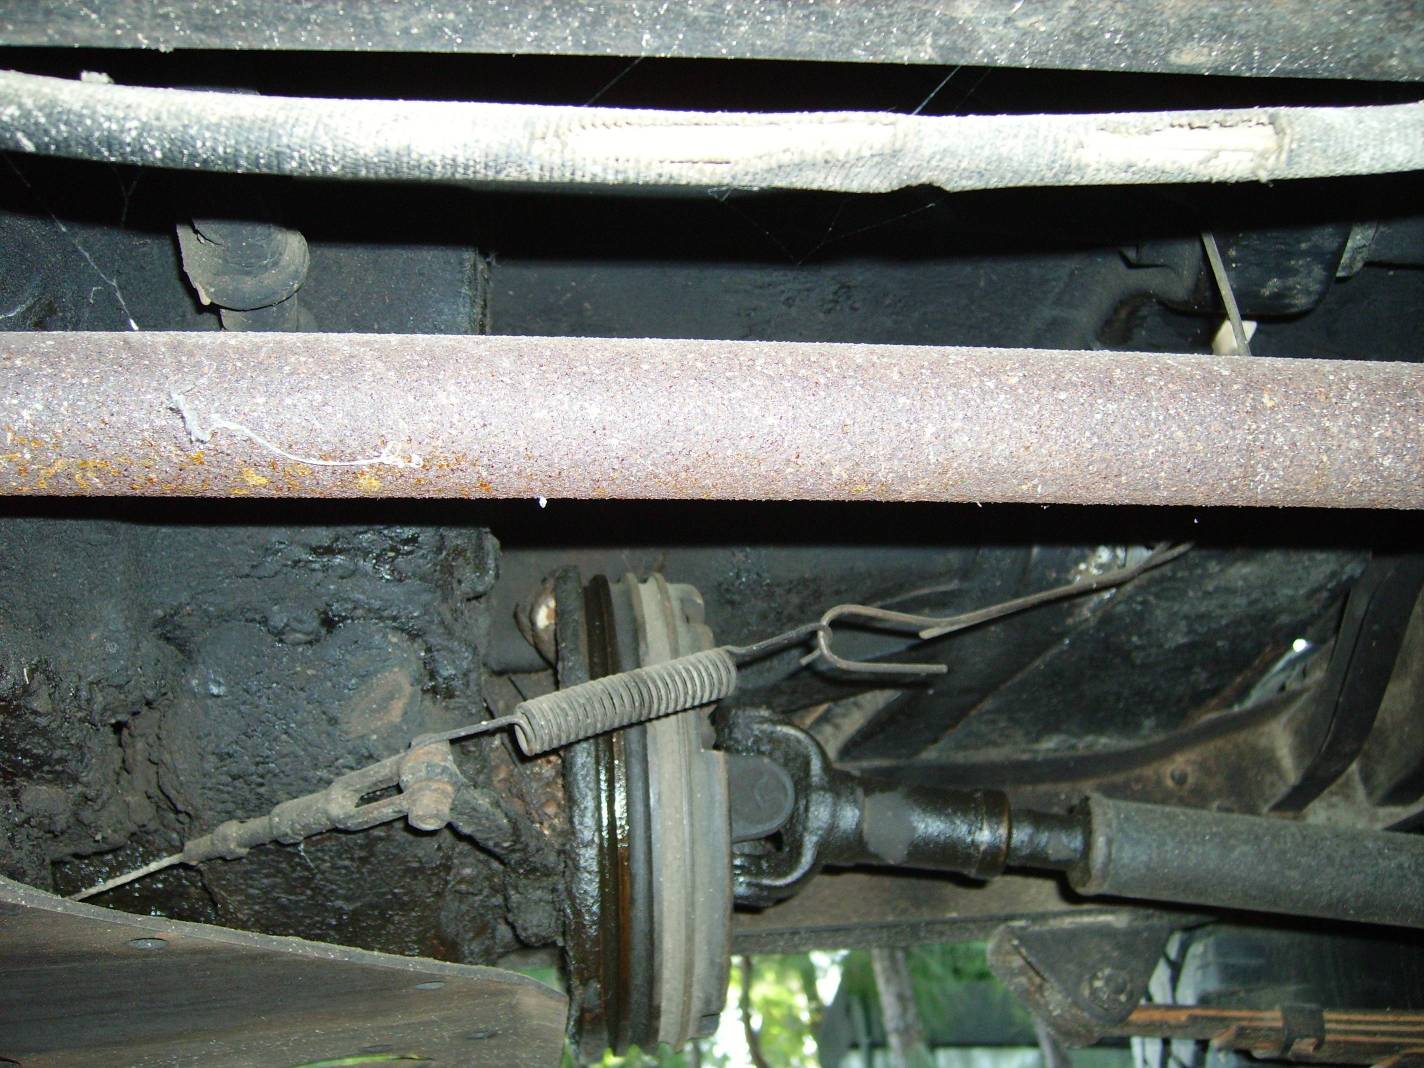
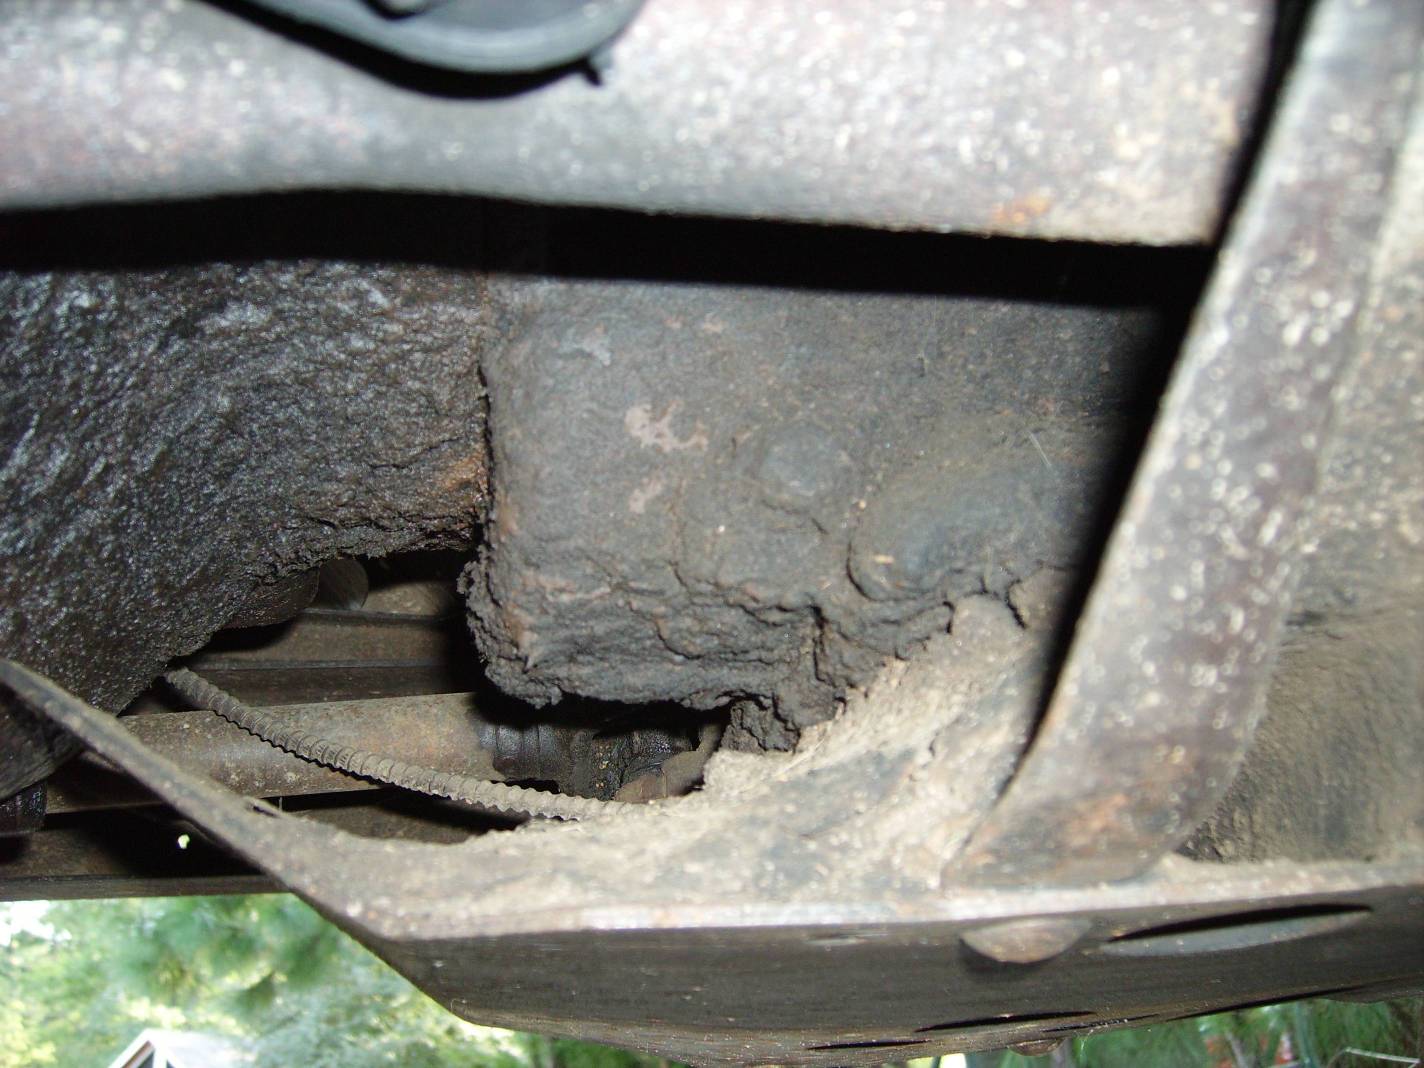
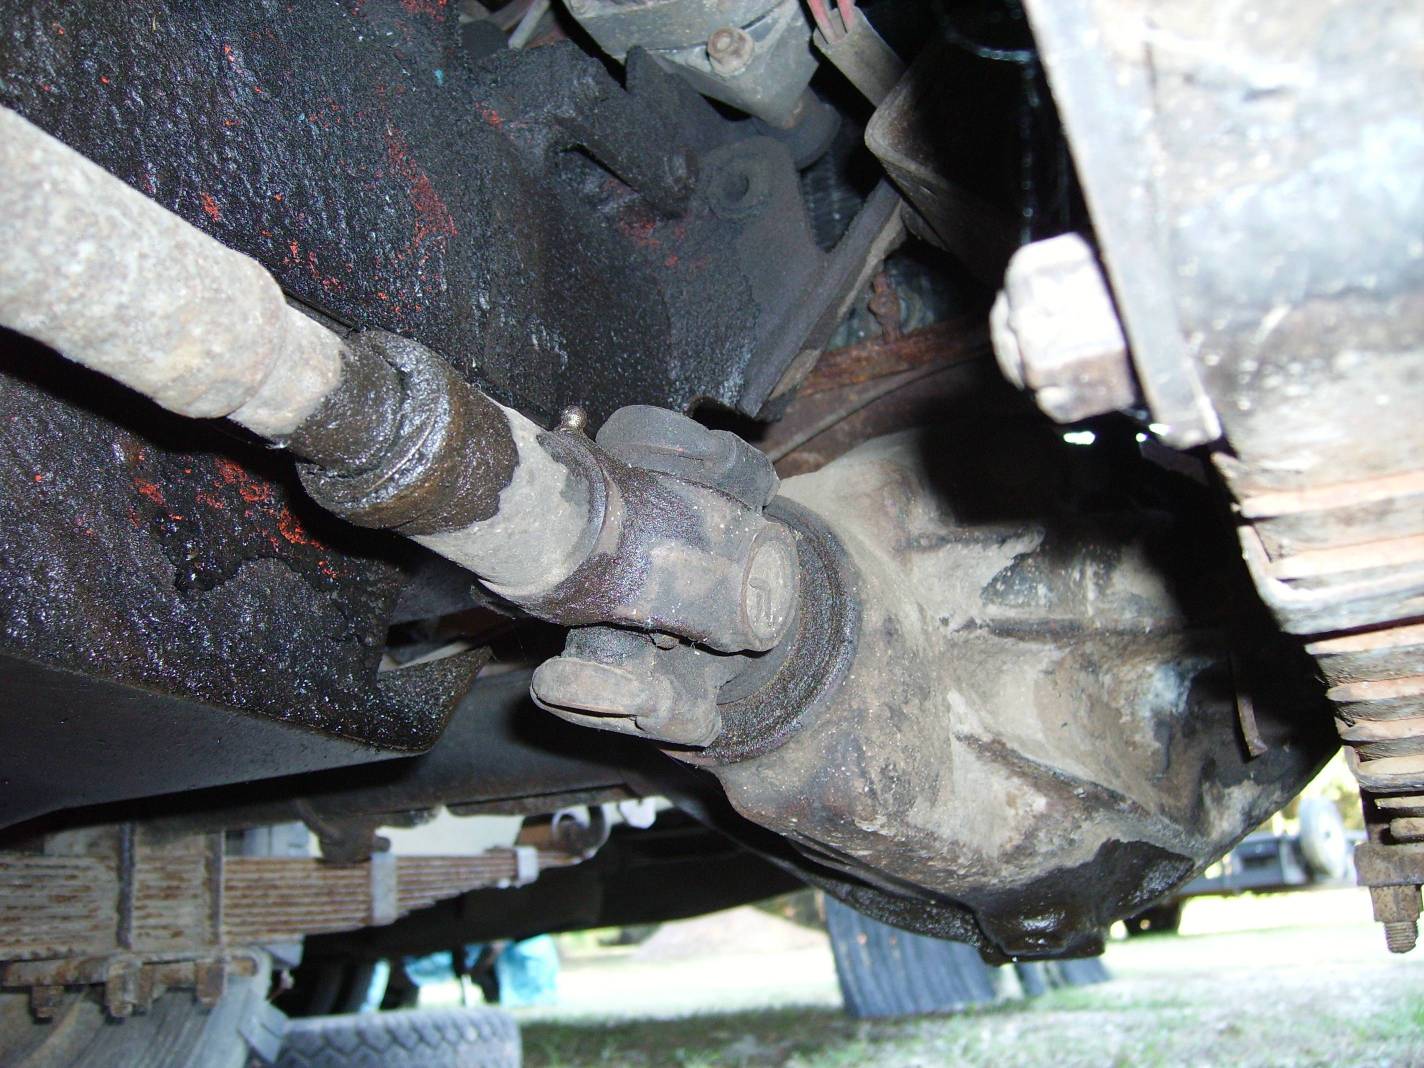
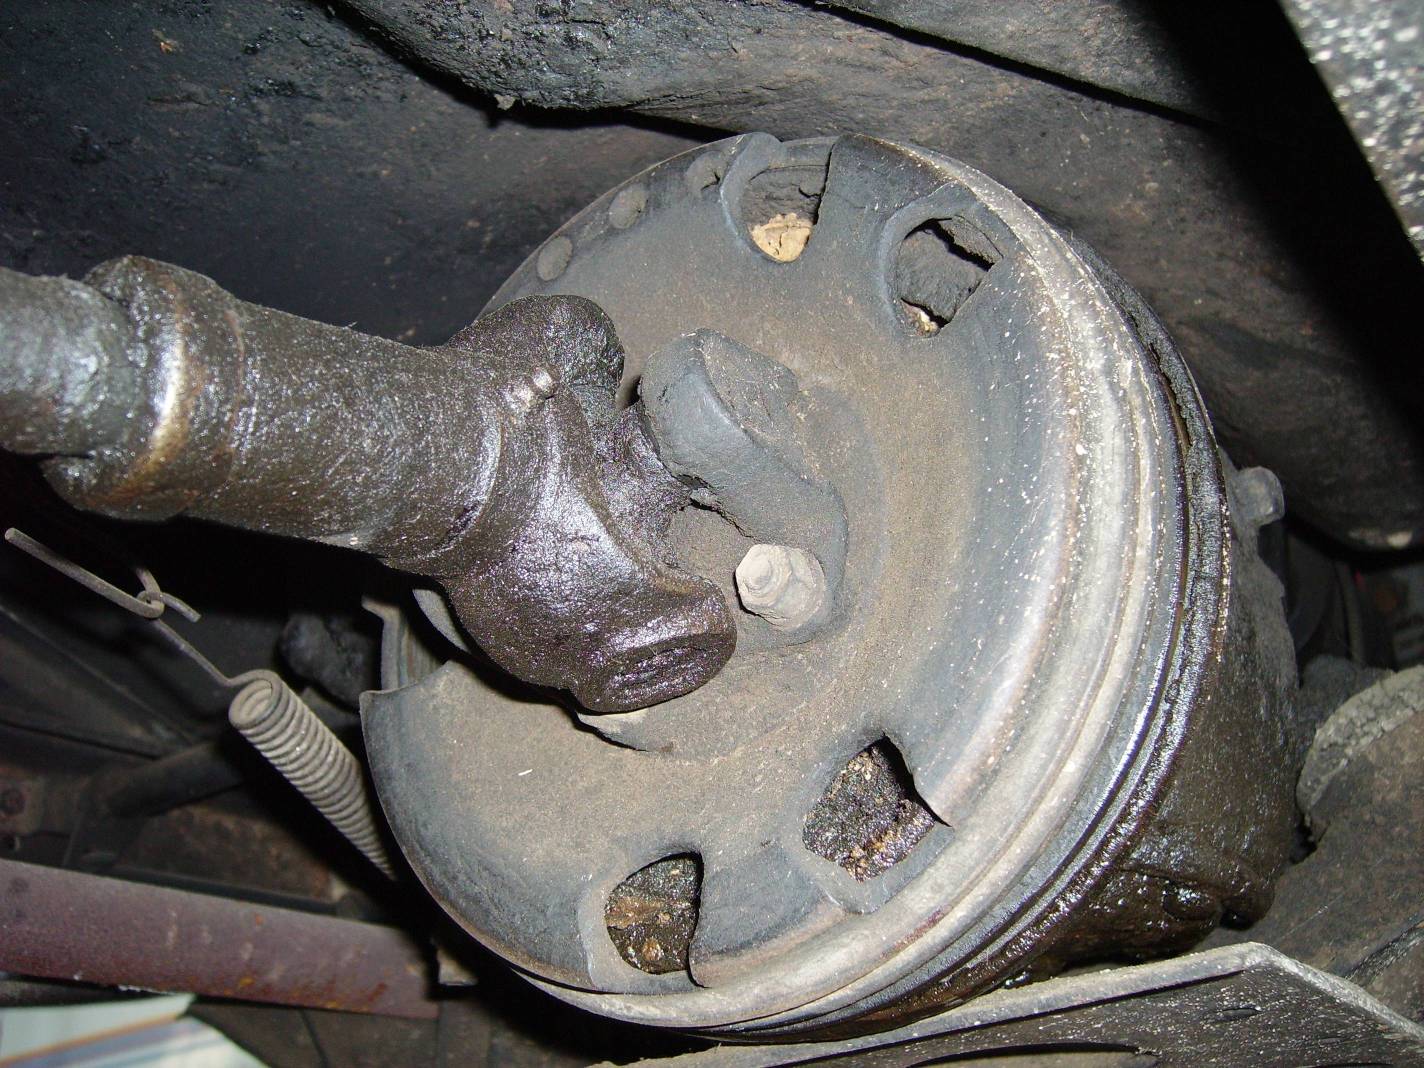
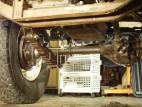
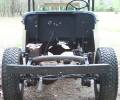
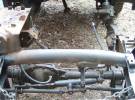
CHASSIS / DRIVETRAIN (April 2007)


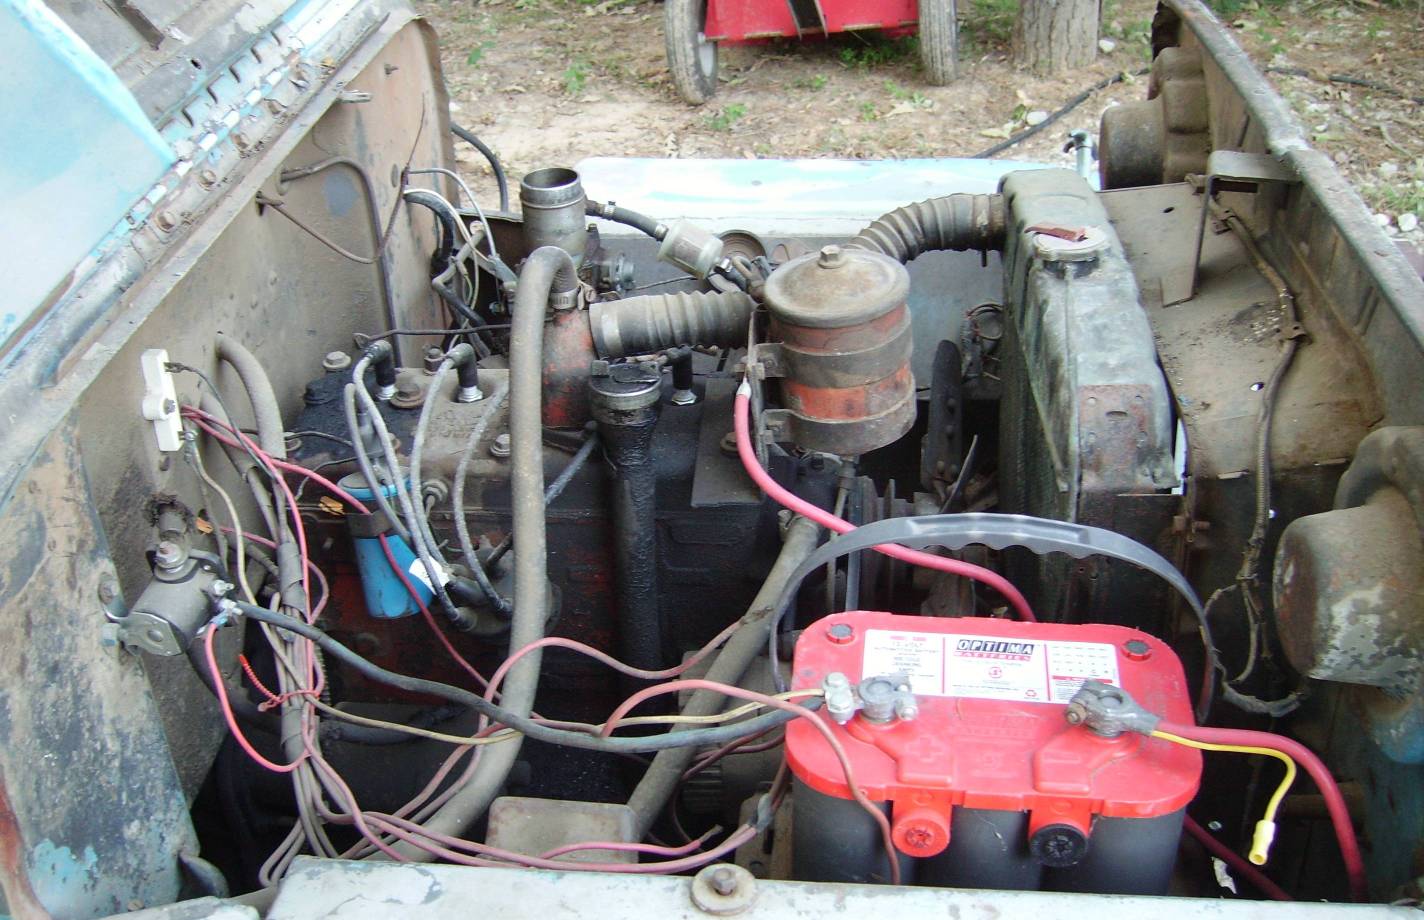
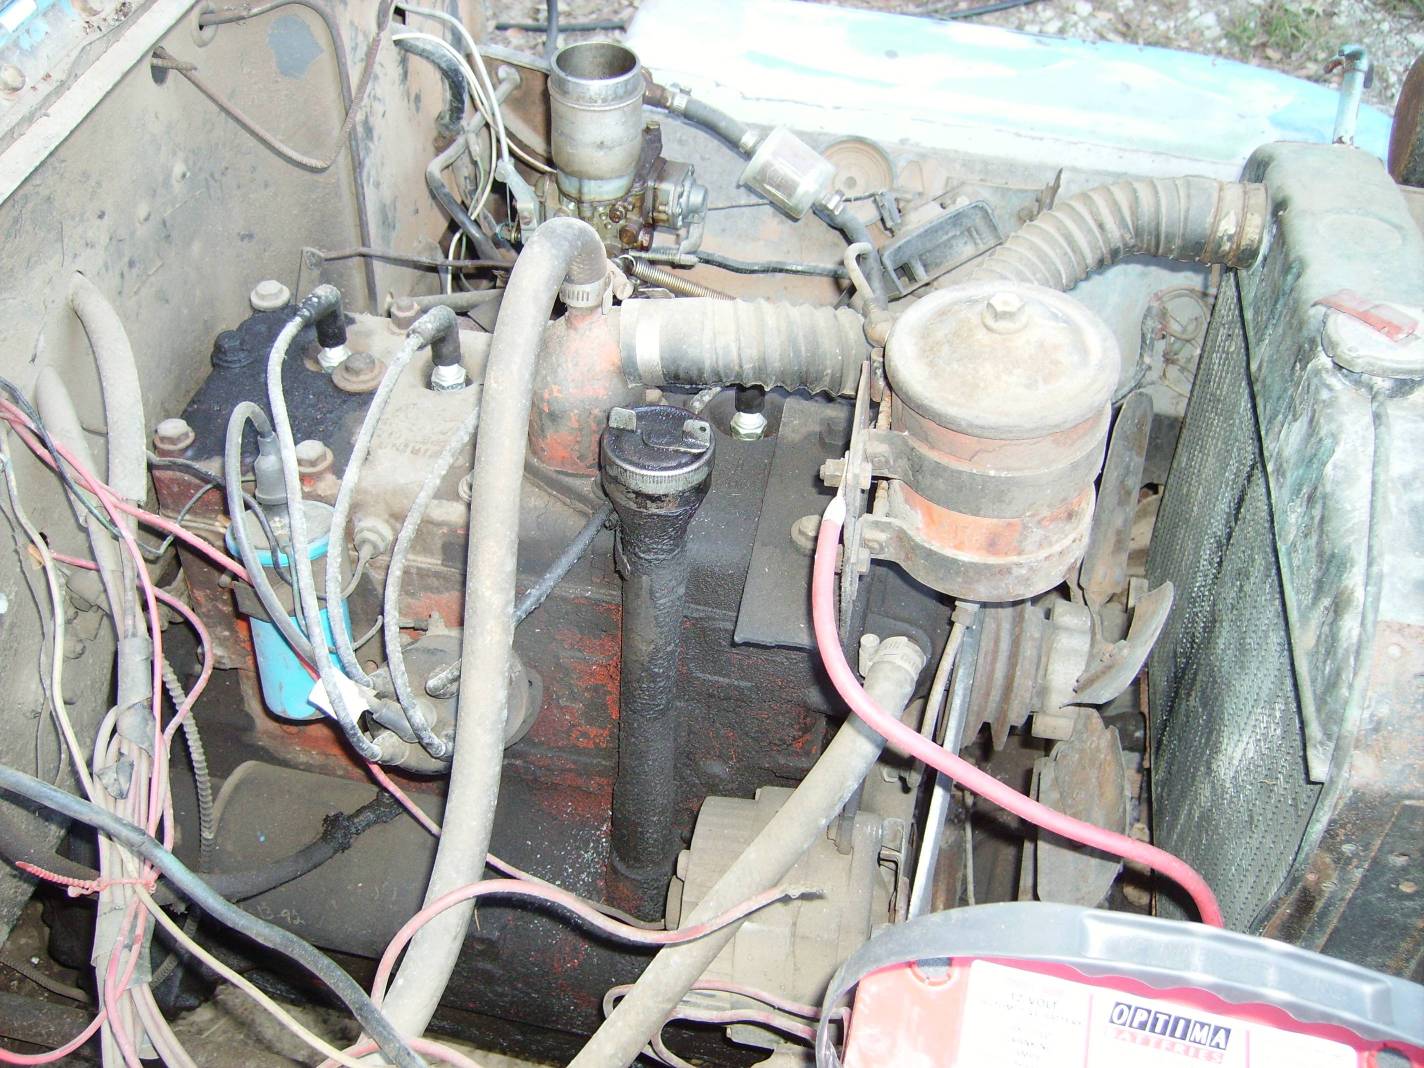
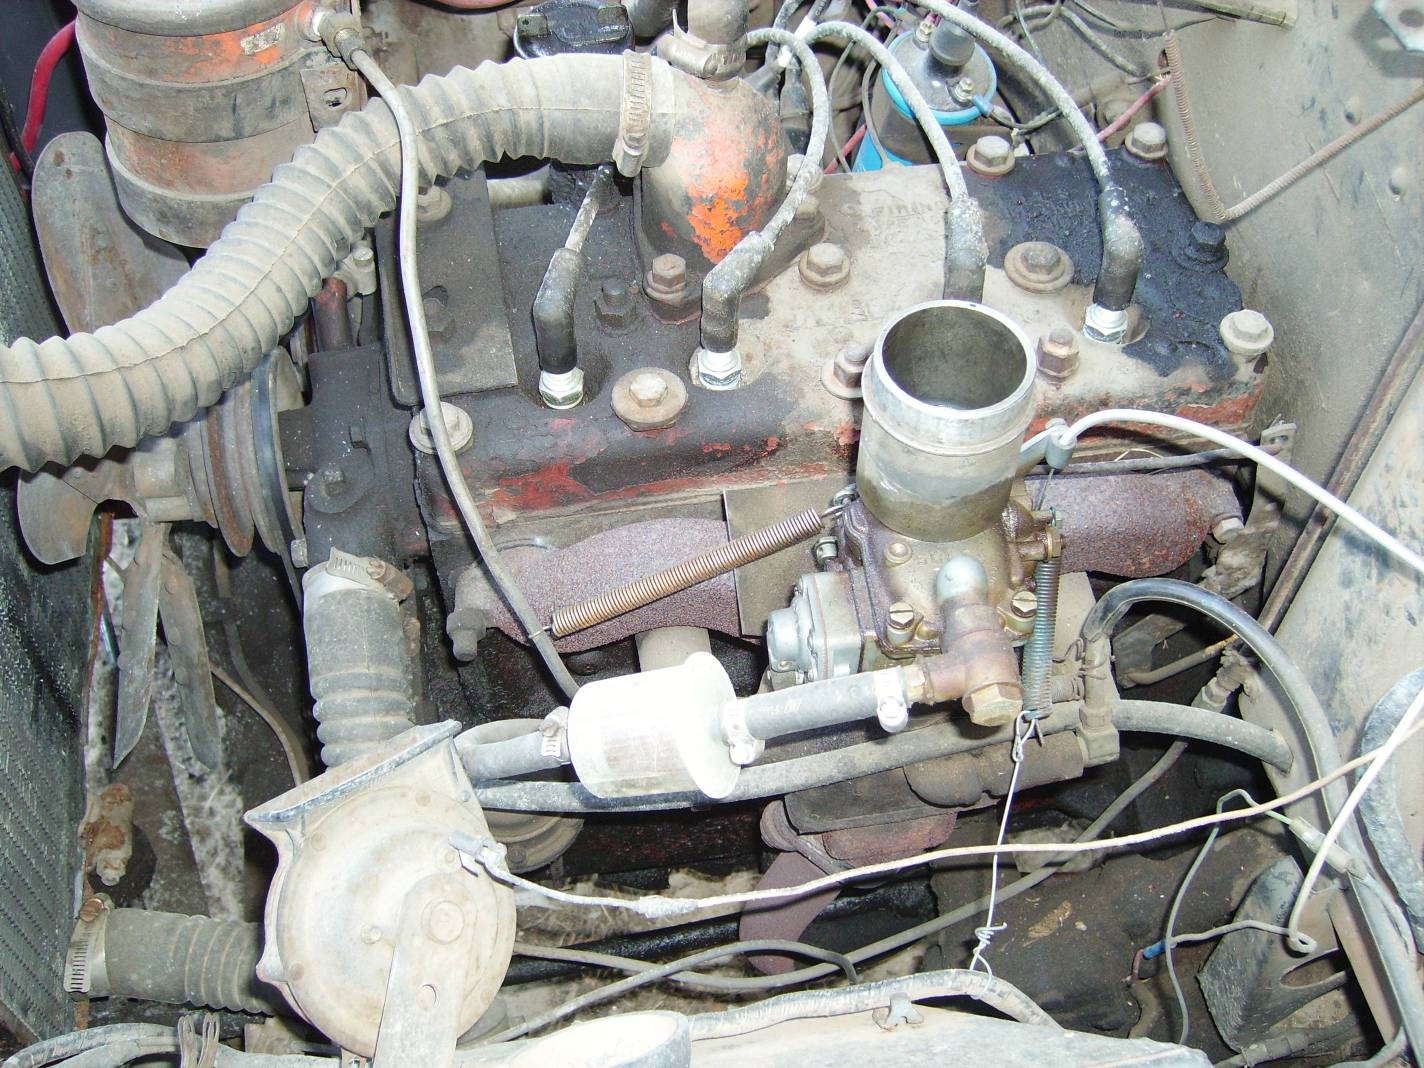
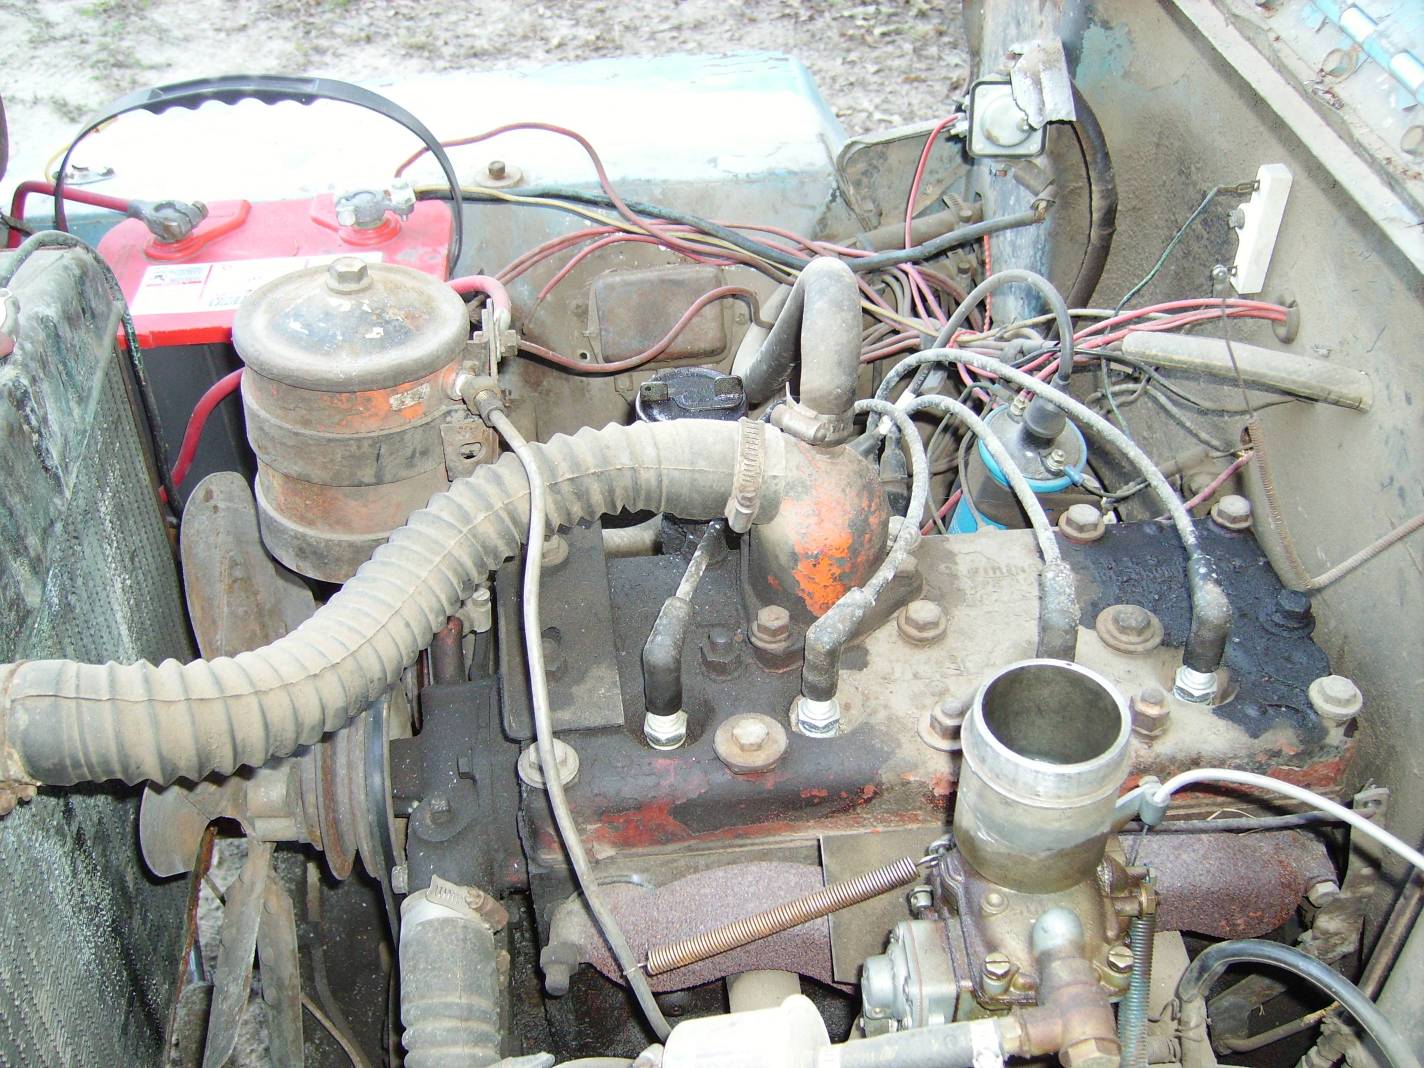
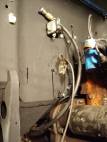
ENGINE (April 2007)
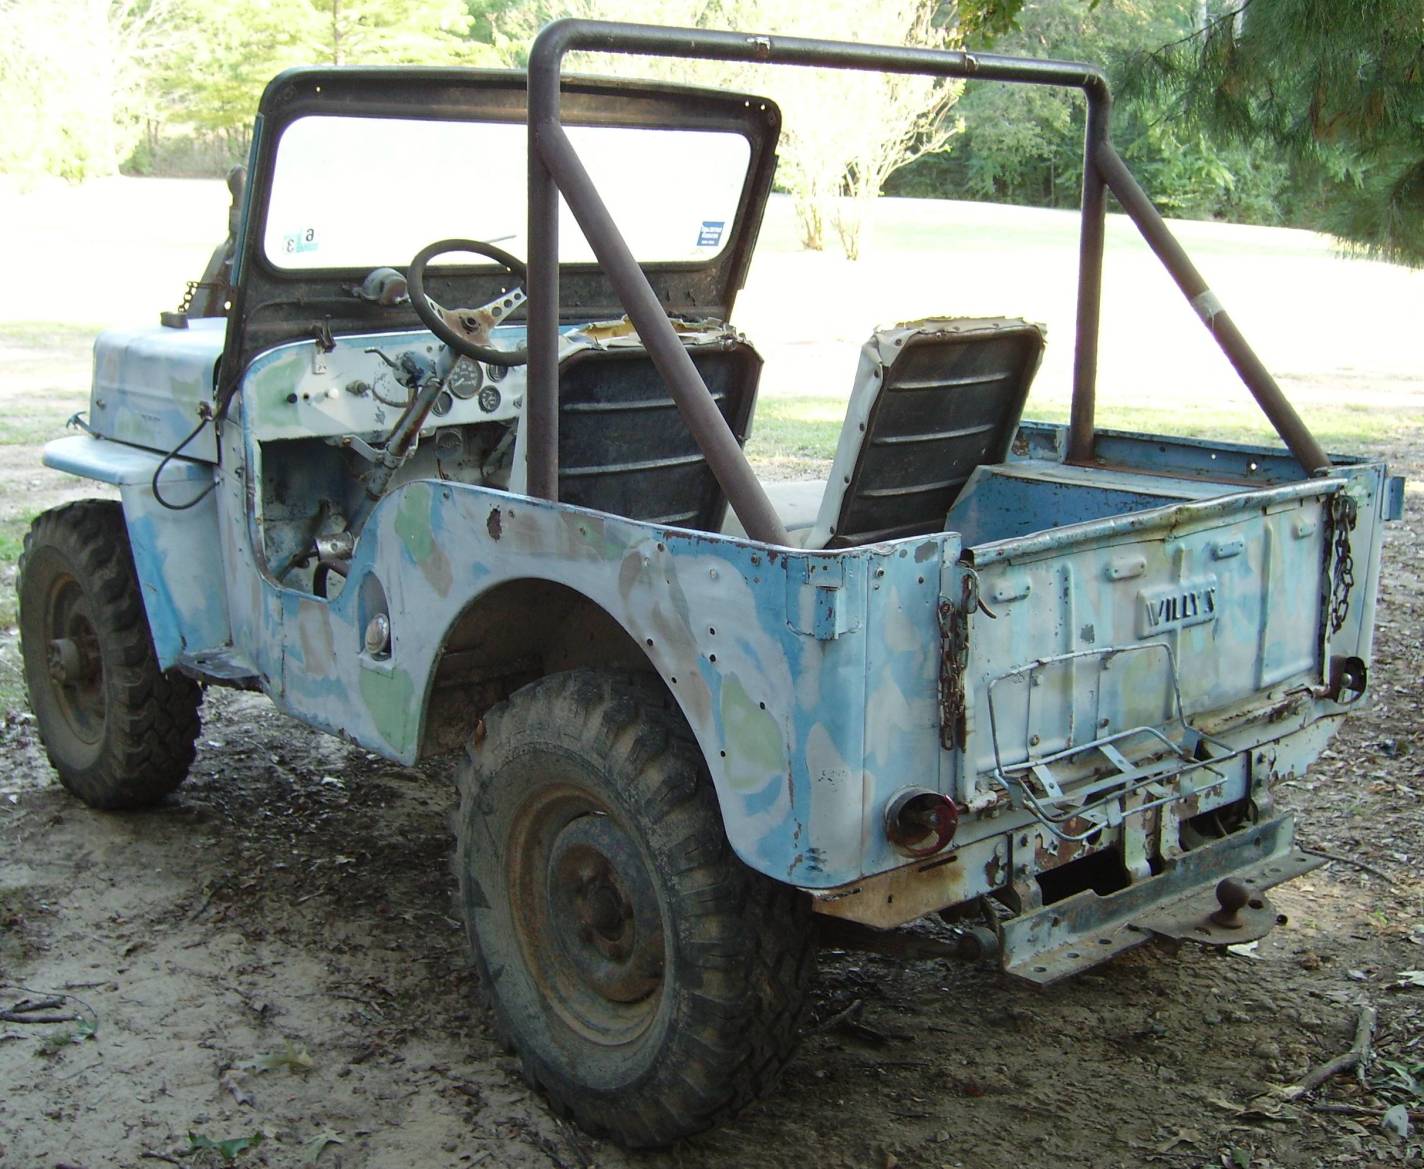
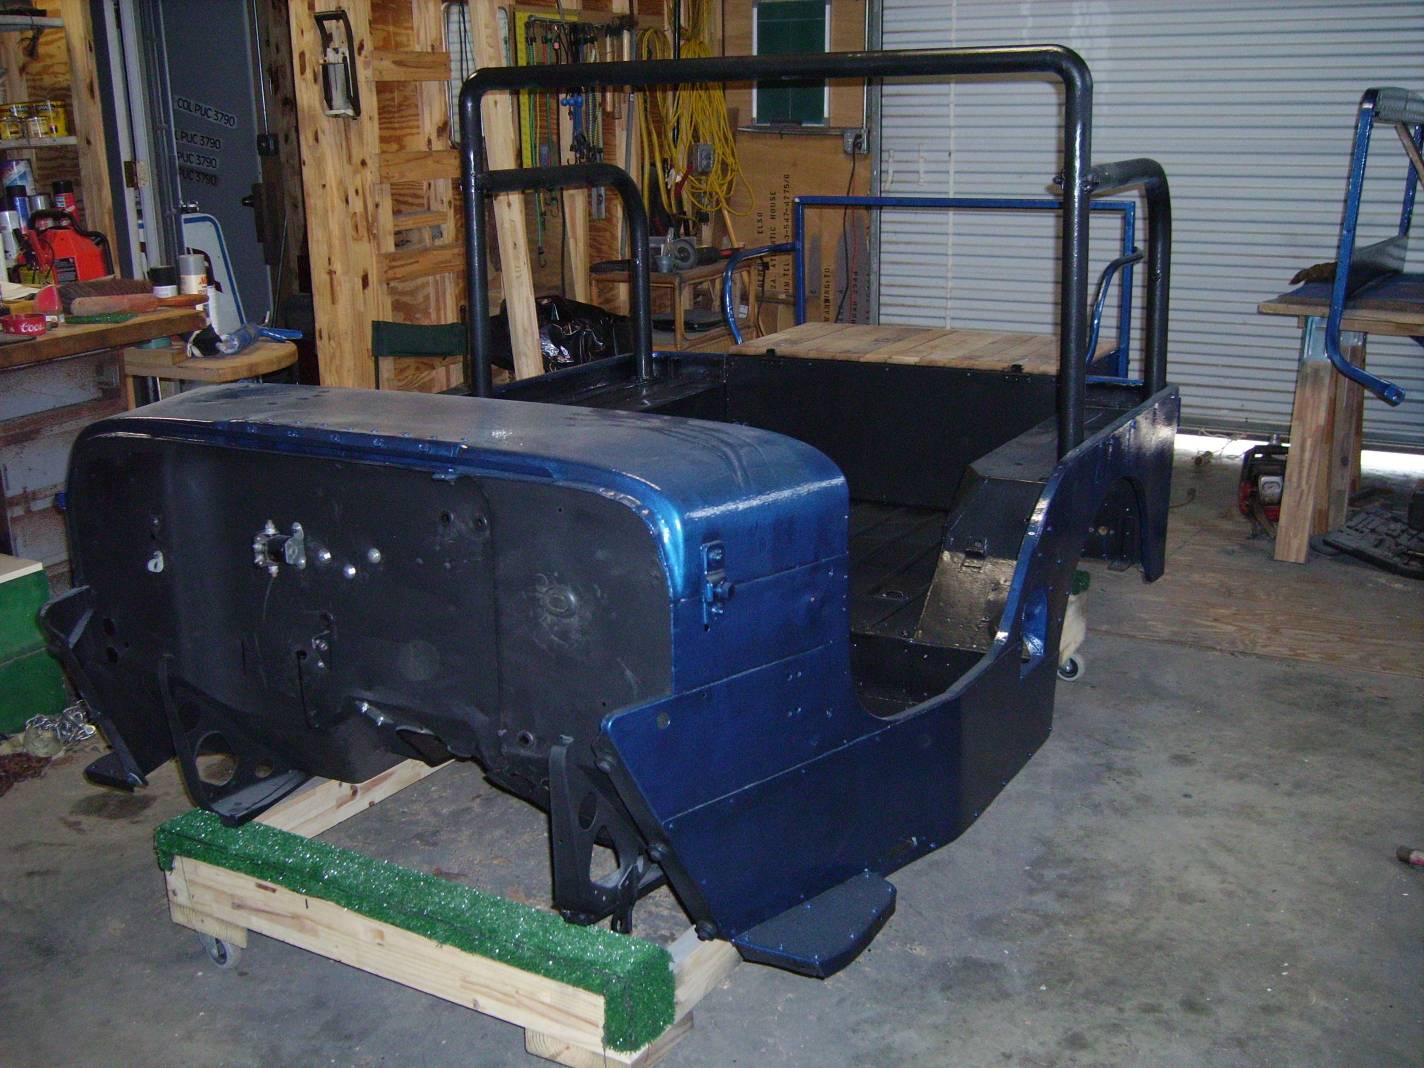
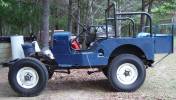
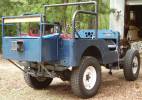
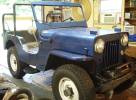
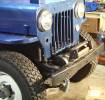
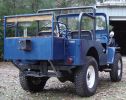
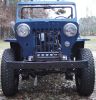
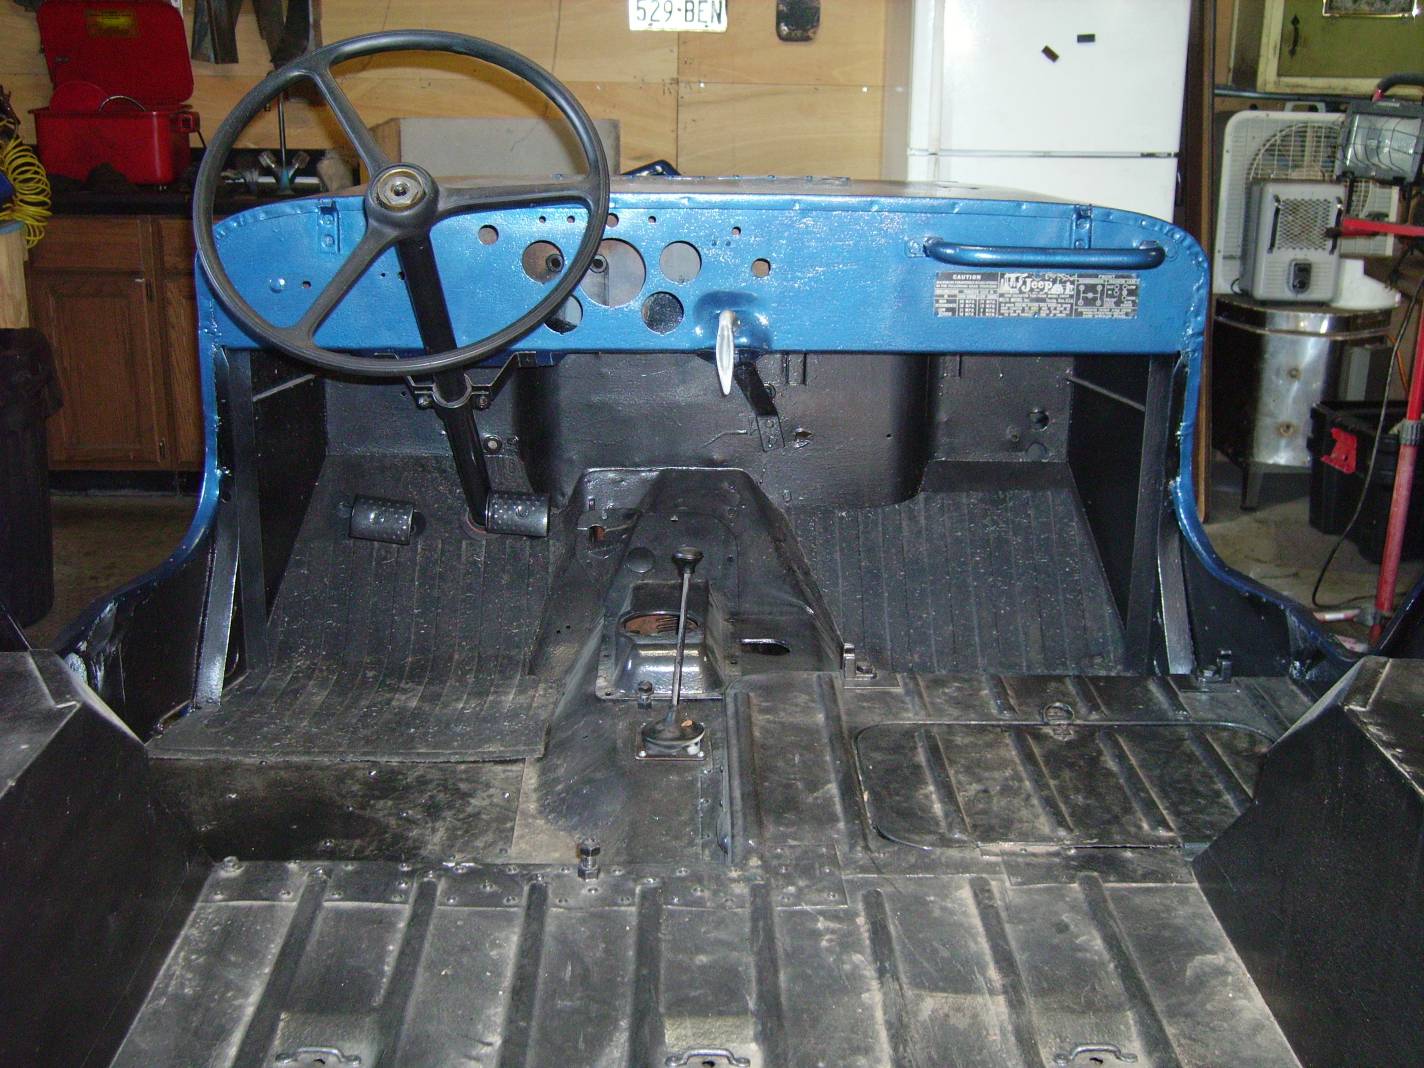
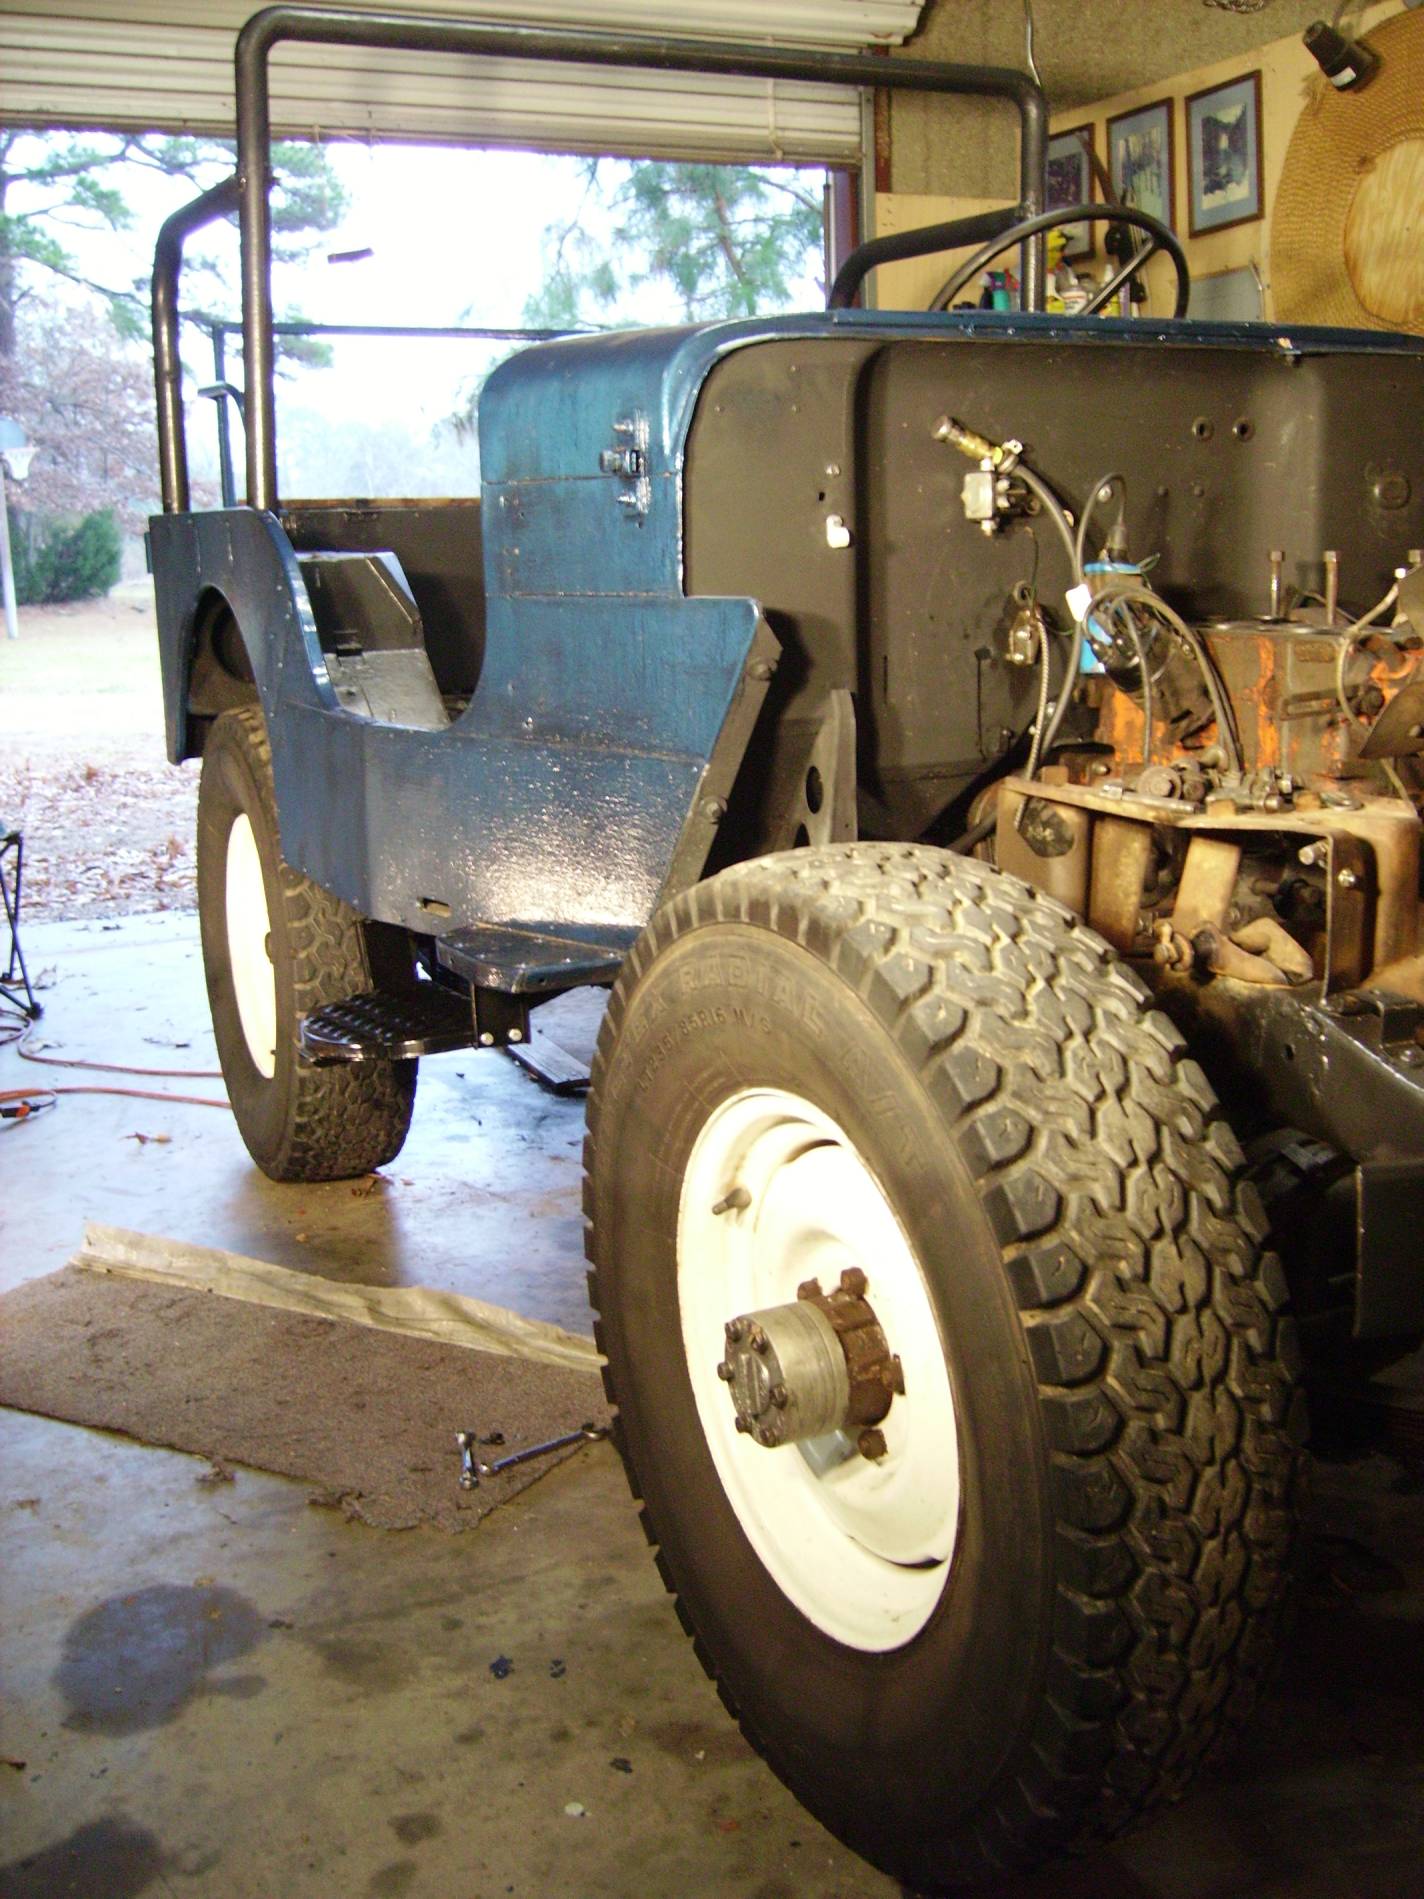
BODY (after restoration, March 2008)
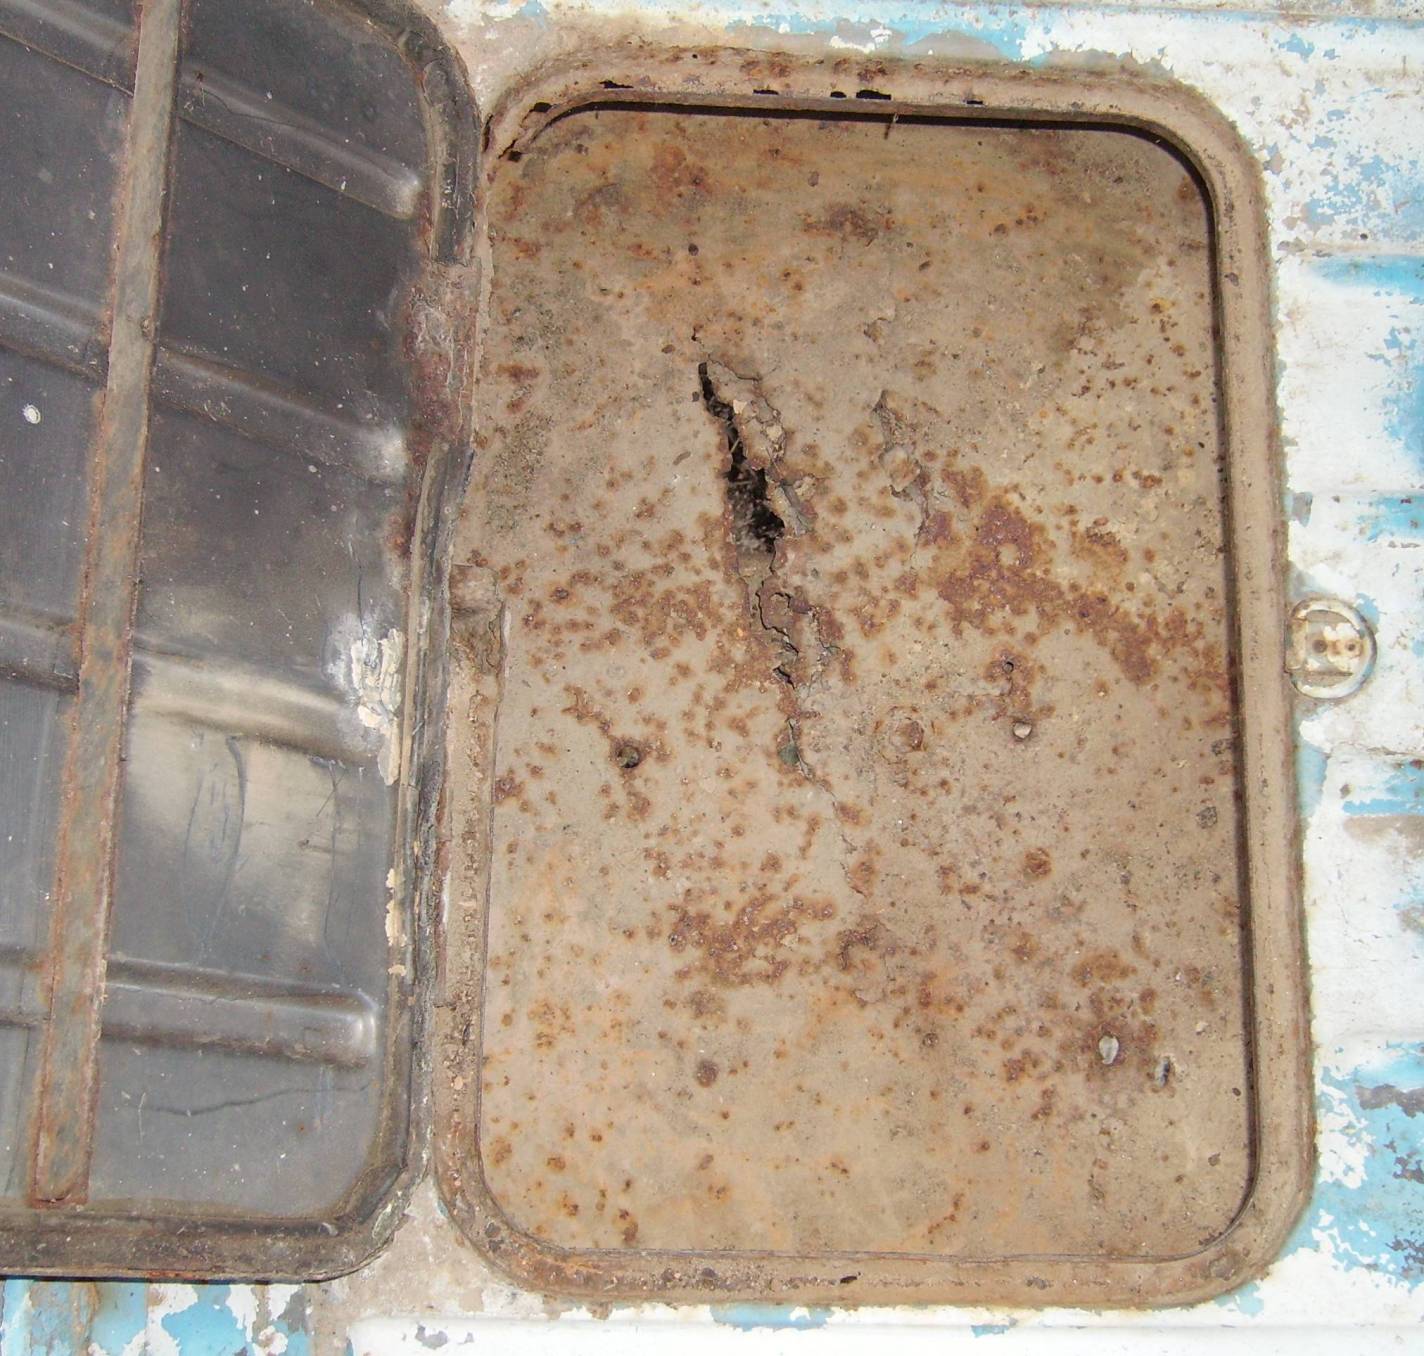
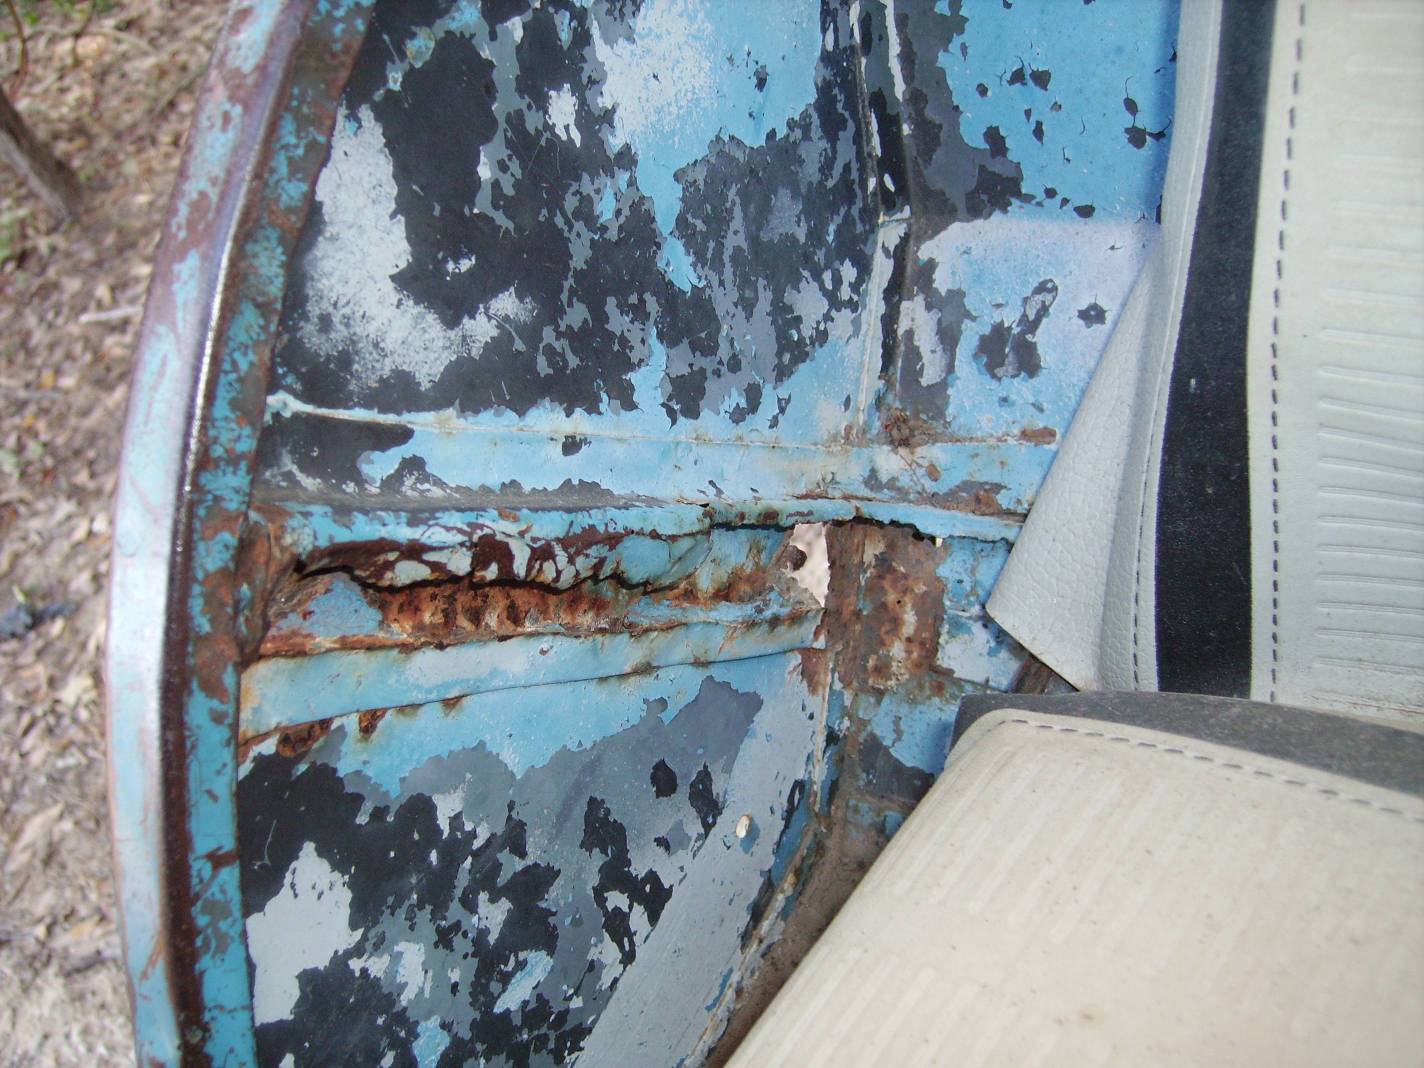
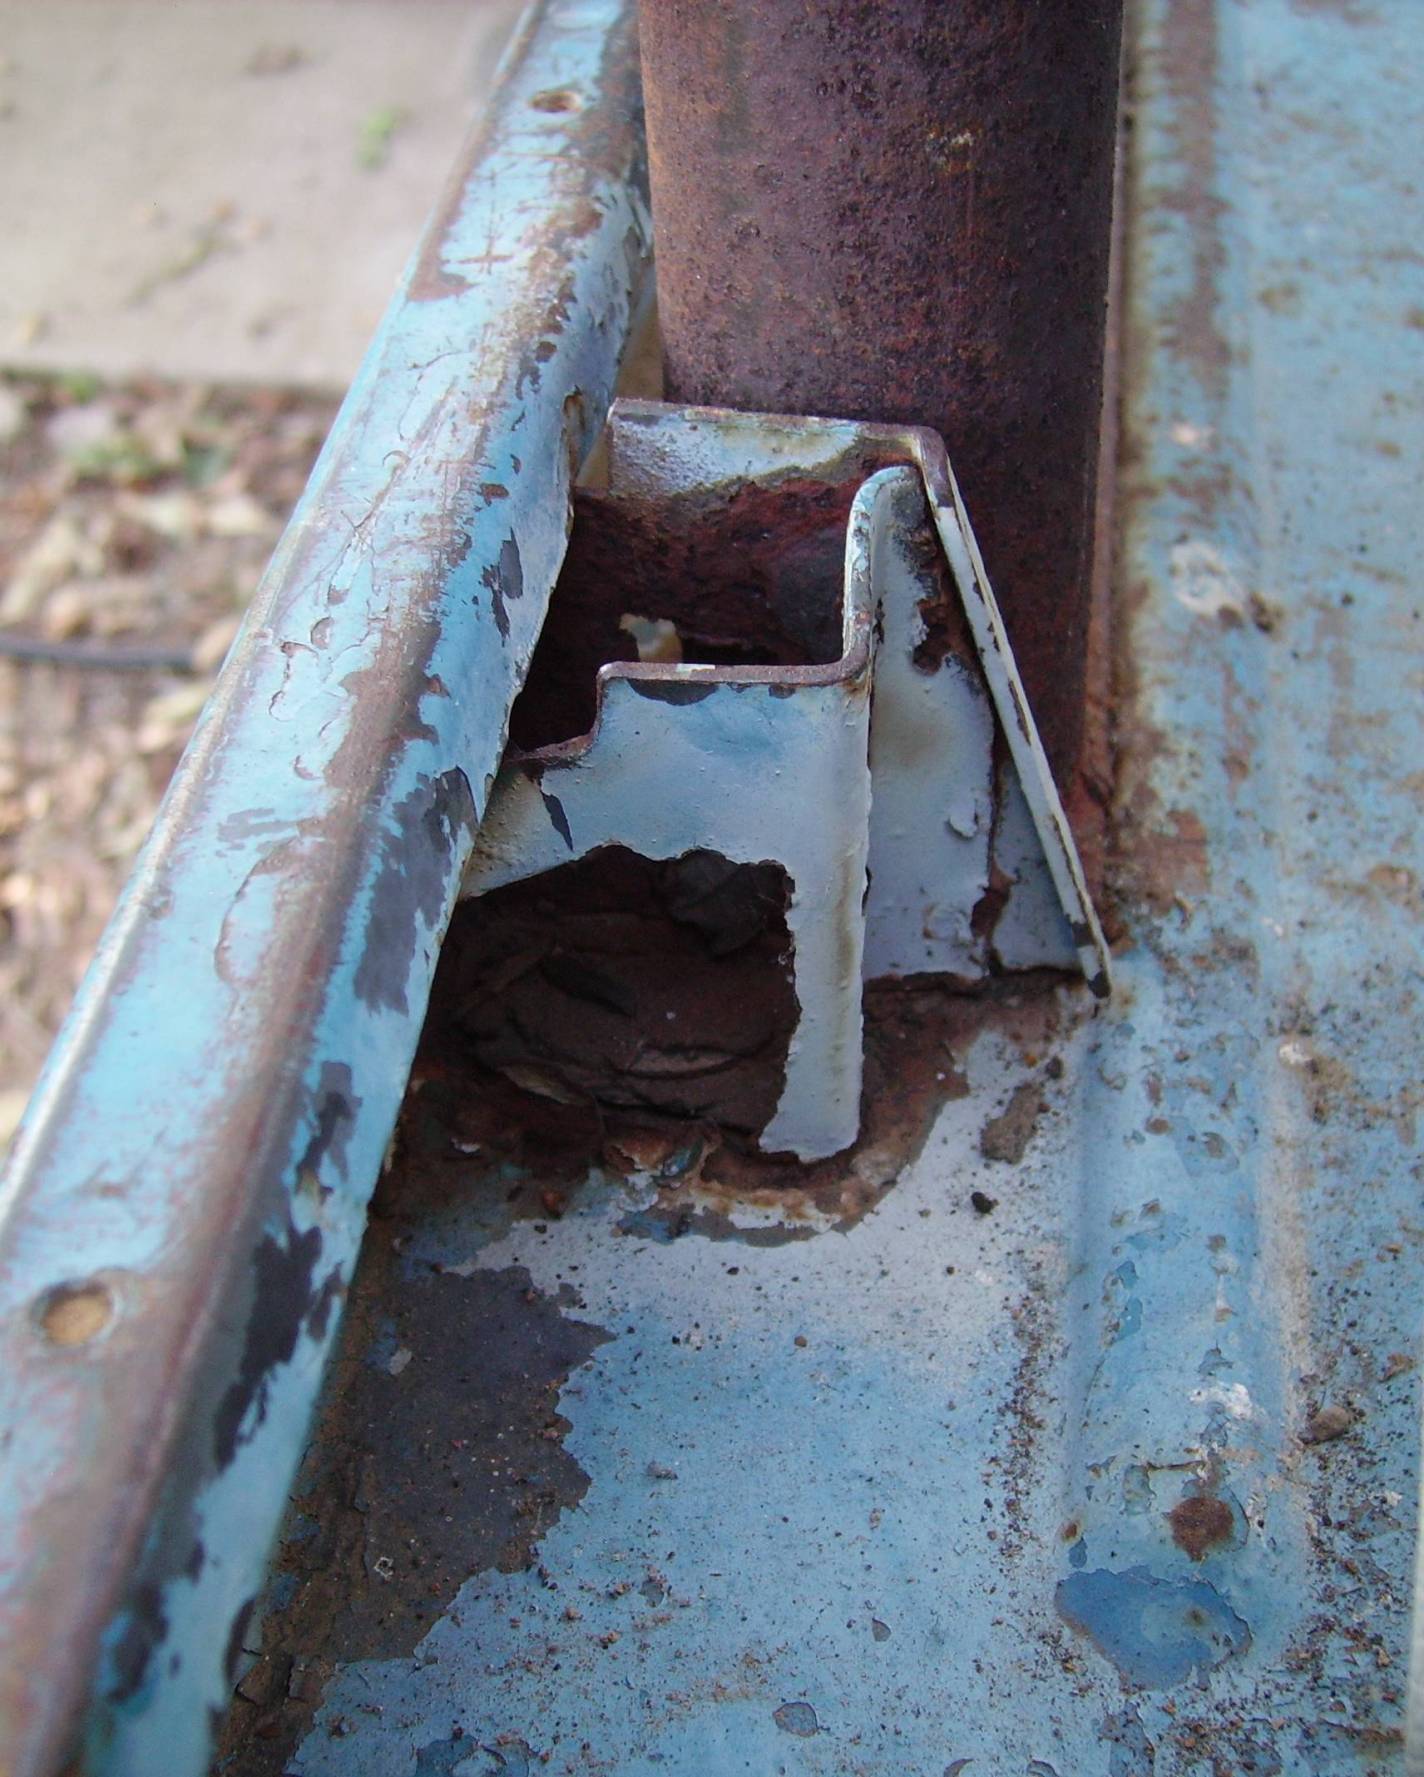
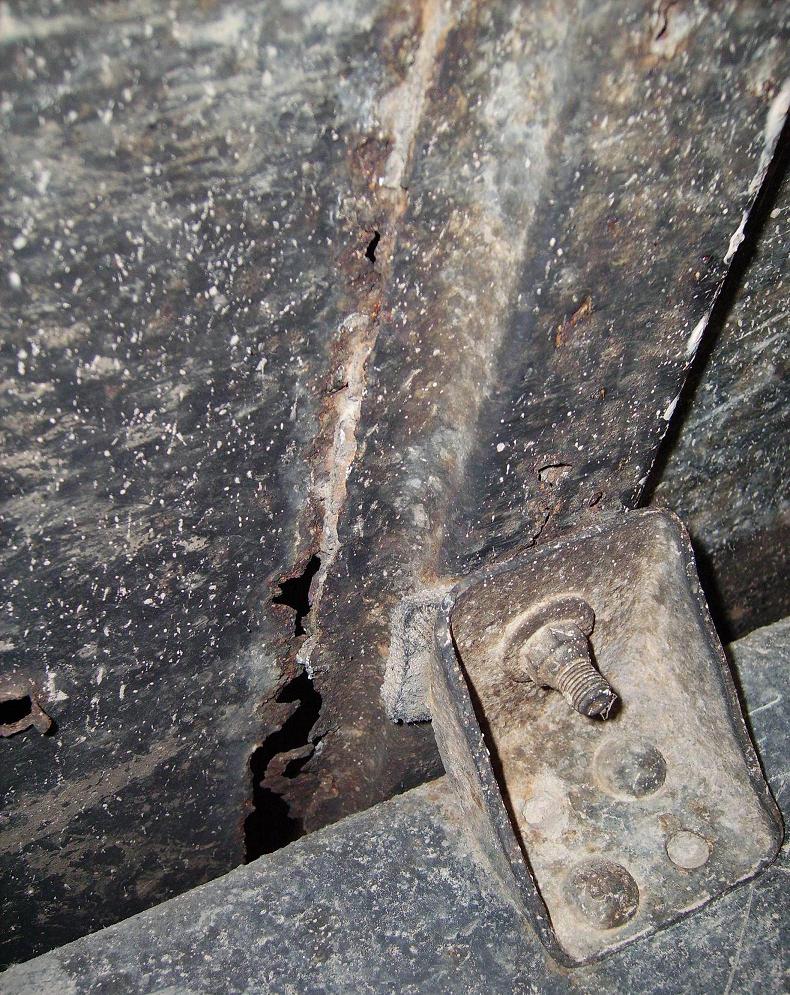
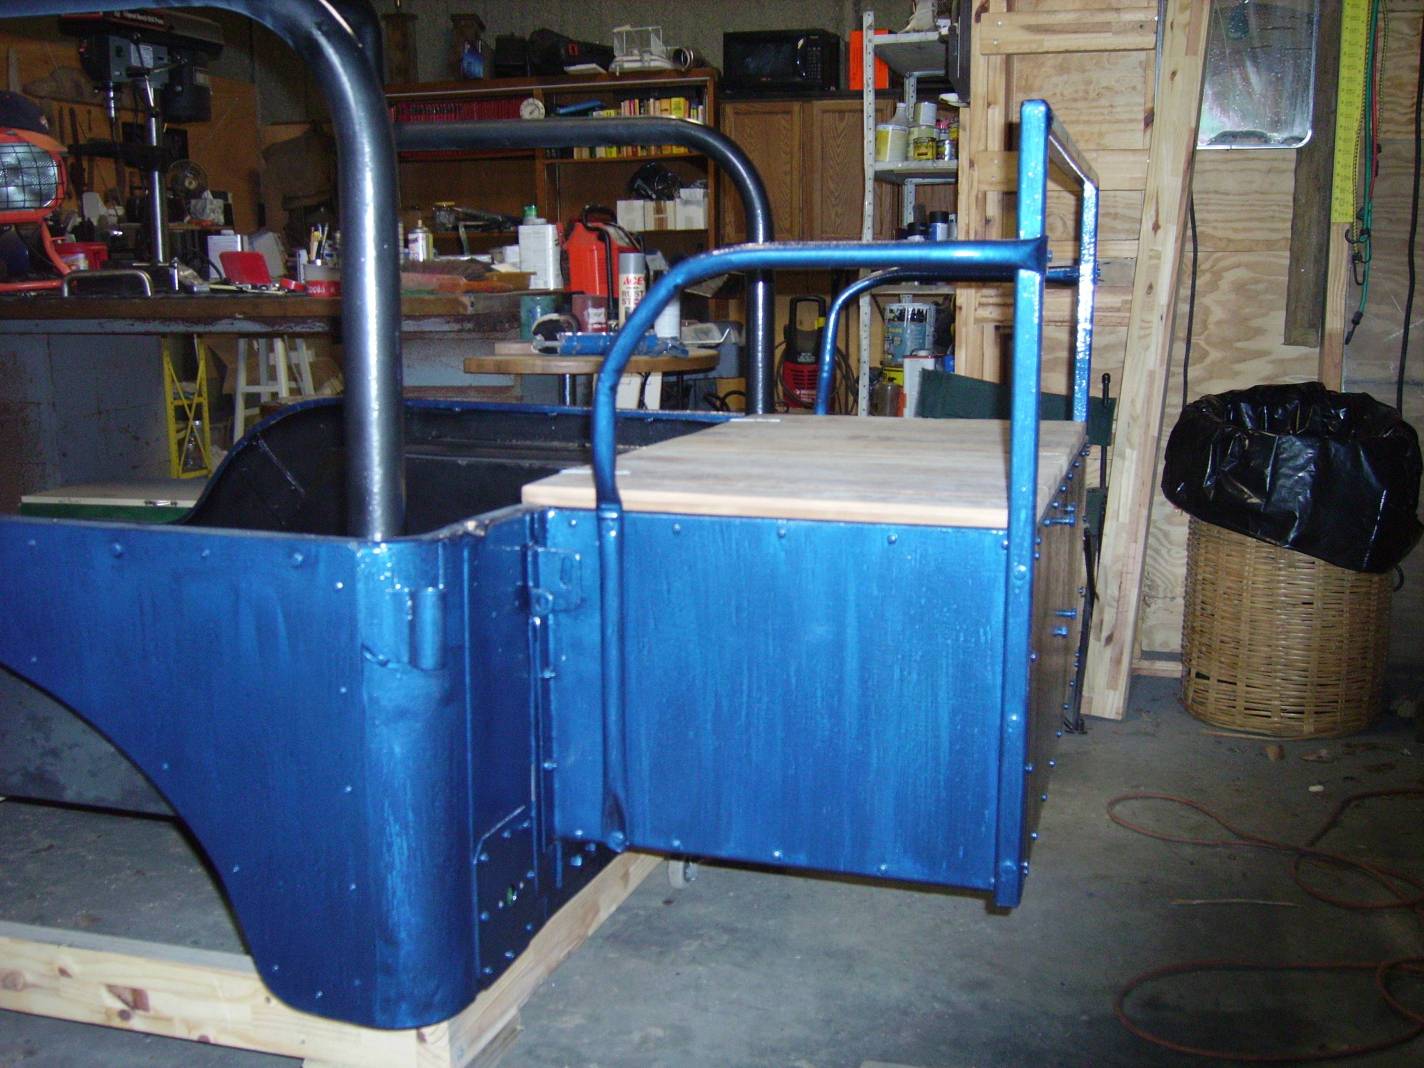
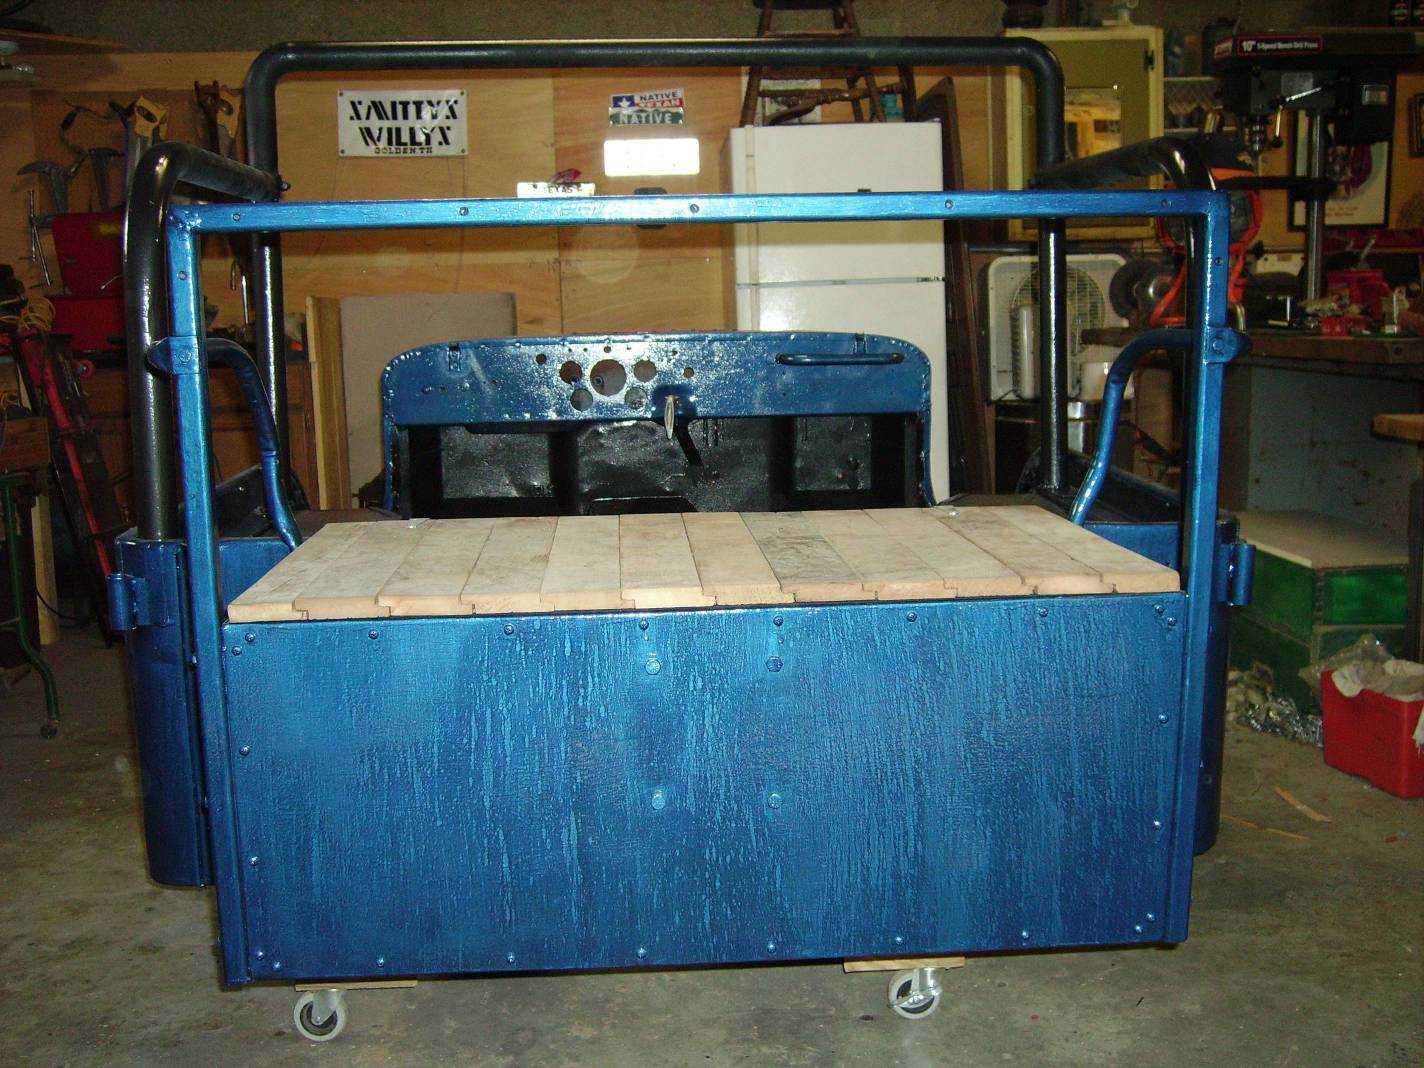
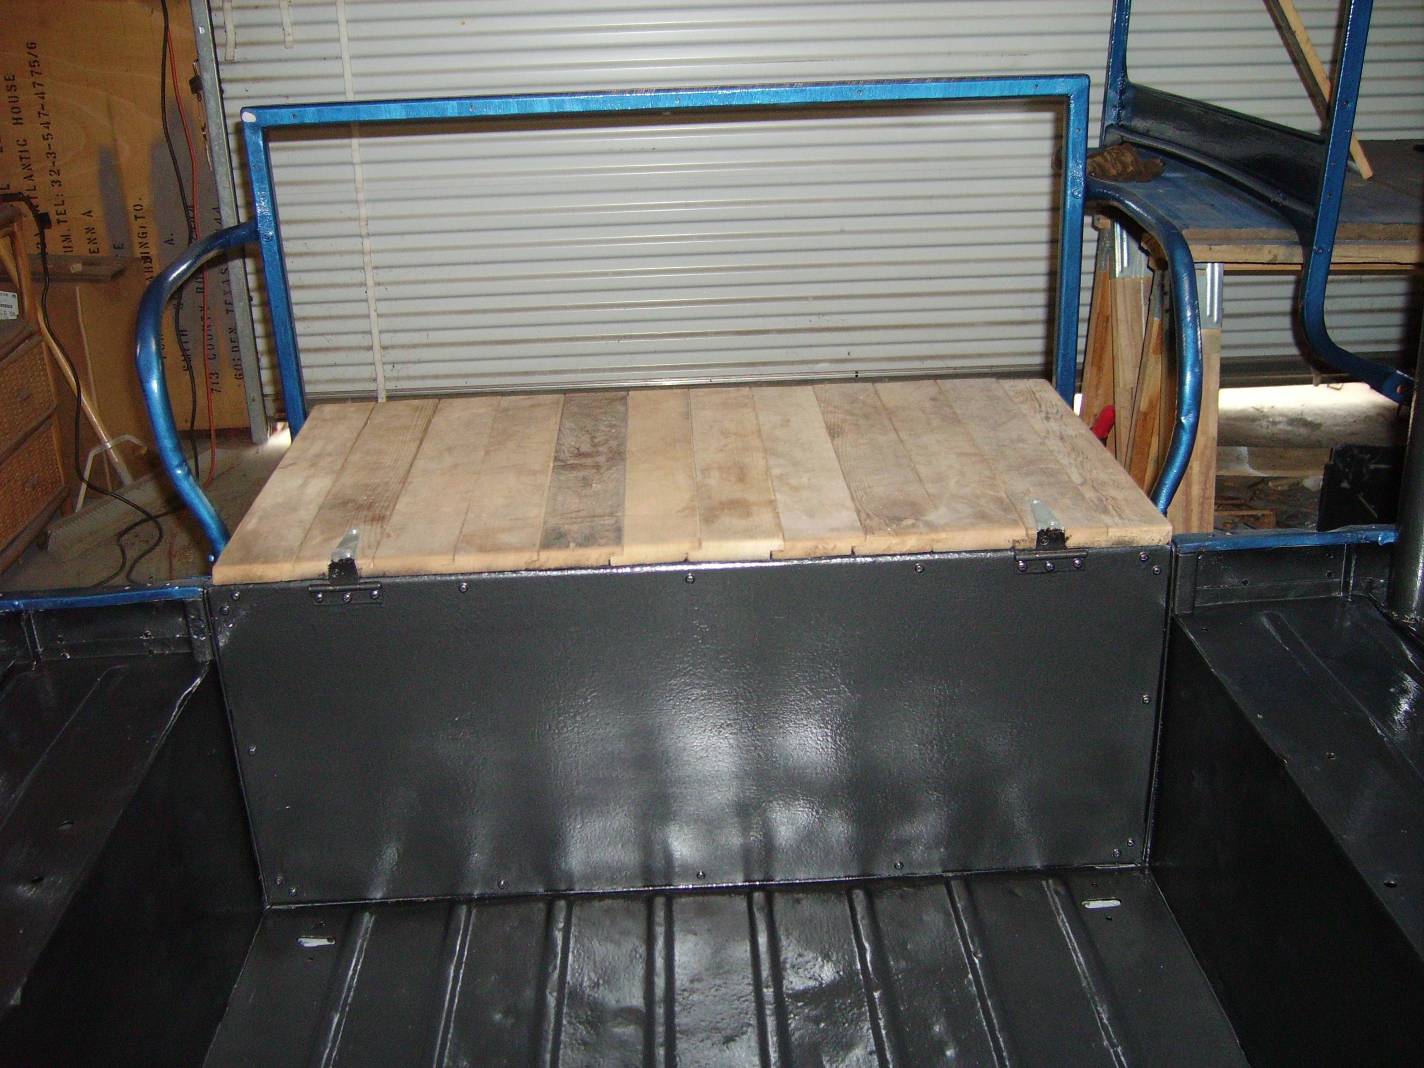
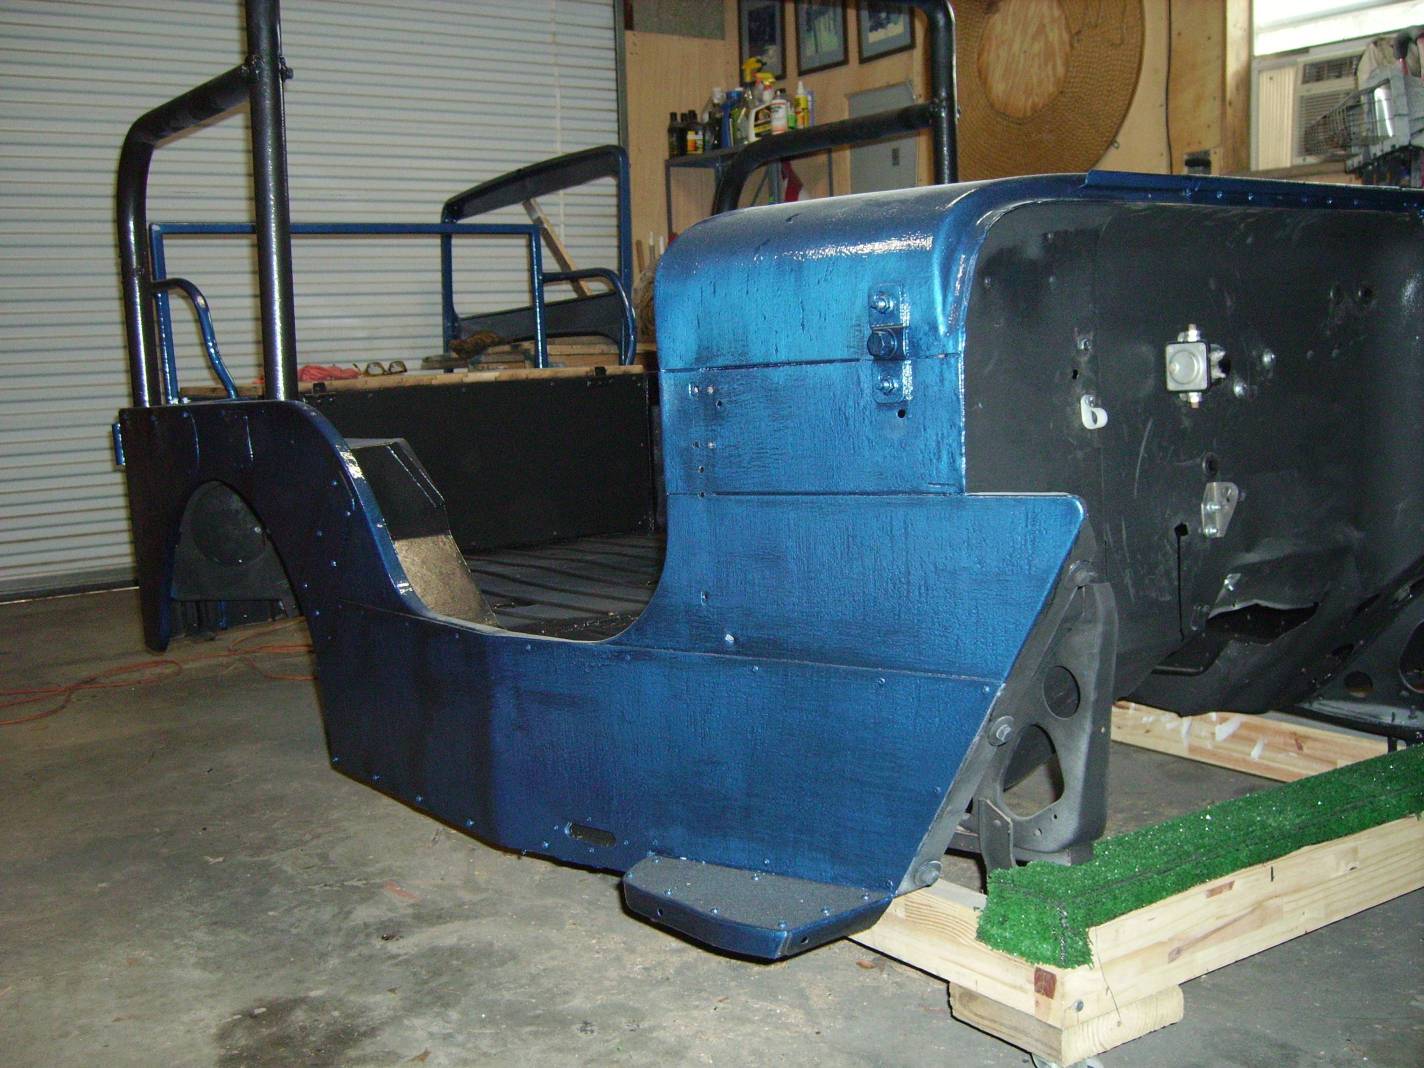
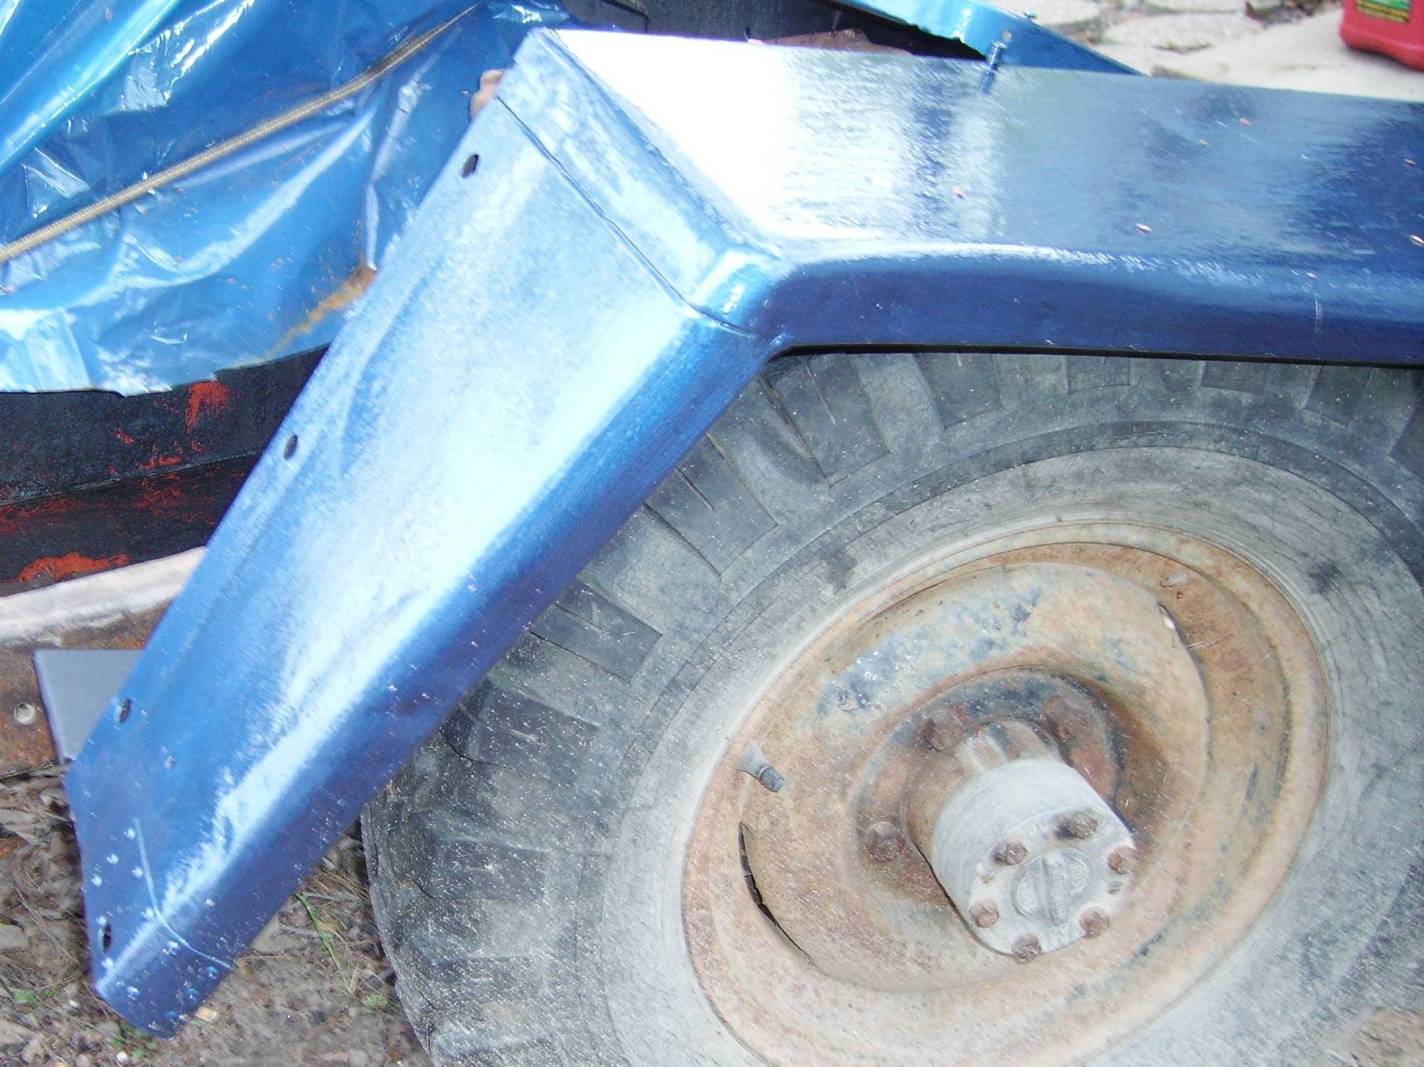
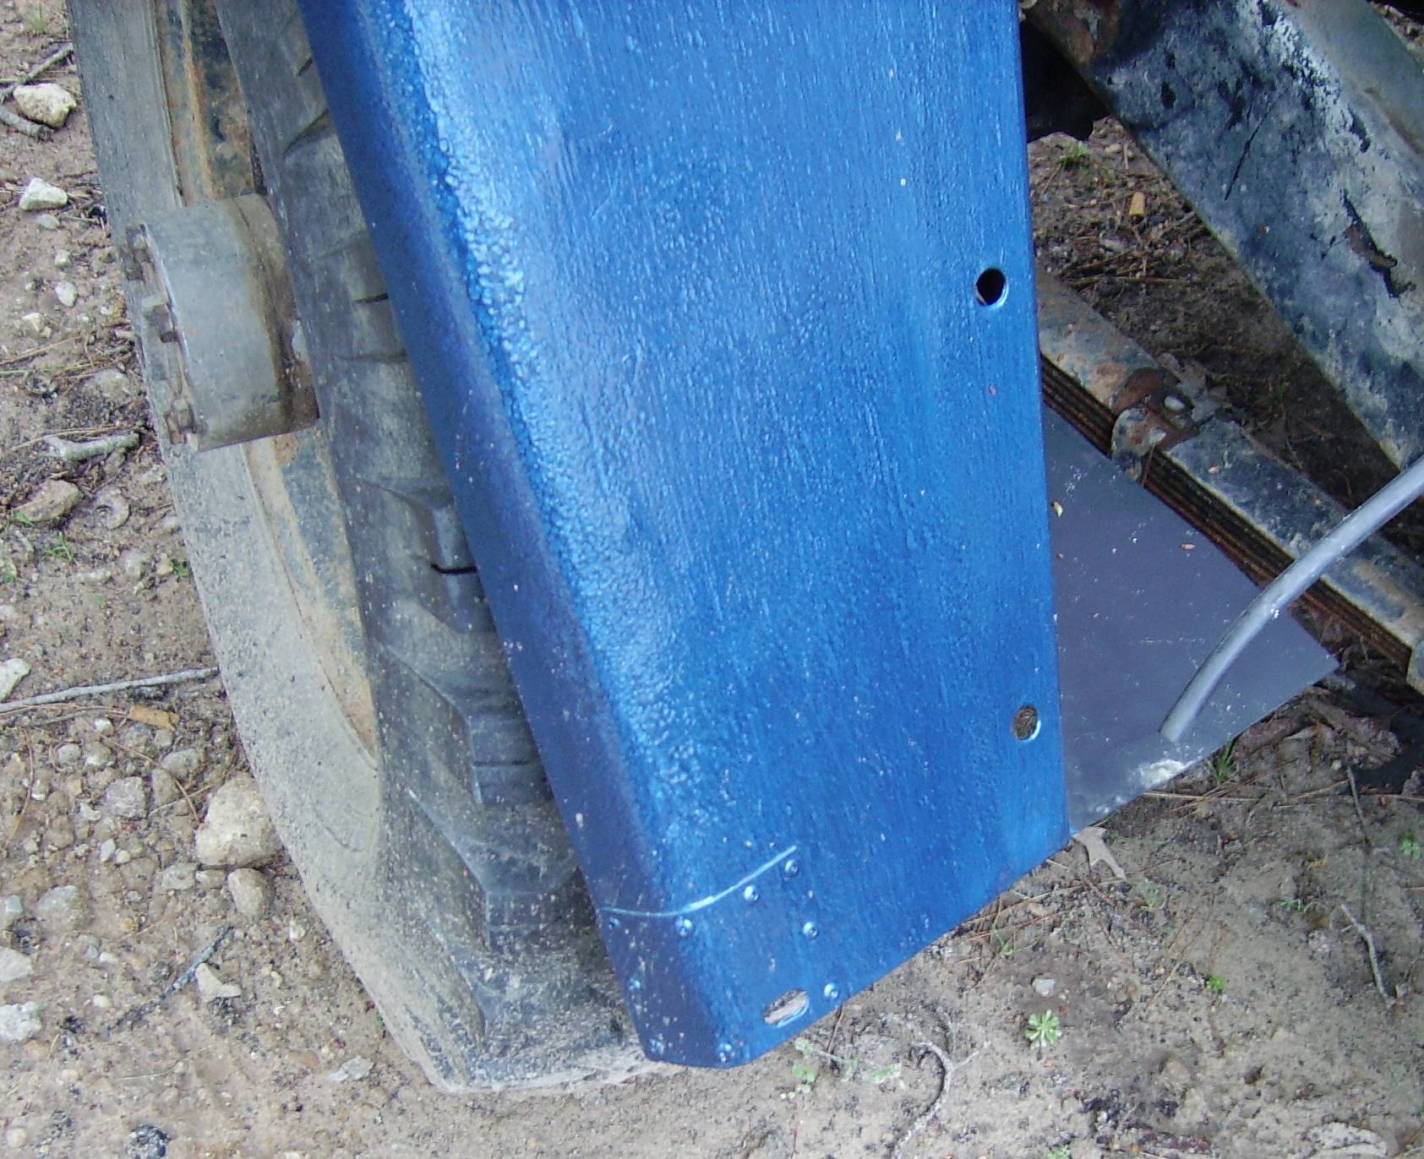
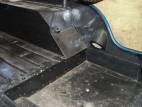
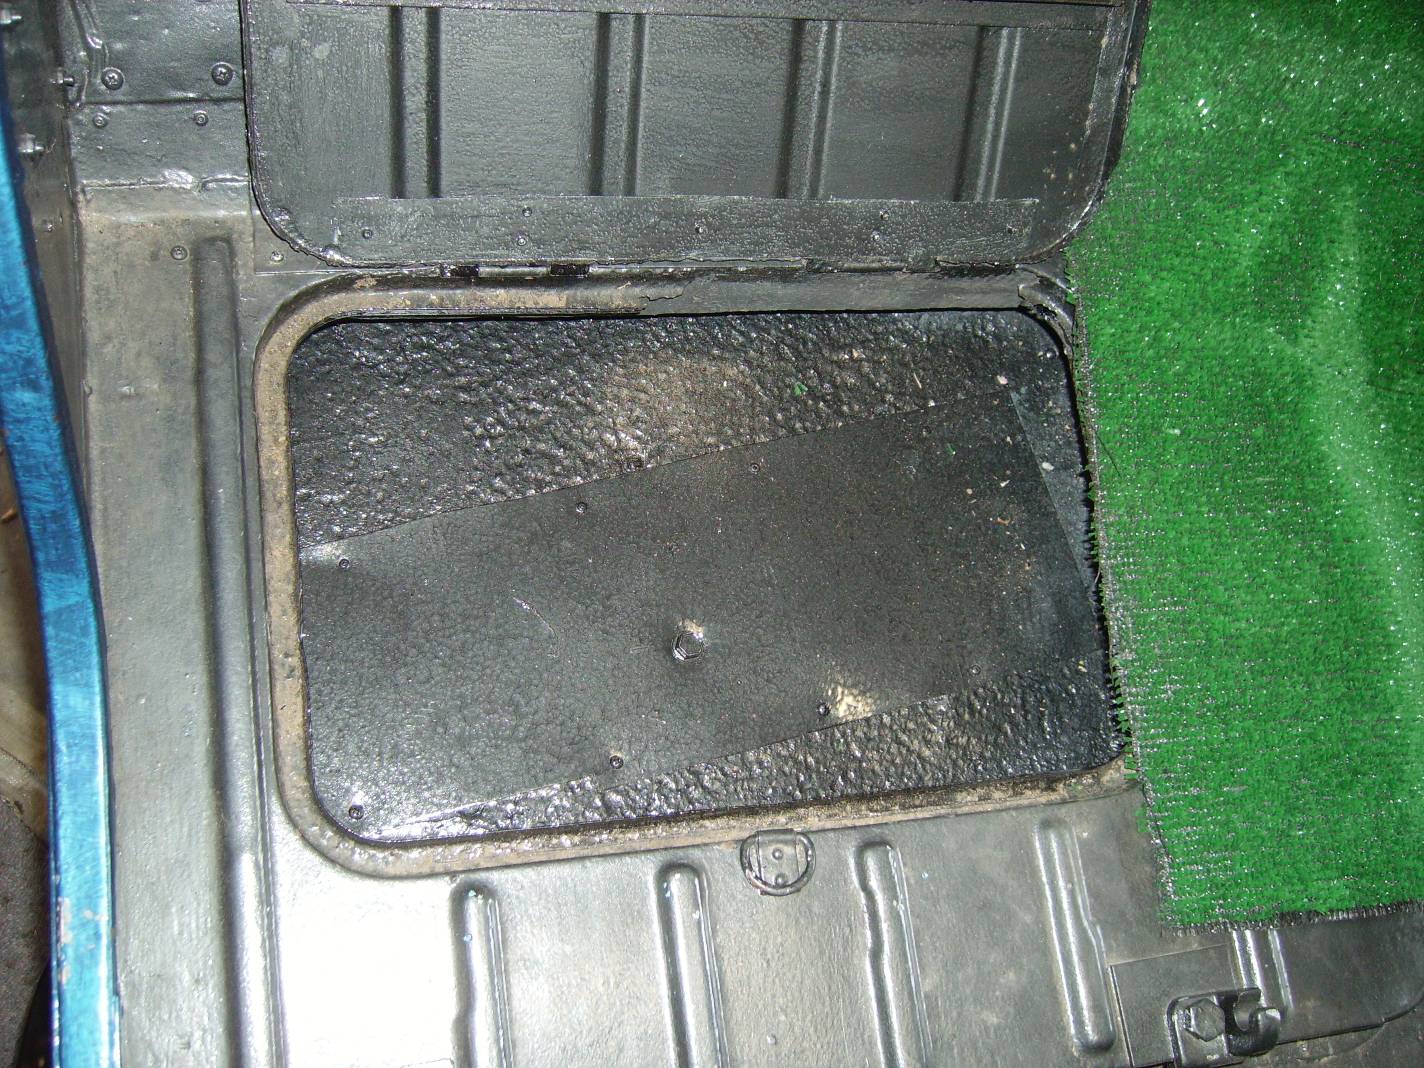
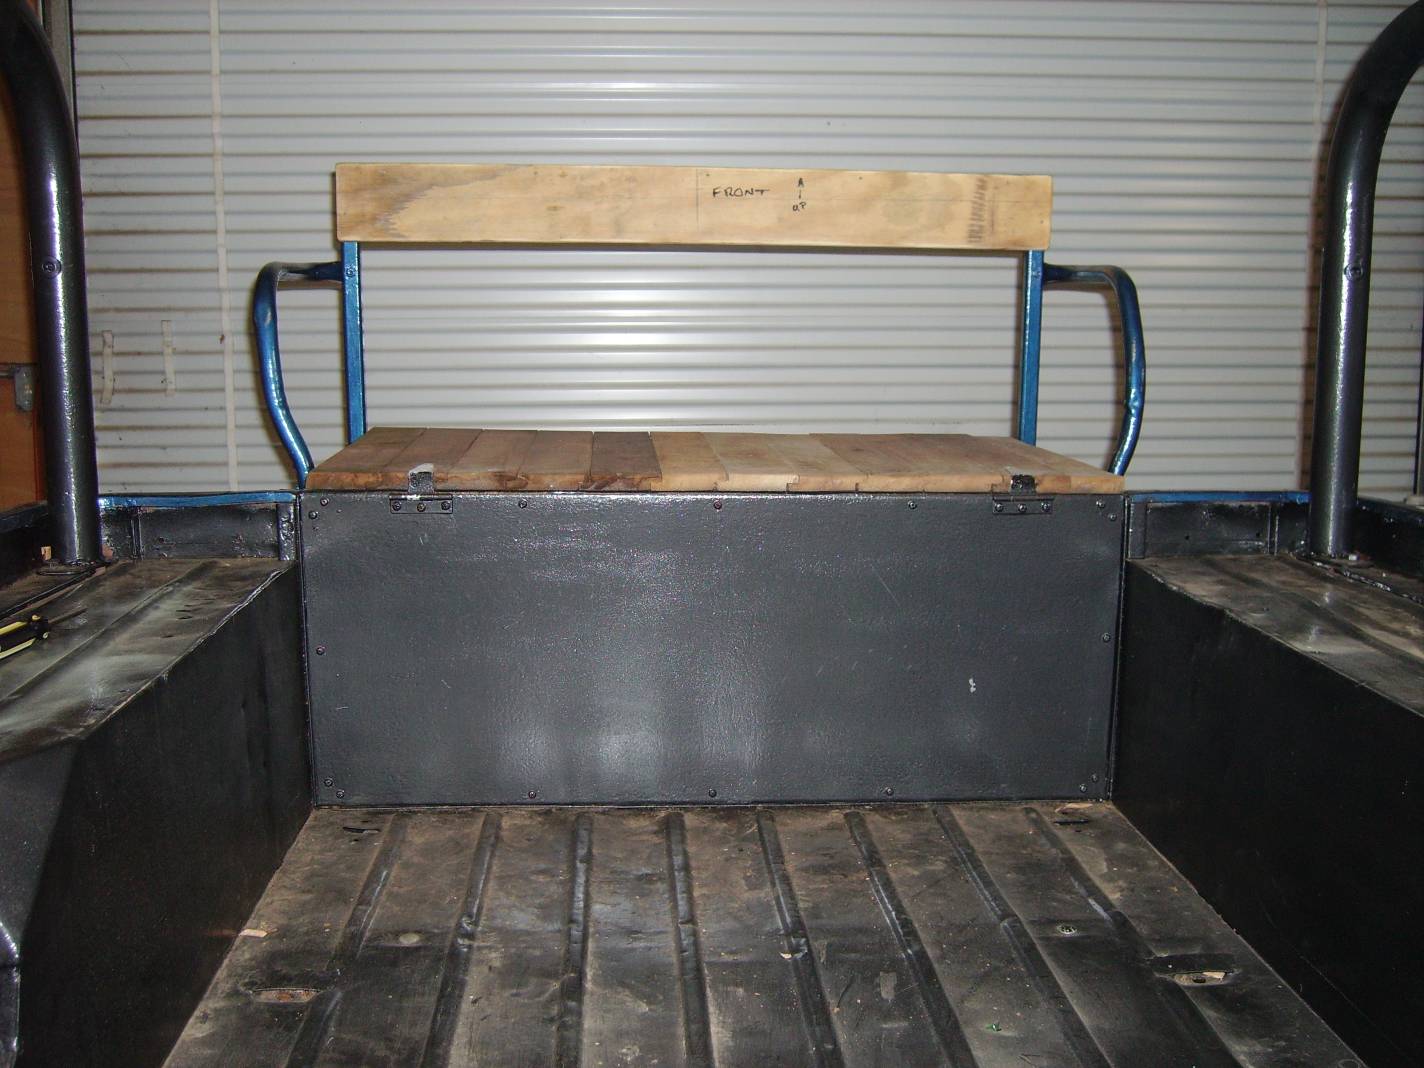
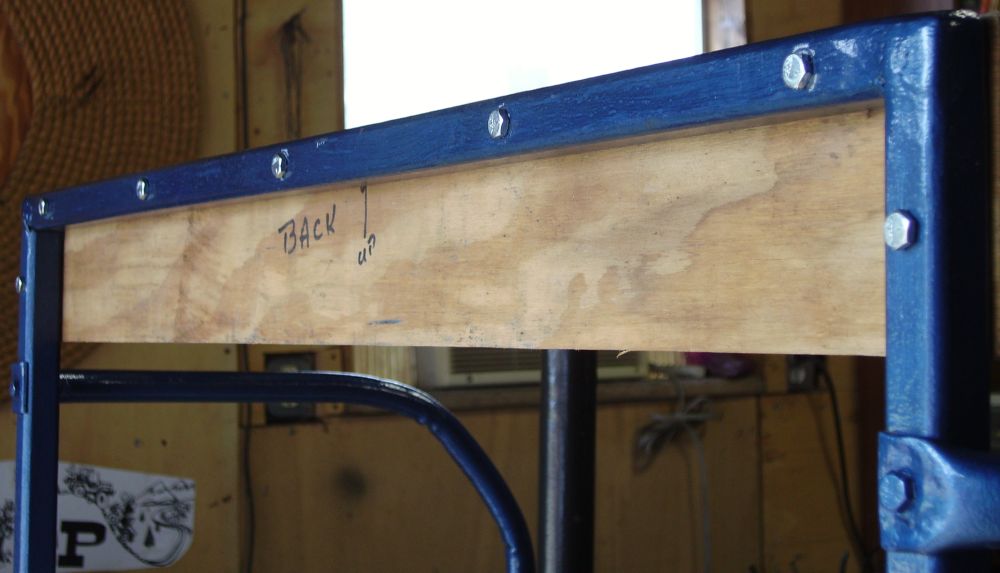
Not pictured is all the damage I found after degreasing, cleaning and removing all the bondo from the body. Floor board patches were fabricated using 18 and 20 gauge sheet metal. These were sandwiched and secured with metal screws. I also used pop rivets in those areas that get little stress. The exterior patching was done with 16 gauge steel sheet. I even fabricated and attached replacement hat channels where necessary. Not real pretty, but very effective. For those I used 18 gauge galvanized that started life as a slide on a kids swing set. The frame fabricated for the hood was also part of that slide. The bends were darn near a perfect fit. Also note the patches on the fenders and the hood hinge patches on both the body and hood areas. All patches have a bead of paintable chalk/sealant under them.The rear storage seat is the subject of a separate tutorial. It is available for download here.
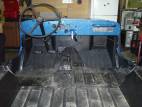
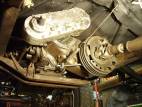
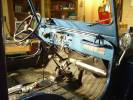
The interior is painted with three coats of black Hammerite. Two coats brushed on, the final coat with rattle can. (Note that "black" Hammerite drys to a dark grayish hue, while "gloss black" is just that, a deep, bright black. I prefer the dark gray hue. Now you know why I applied a third coat.) The exterior is blue Hammerite, brushed on. Lesson learned: If you use horizontal brush strokes it will sag. The second coat I used vertical brush strokes which gave me the effect I was after and it gave the finish a wavy effect that's interesting. Hammerite is a rust encapsulator that dries hard like bed liner... at least that's the theory. The underside of the body, fenders and hood were brush painted with what I call farm paint, from the local hardware store. Like you would use on a tractor or farm implements. I used Rust Stop from Ace in a half-gallon can. If you use galvanized metal don't forget to prime with the special primer made for it, another lesson learned.


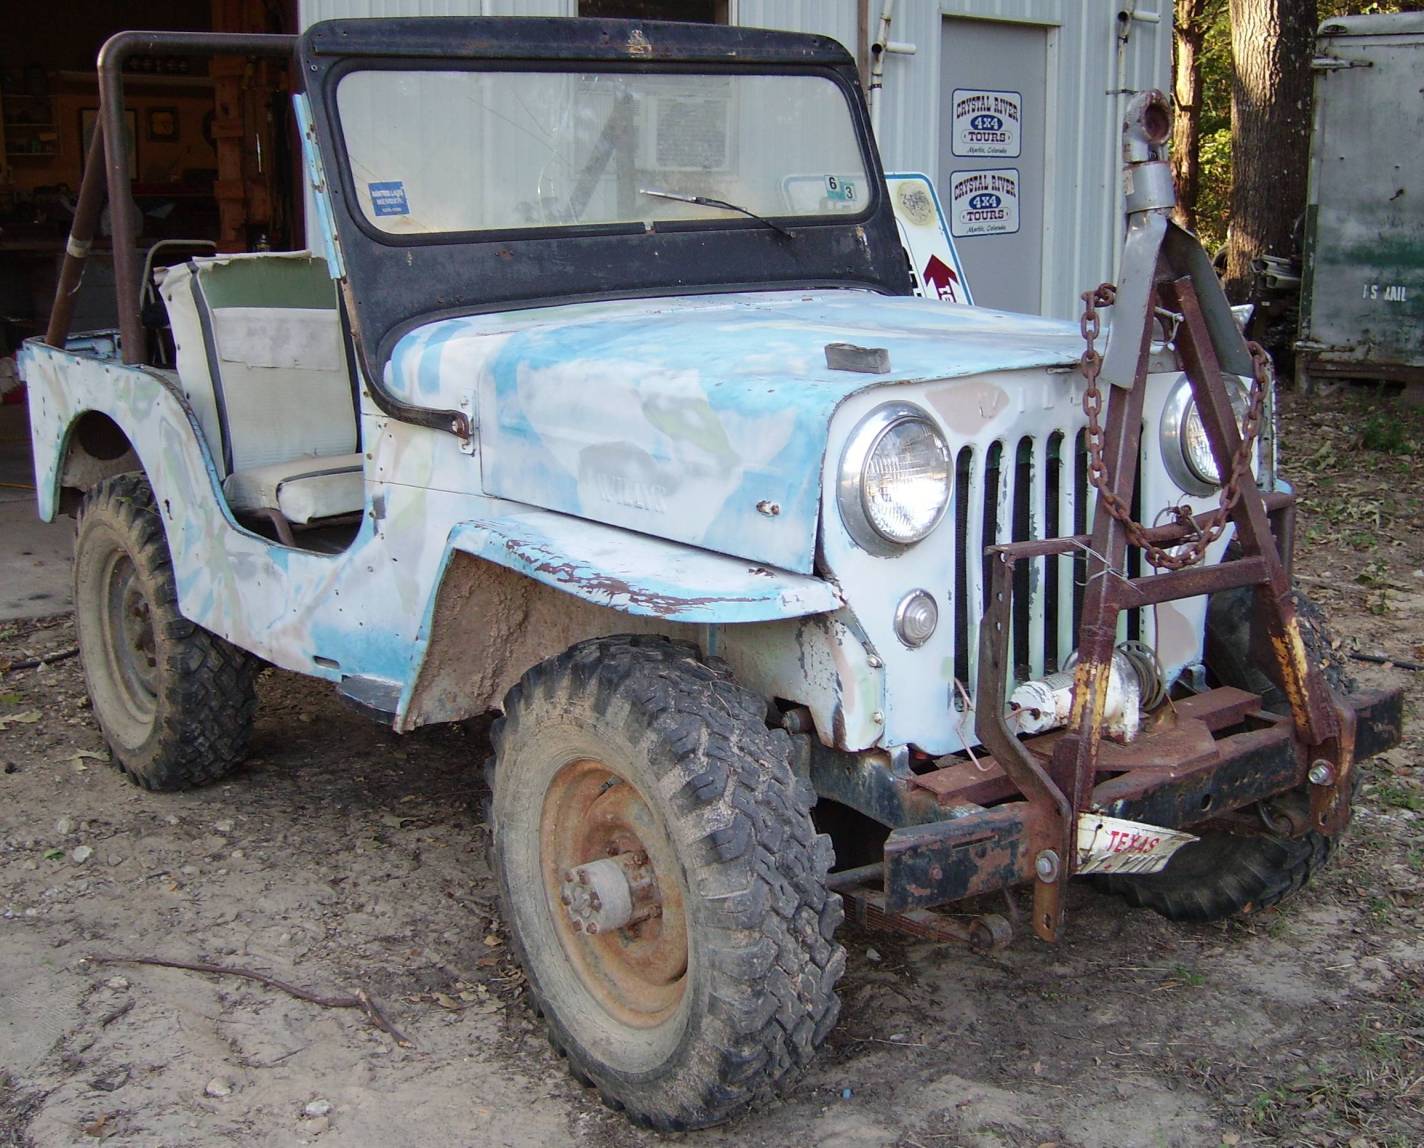
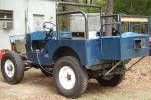
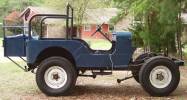
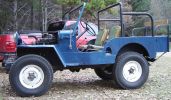
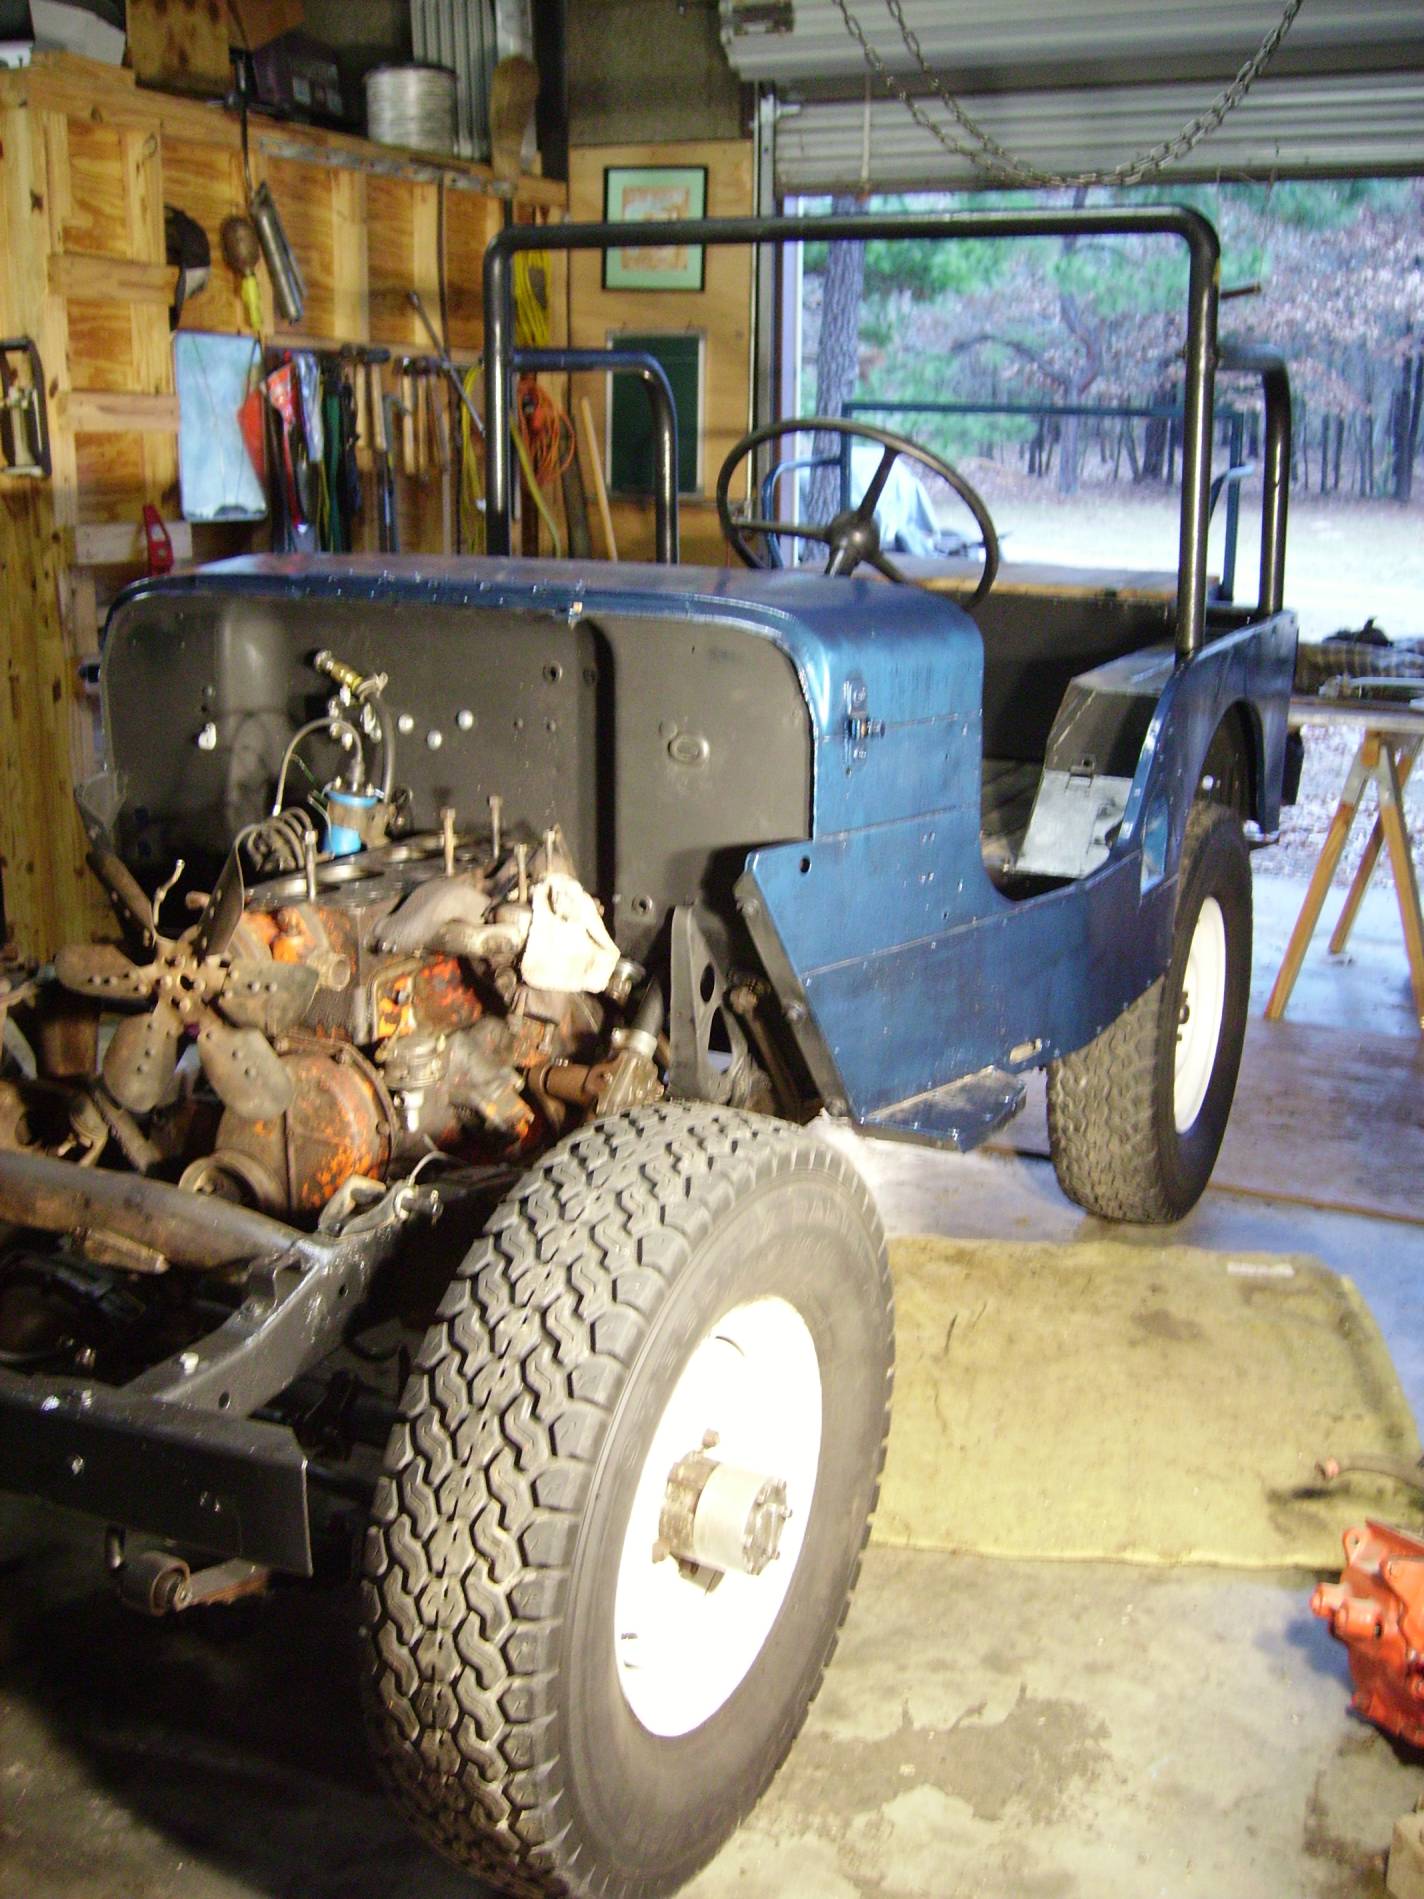
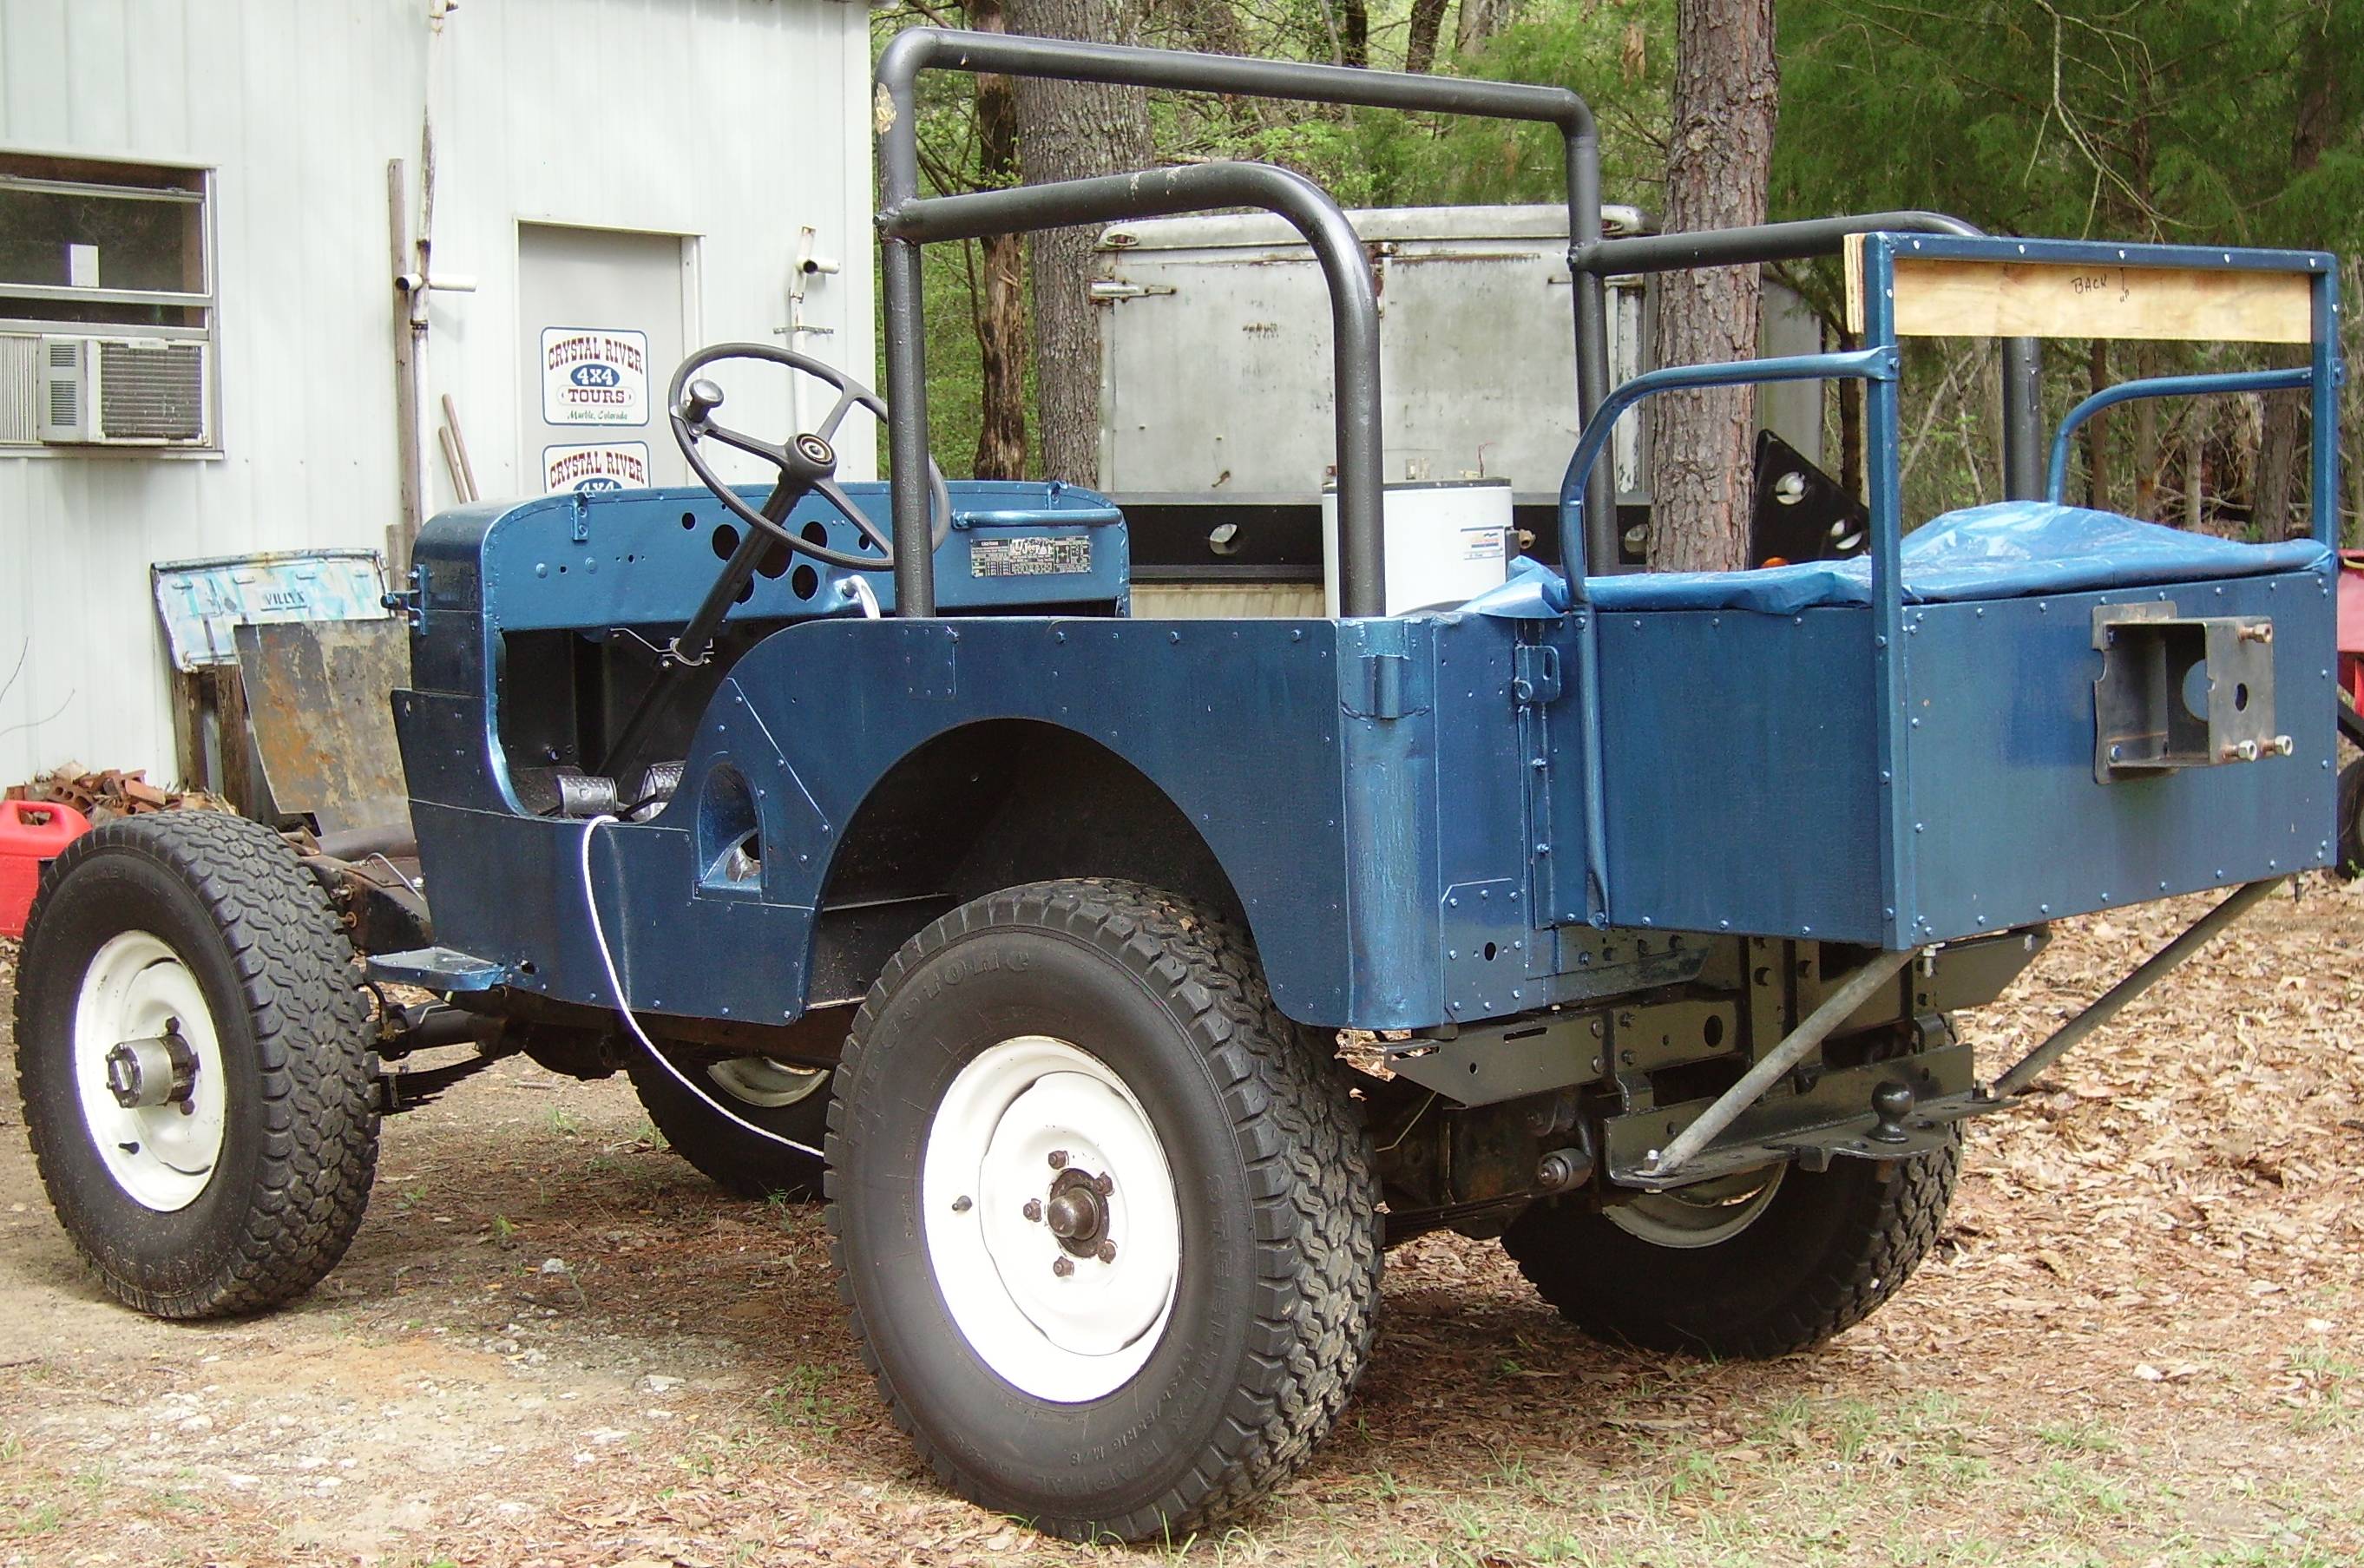
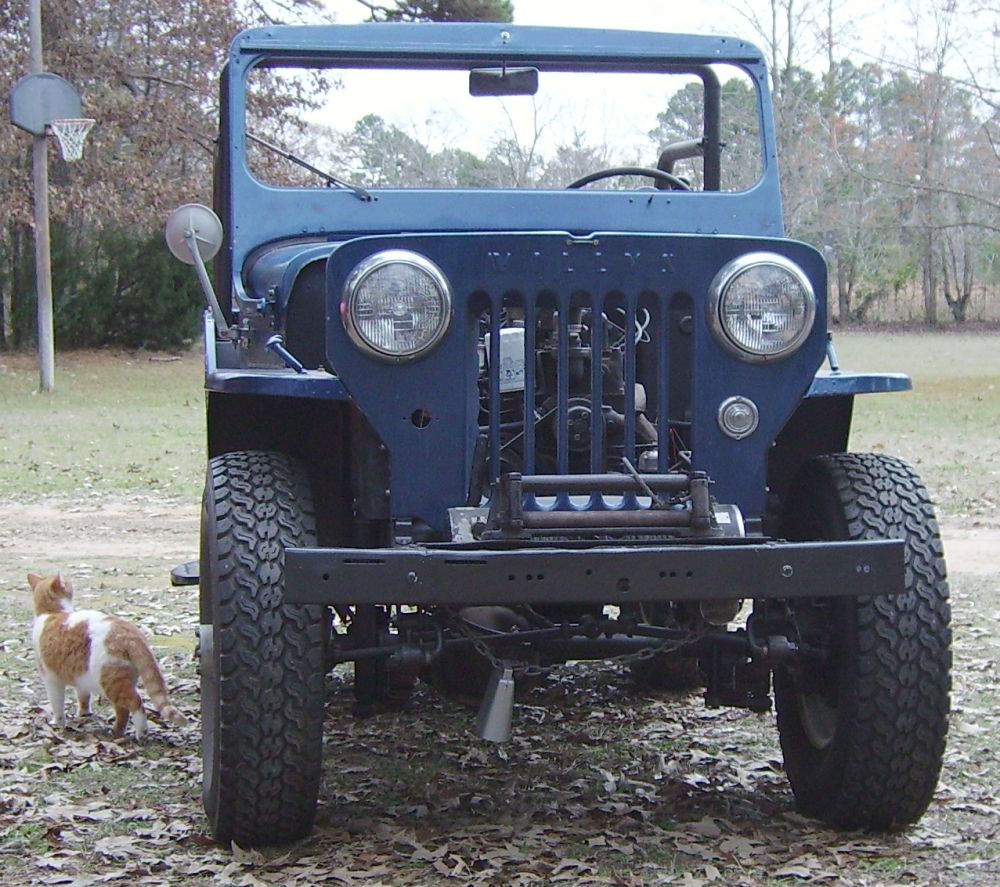
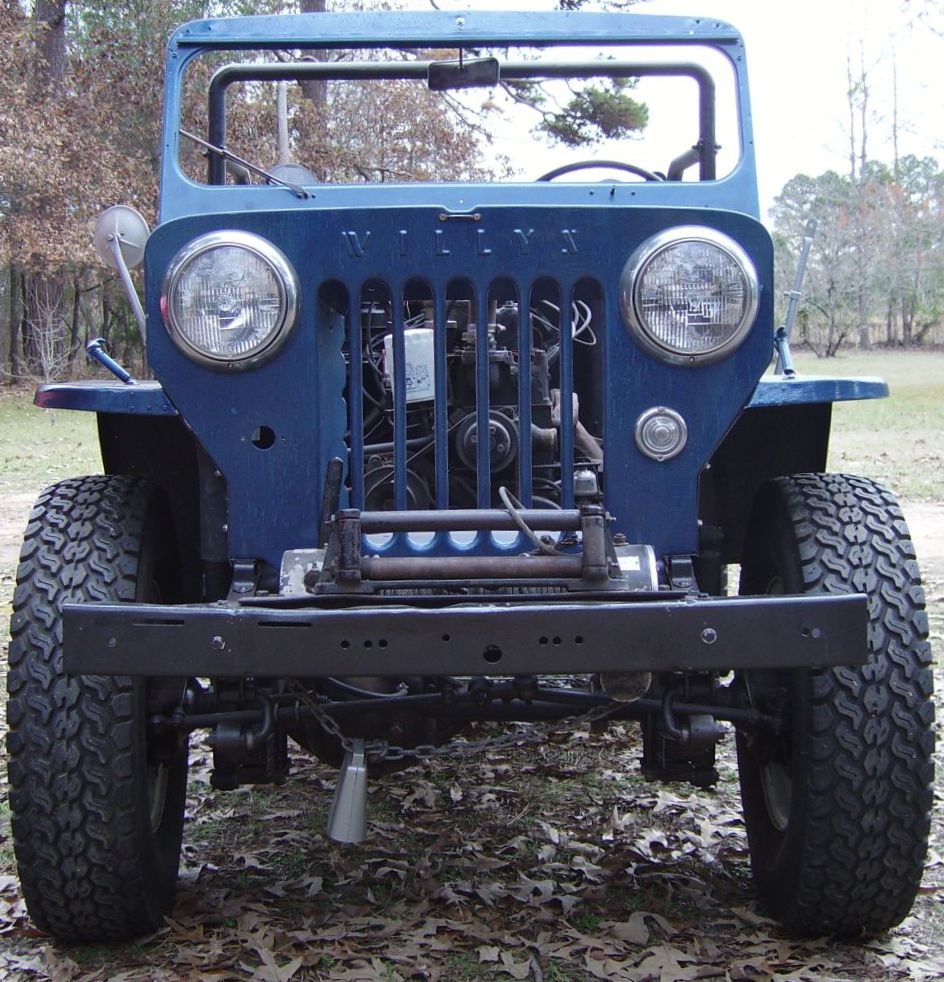
BODY and CHASSIS (after mounting the body, December 2008)
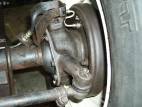
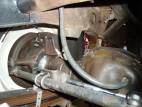
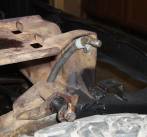
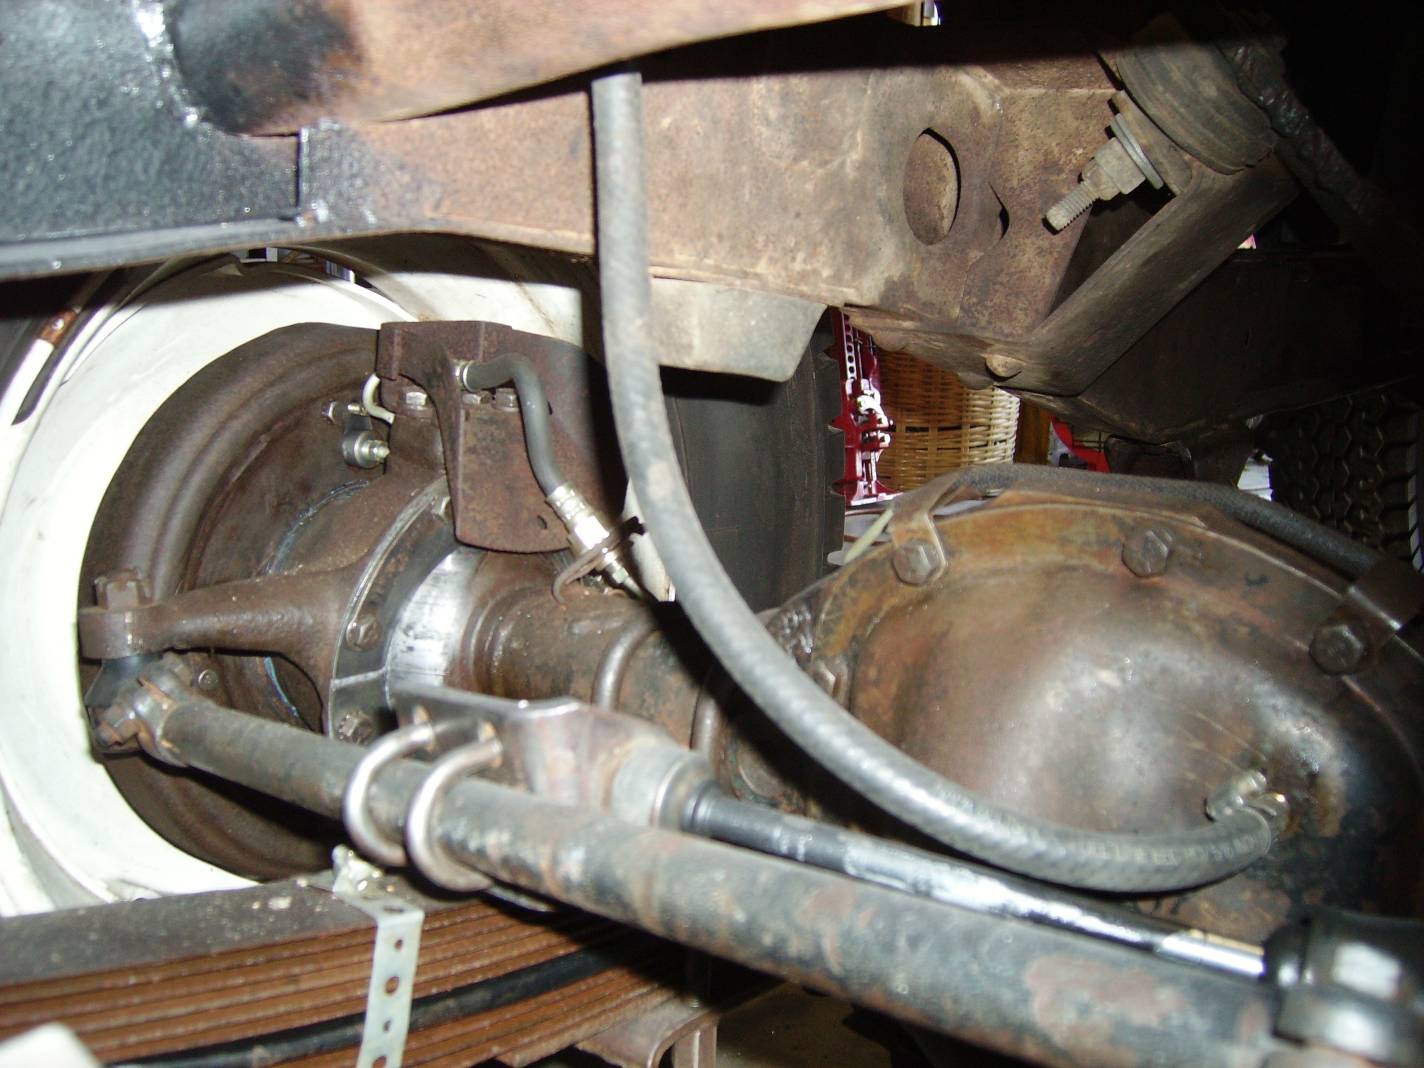
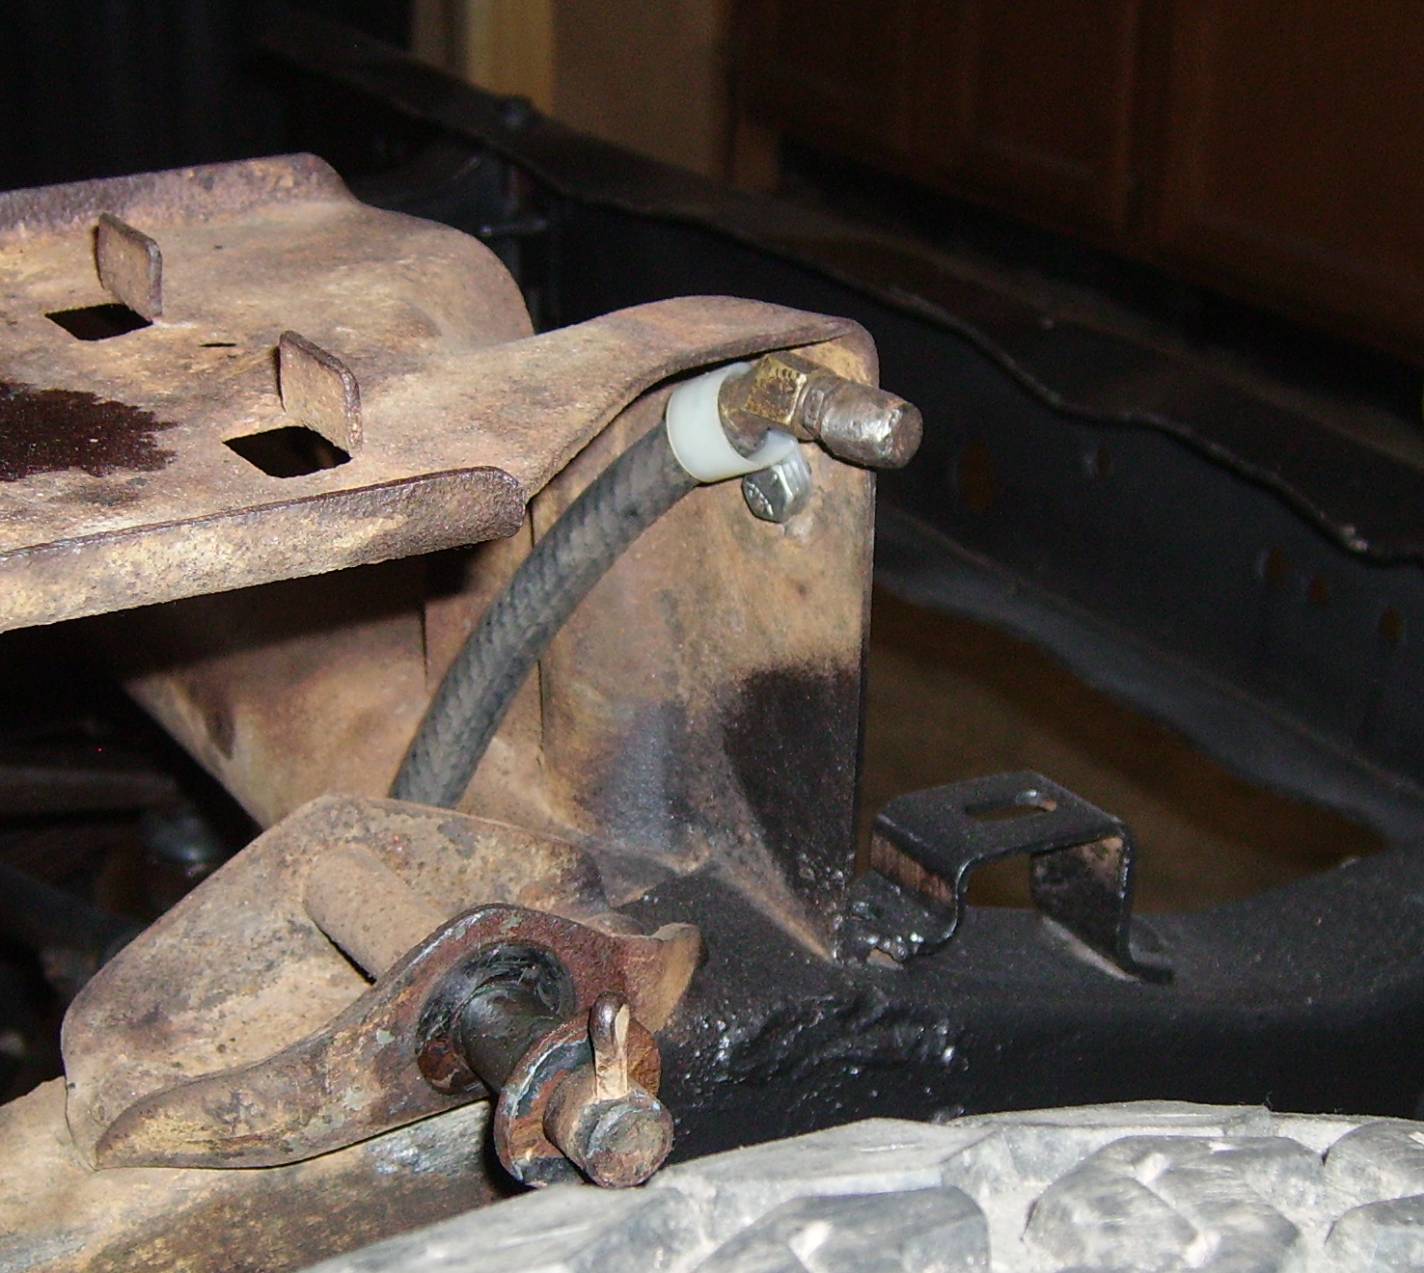
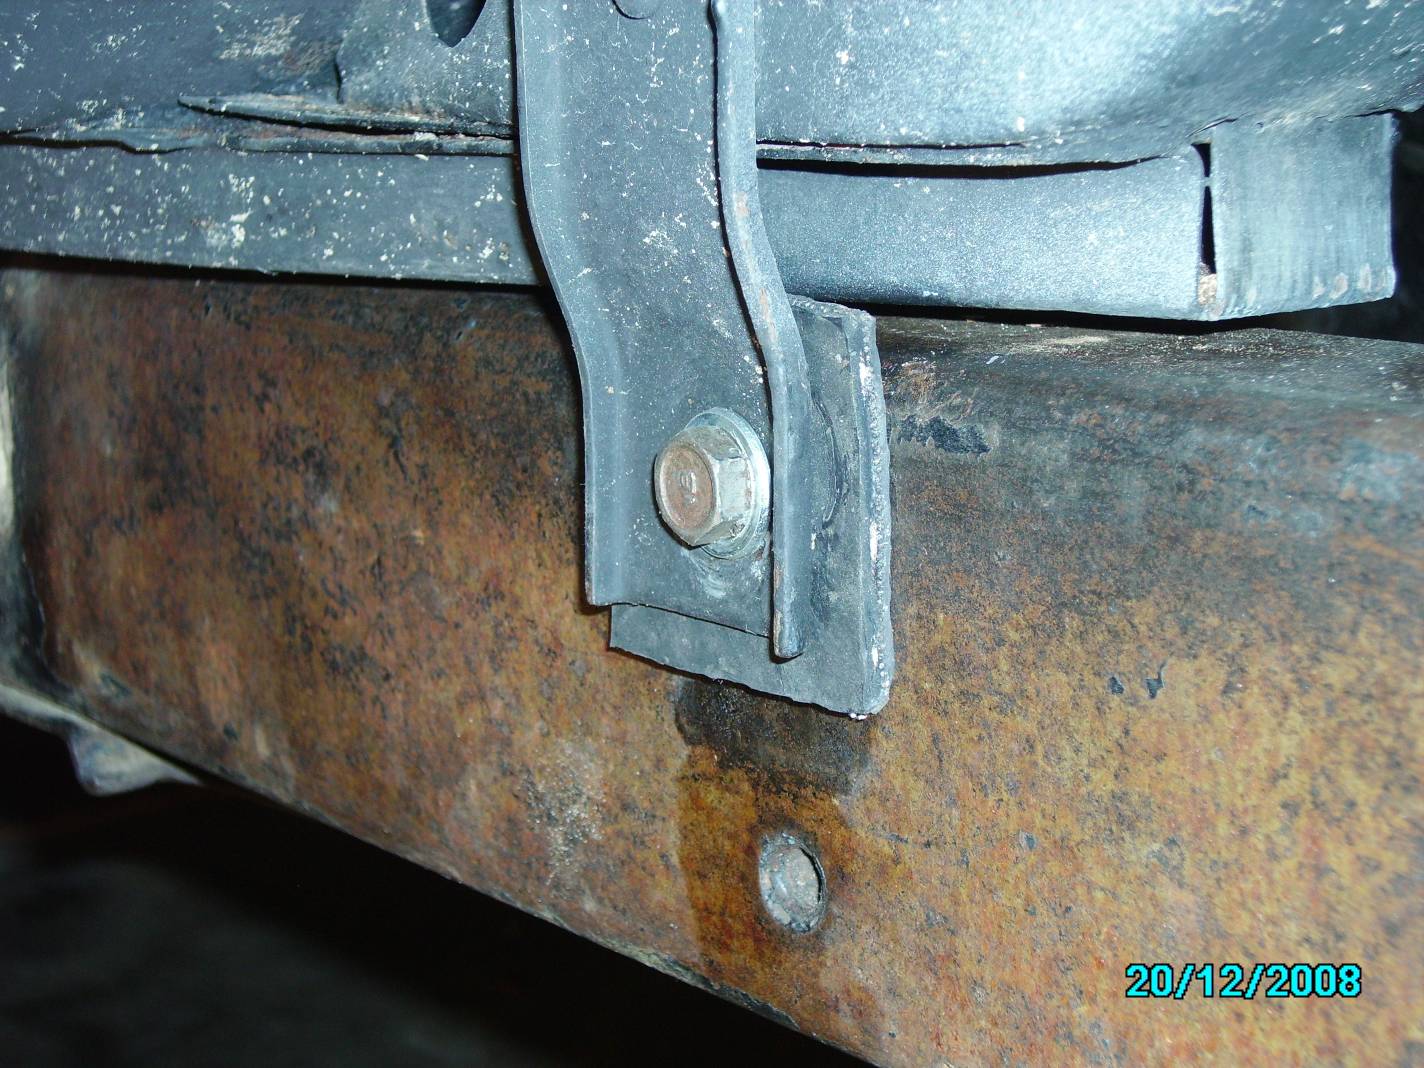
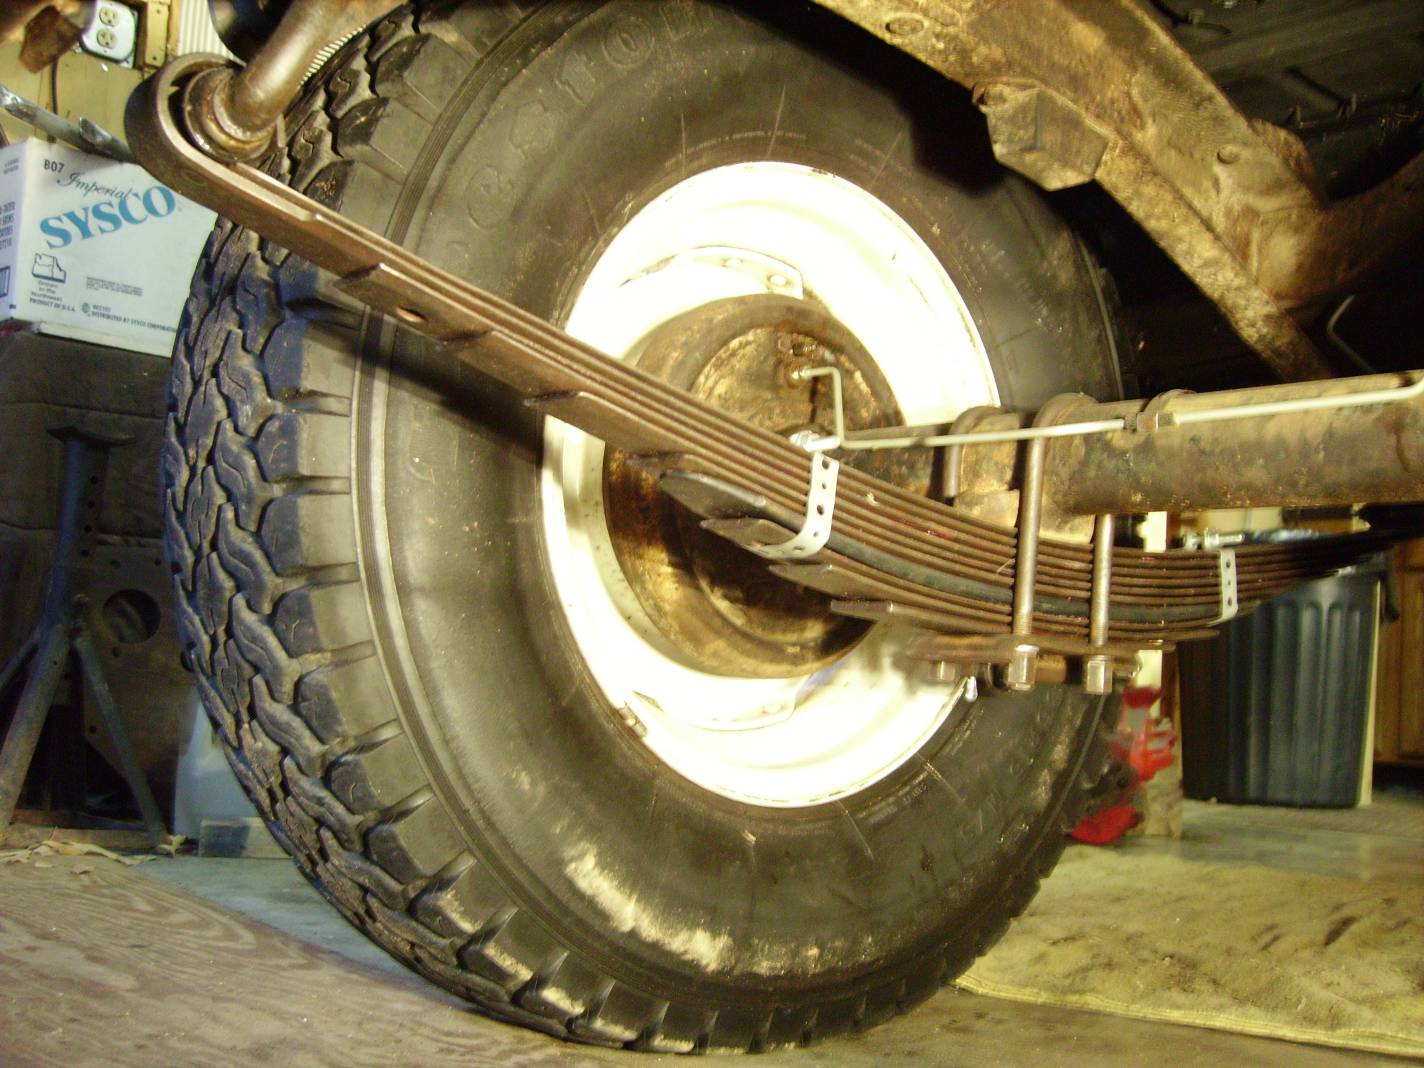
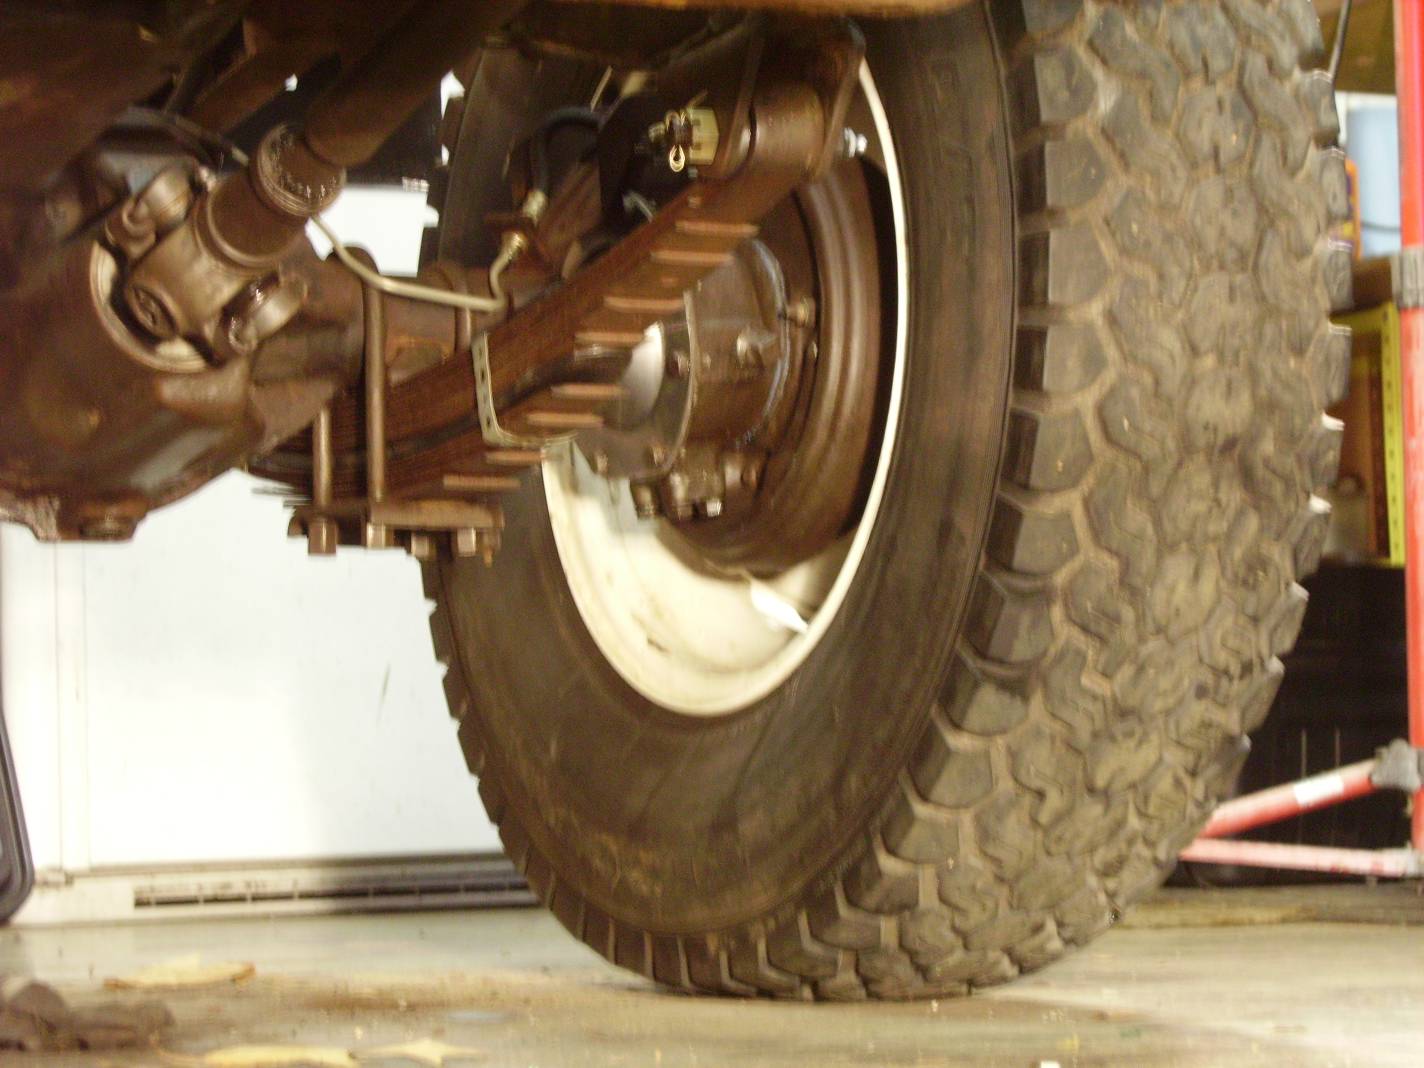
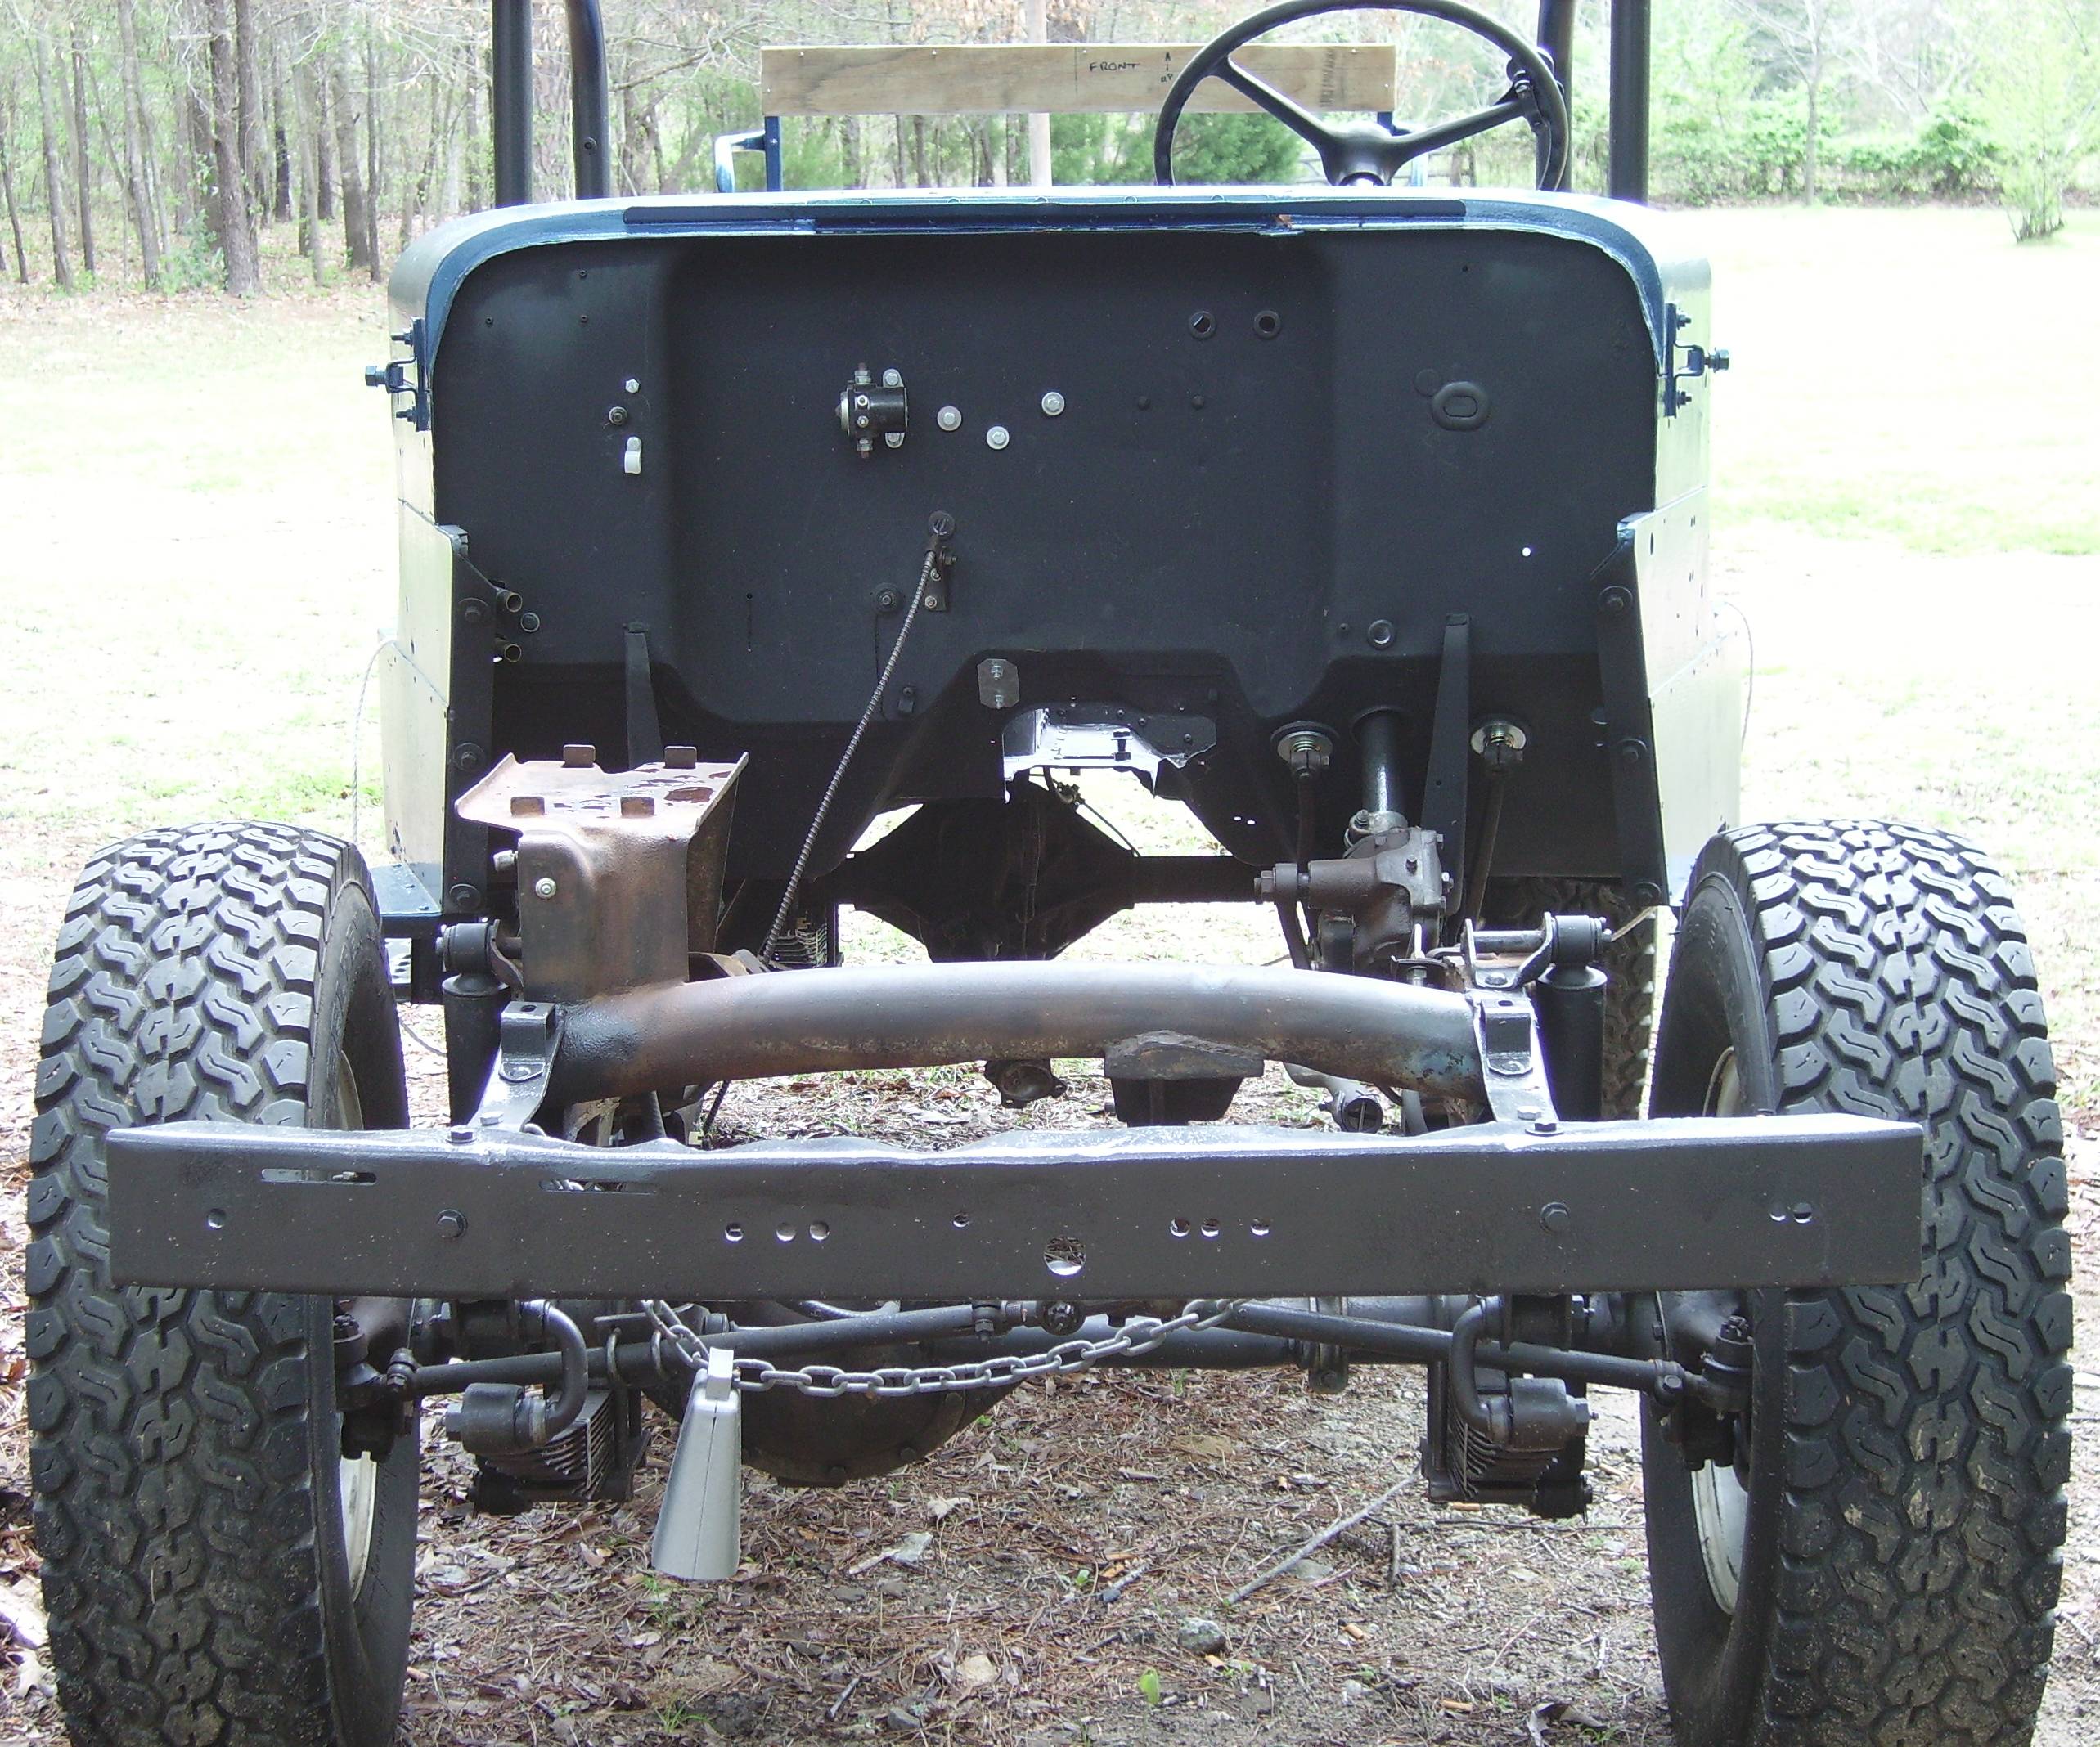
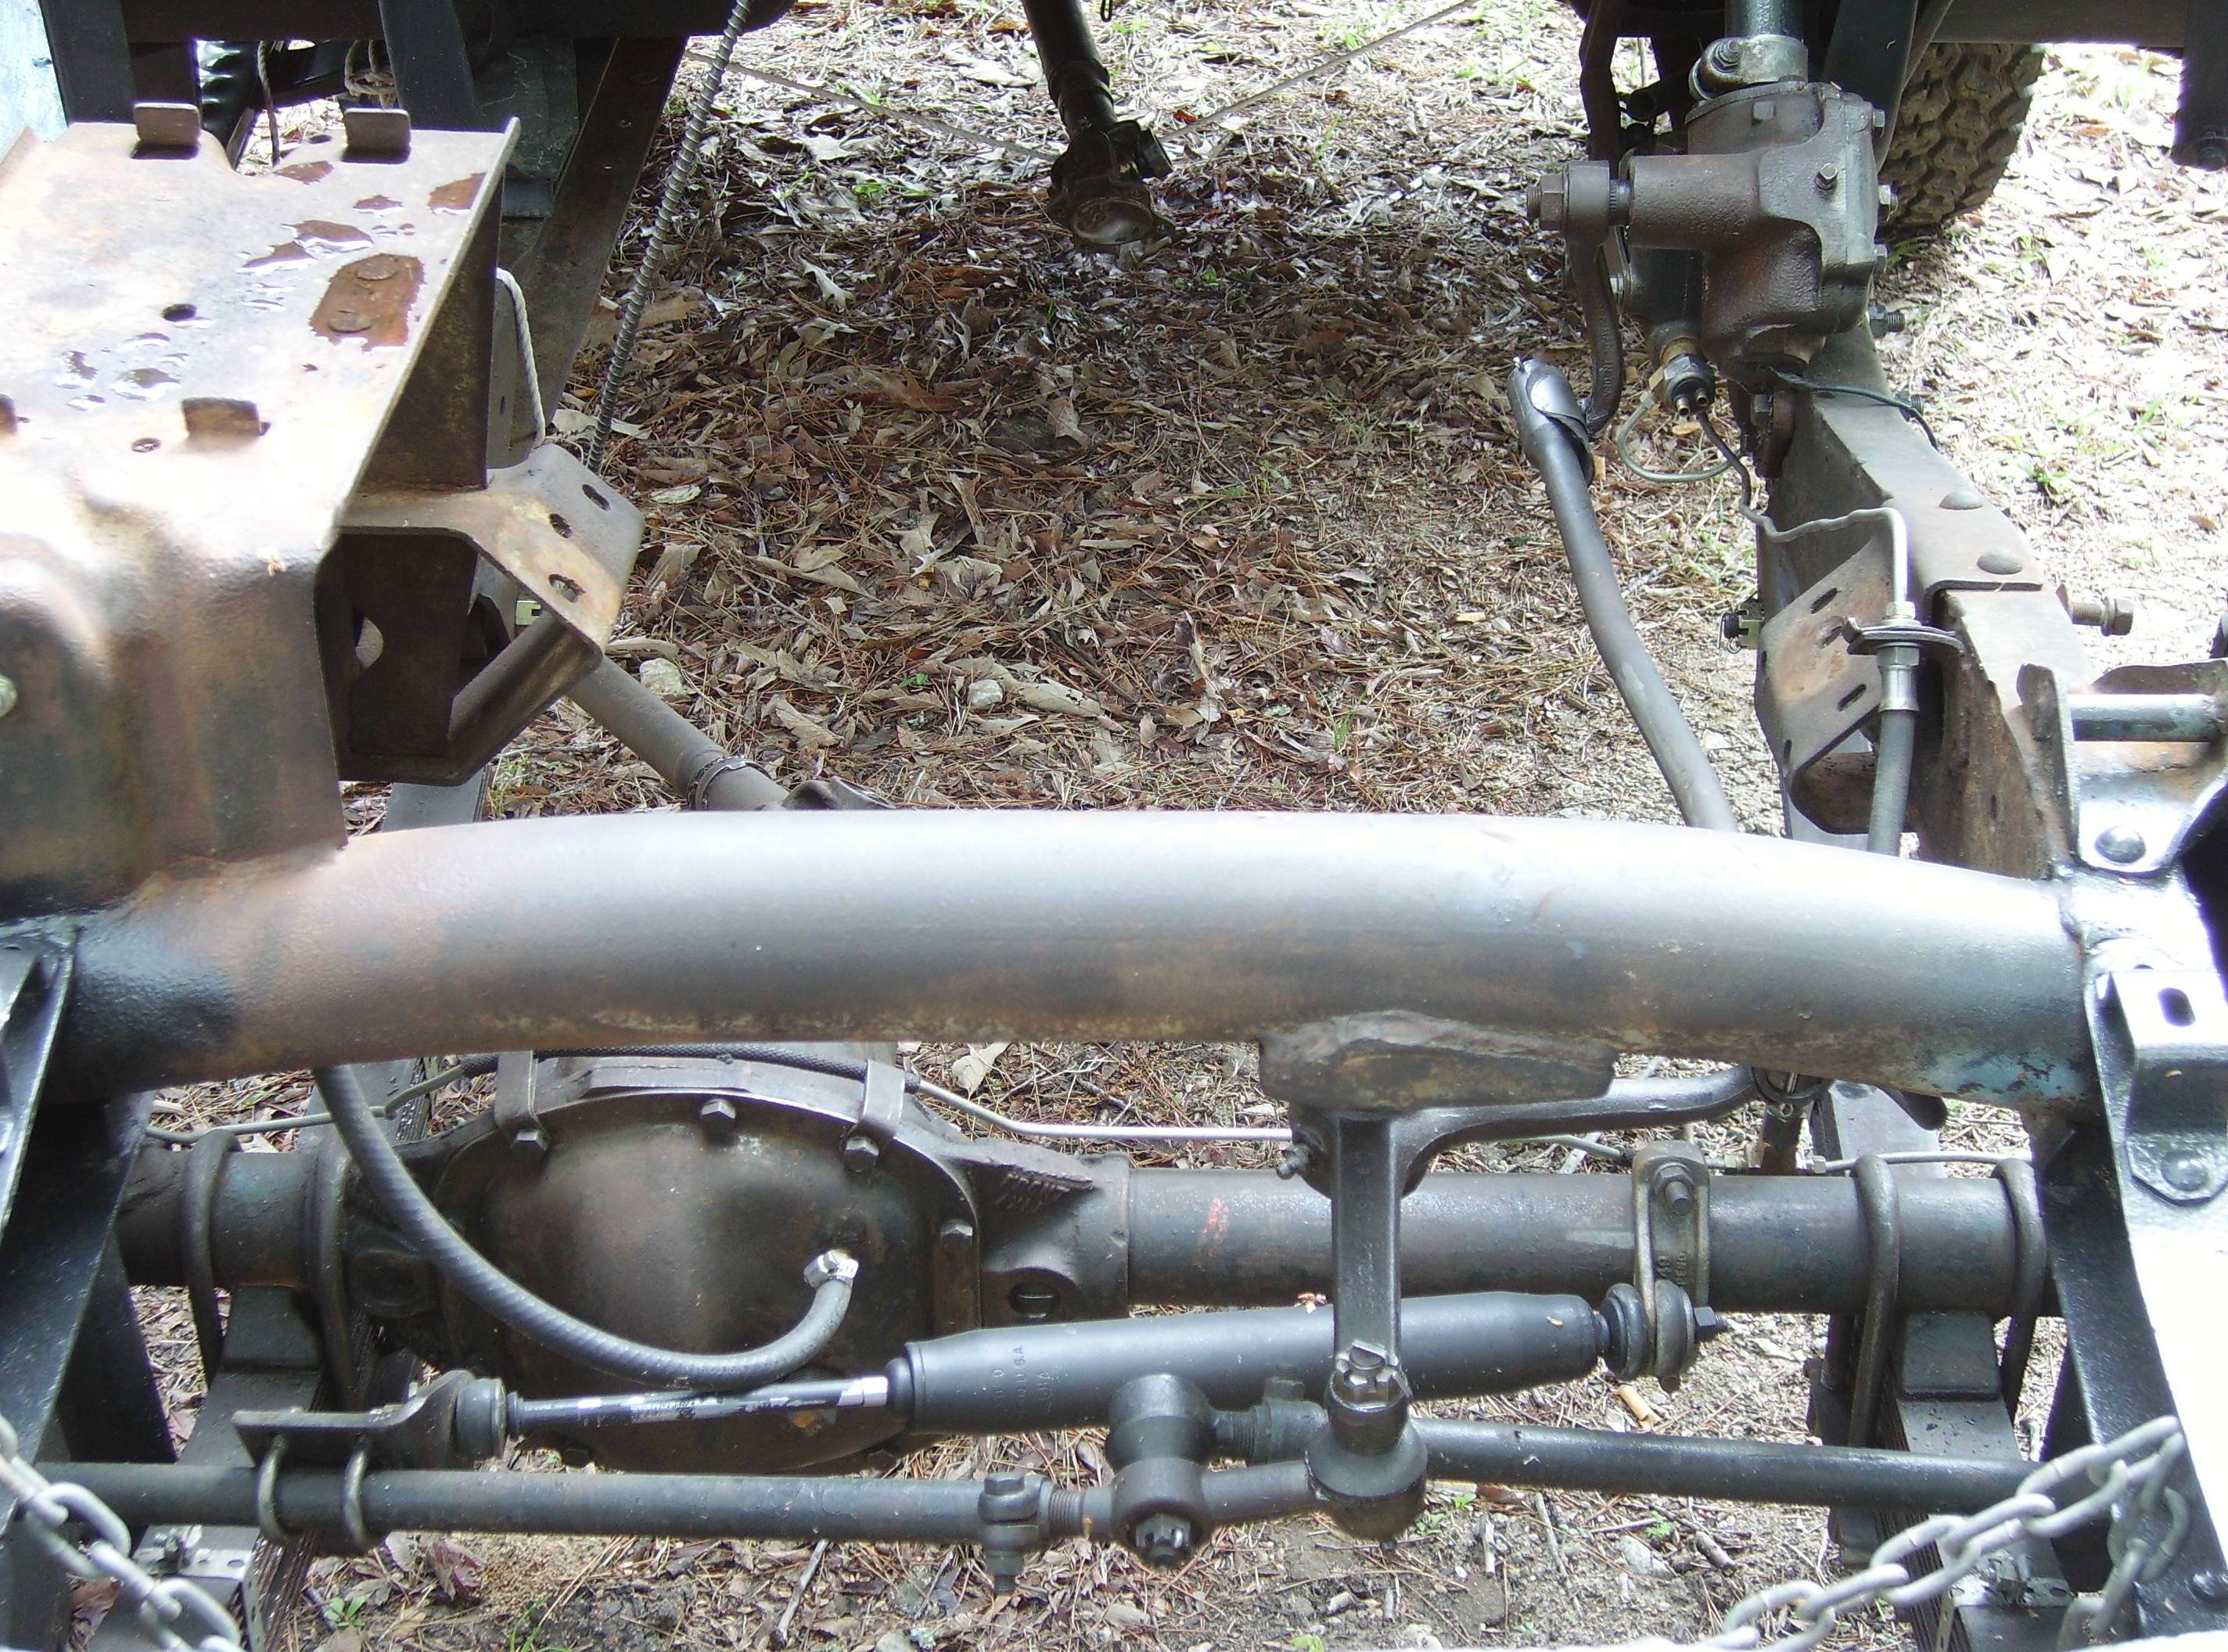
The views of the body below are after it sat outside in the weather for 3 months while the chassis and drive train was degreased, derusted, cleaned and repaired. The installation of overload springs raised the entire chassis 4 inches from the starting measurement. This is in fact about 1 inch over stock height, which tells me how weak the original springs were getting. The proof of the pudding will be after it goes up the mountains a few times with a full load and it settles.Note the patina of the chassis and drive train metal after cleaning. It survived for 50 years in surprisingly good condition, for instance the knuckles when compared to the before photos. An occassional power washing should keep it in that condition. I did consider painting the chassis but this is not a show room restoration, and with the proper care it will survive another 50+ years. Besides, you do what you can with a limited budget and time.
If you think about it, these old Jeeps were developed as true utility vehicles. In fact, Willys marketed it as a farm/field machine. With a PTO you could install trenchers, augers, fire fighting apparatus, and there were extended beds for use as a small truck, etc. In short, they were built to survive the abuse a working vehicle typically receives and a significant number have outlived their owners. And a significant number have been painted with farm paint and a brush as well.
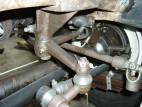
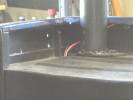
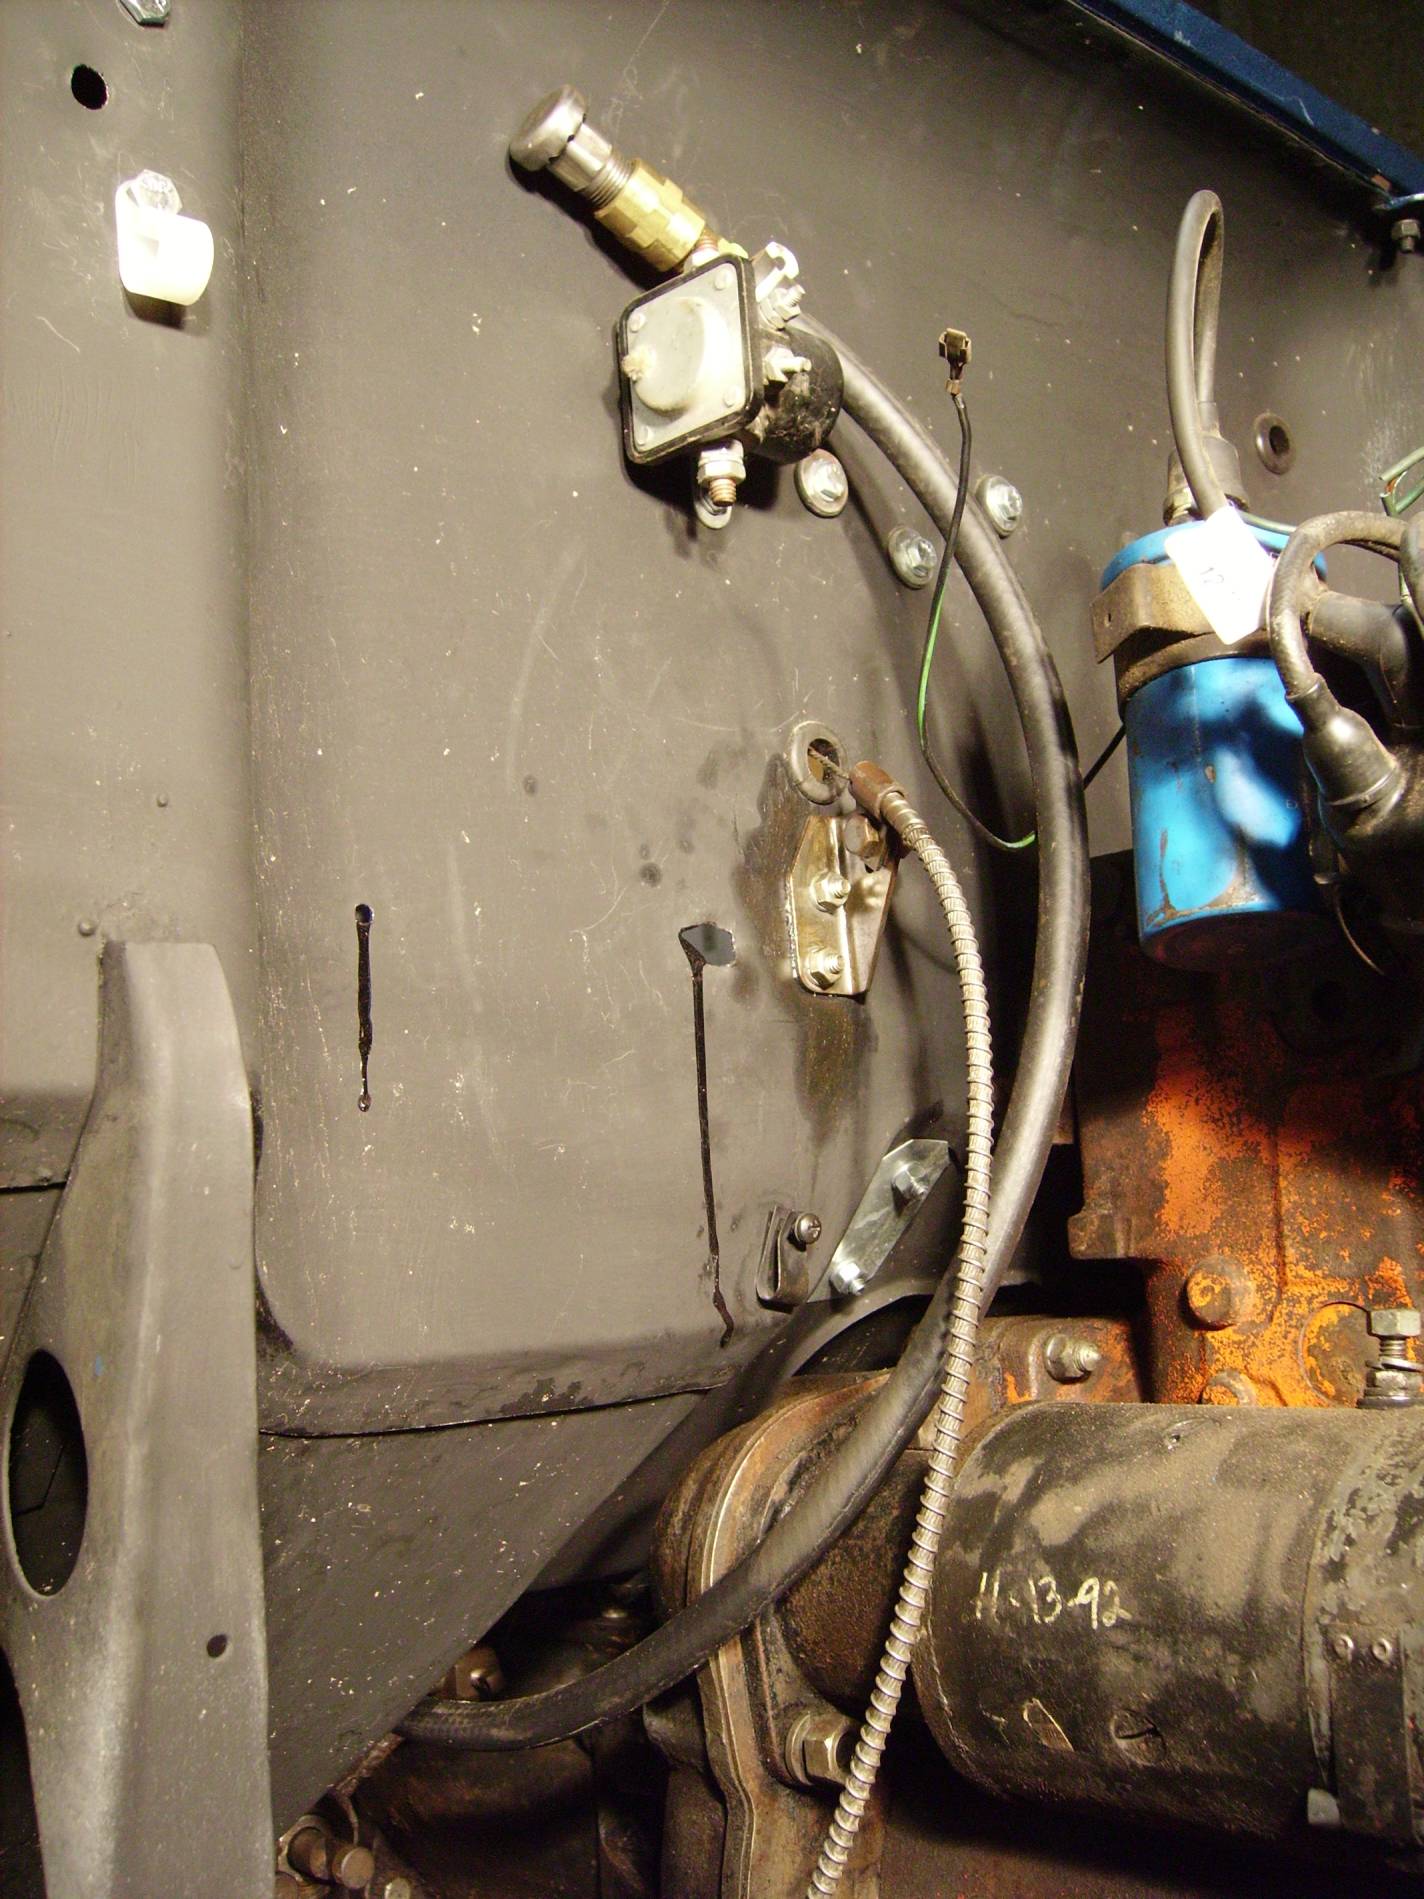
The breather hoses installed for the front differential and transfer case are also pictured. This was done so when you ford a stream they won't suck water. Fording streams and mud puddles can happen on a daily basis when its used as a tour Jeep. Replacement body mounts were cut from a scrap tire boot. The rubber seal on the drag link was cut from scrap inner tube. Not original, but certainly does the job effectively.


May 2009 Update
I had high hopes of having Nellie Belle ready for transport to Colorado. Alas, the Willys Gods would not cooperate. This is the final update until November 2009 when I have the budget to finish.

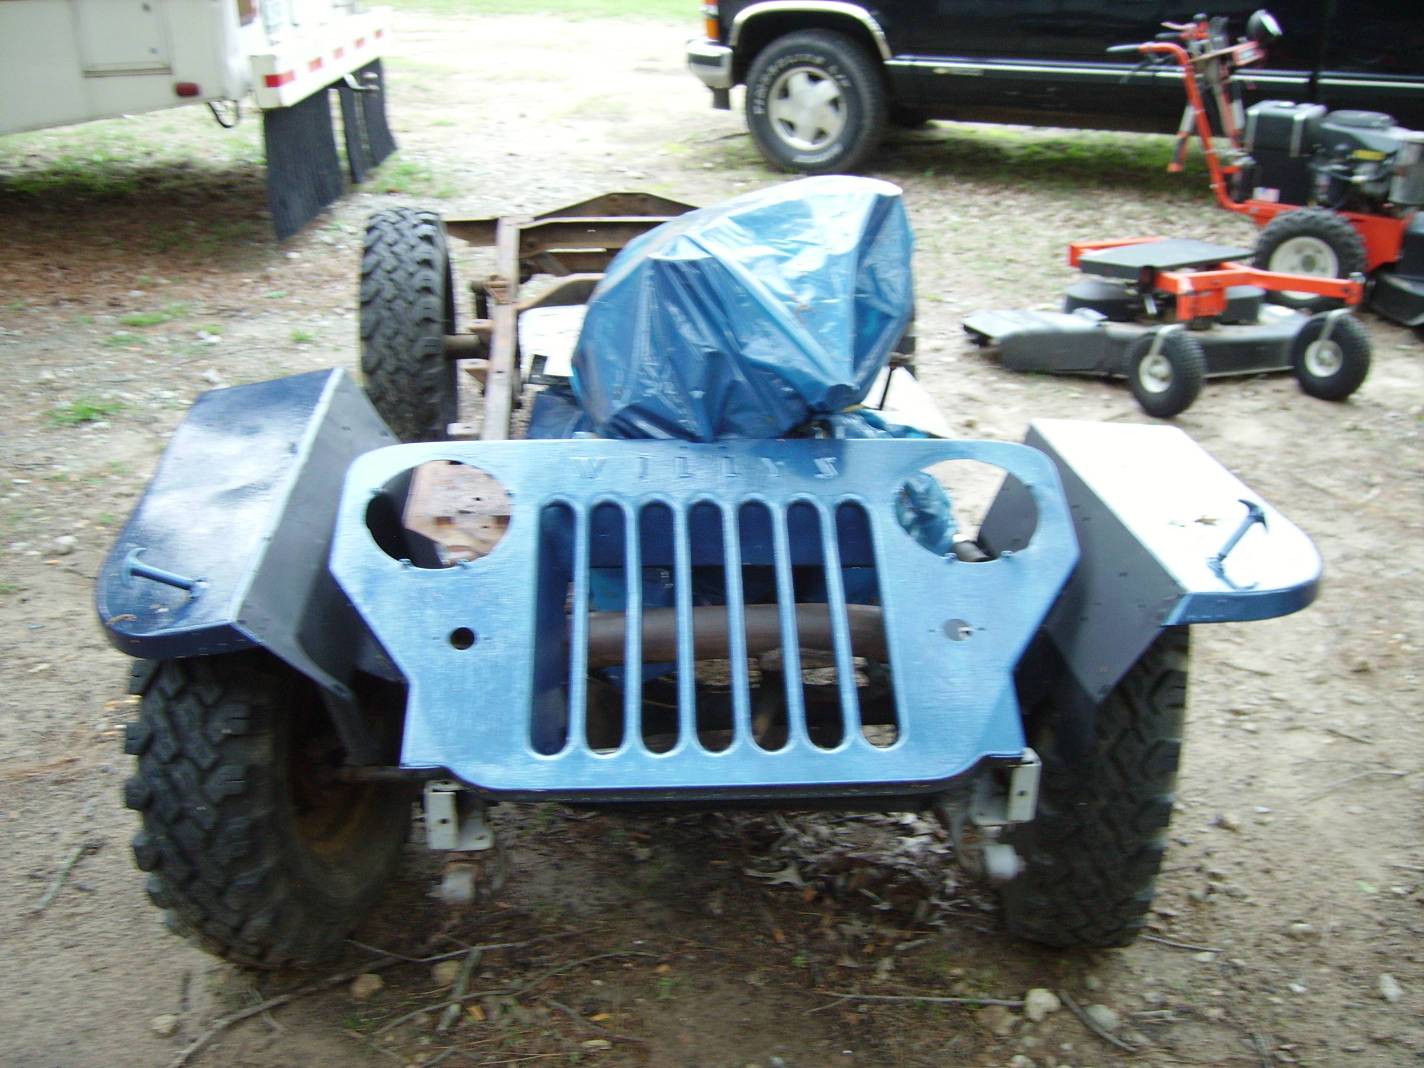
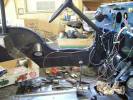
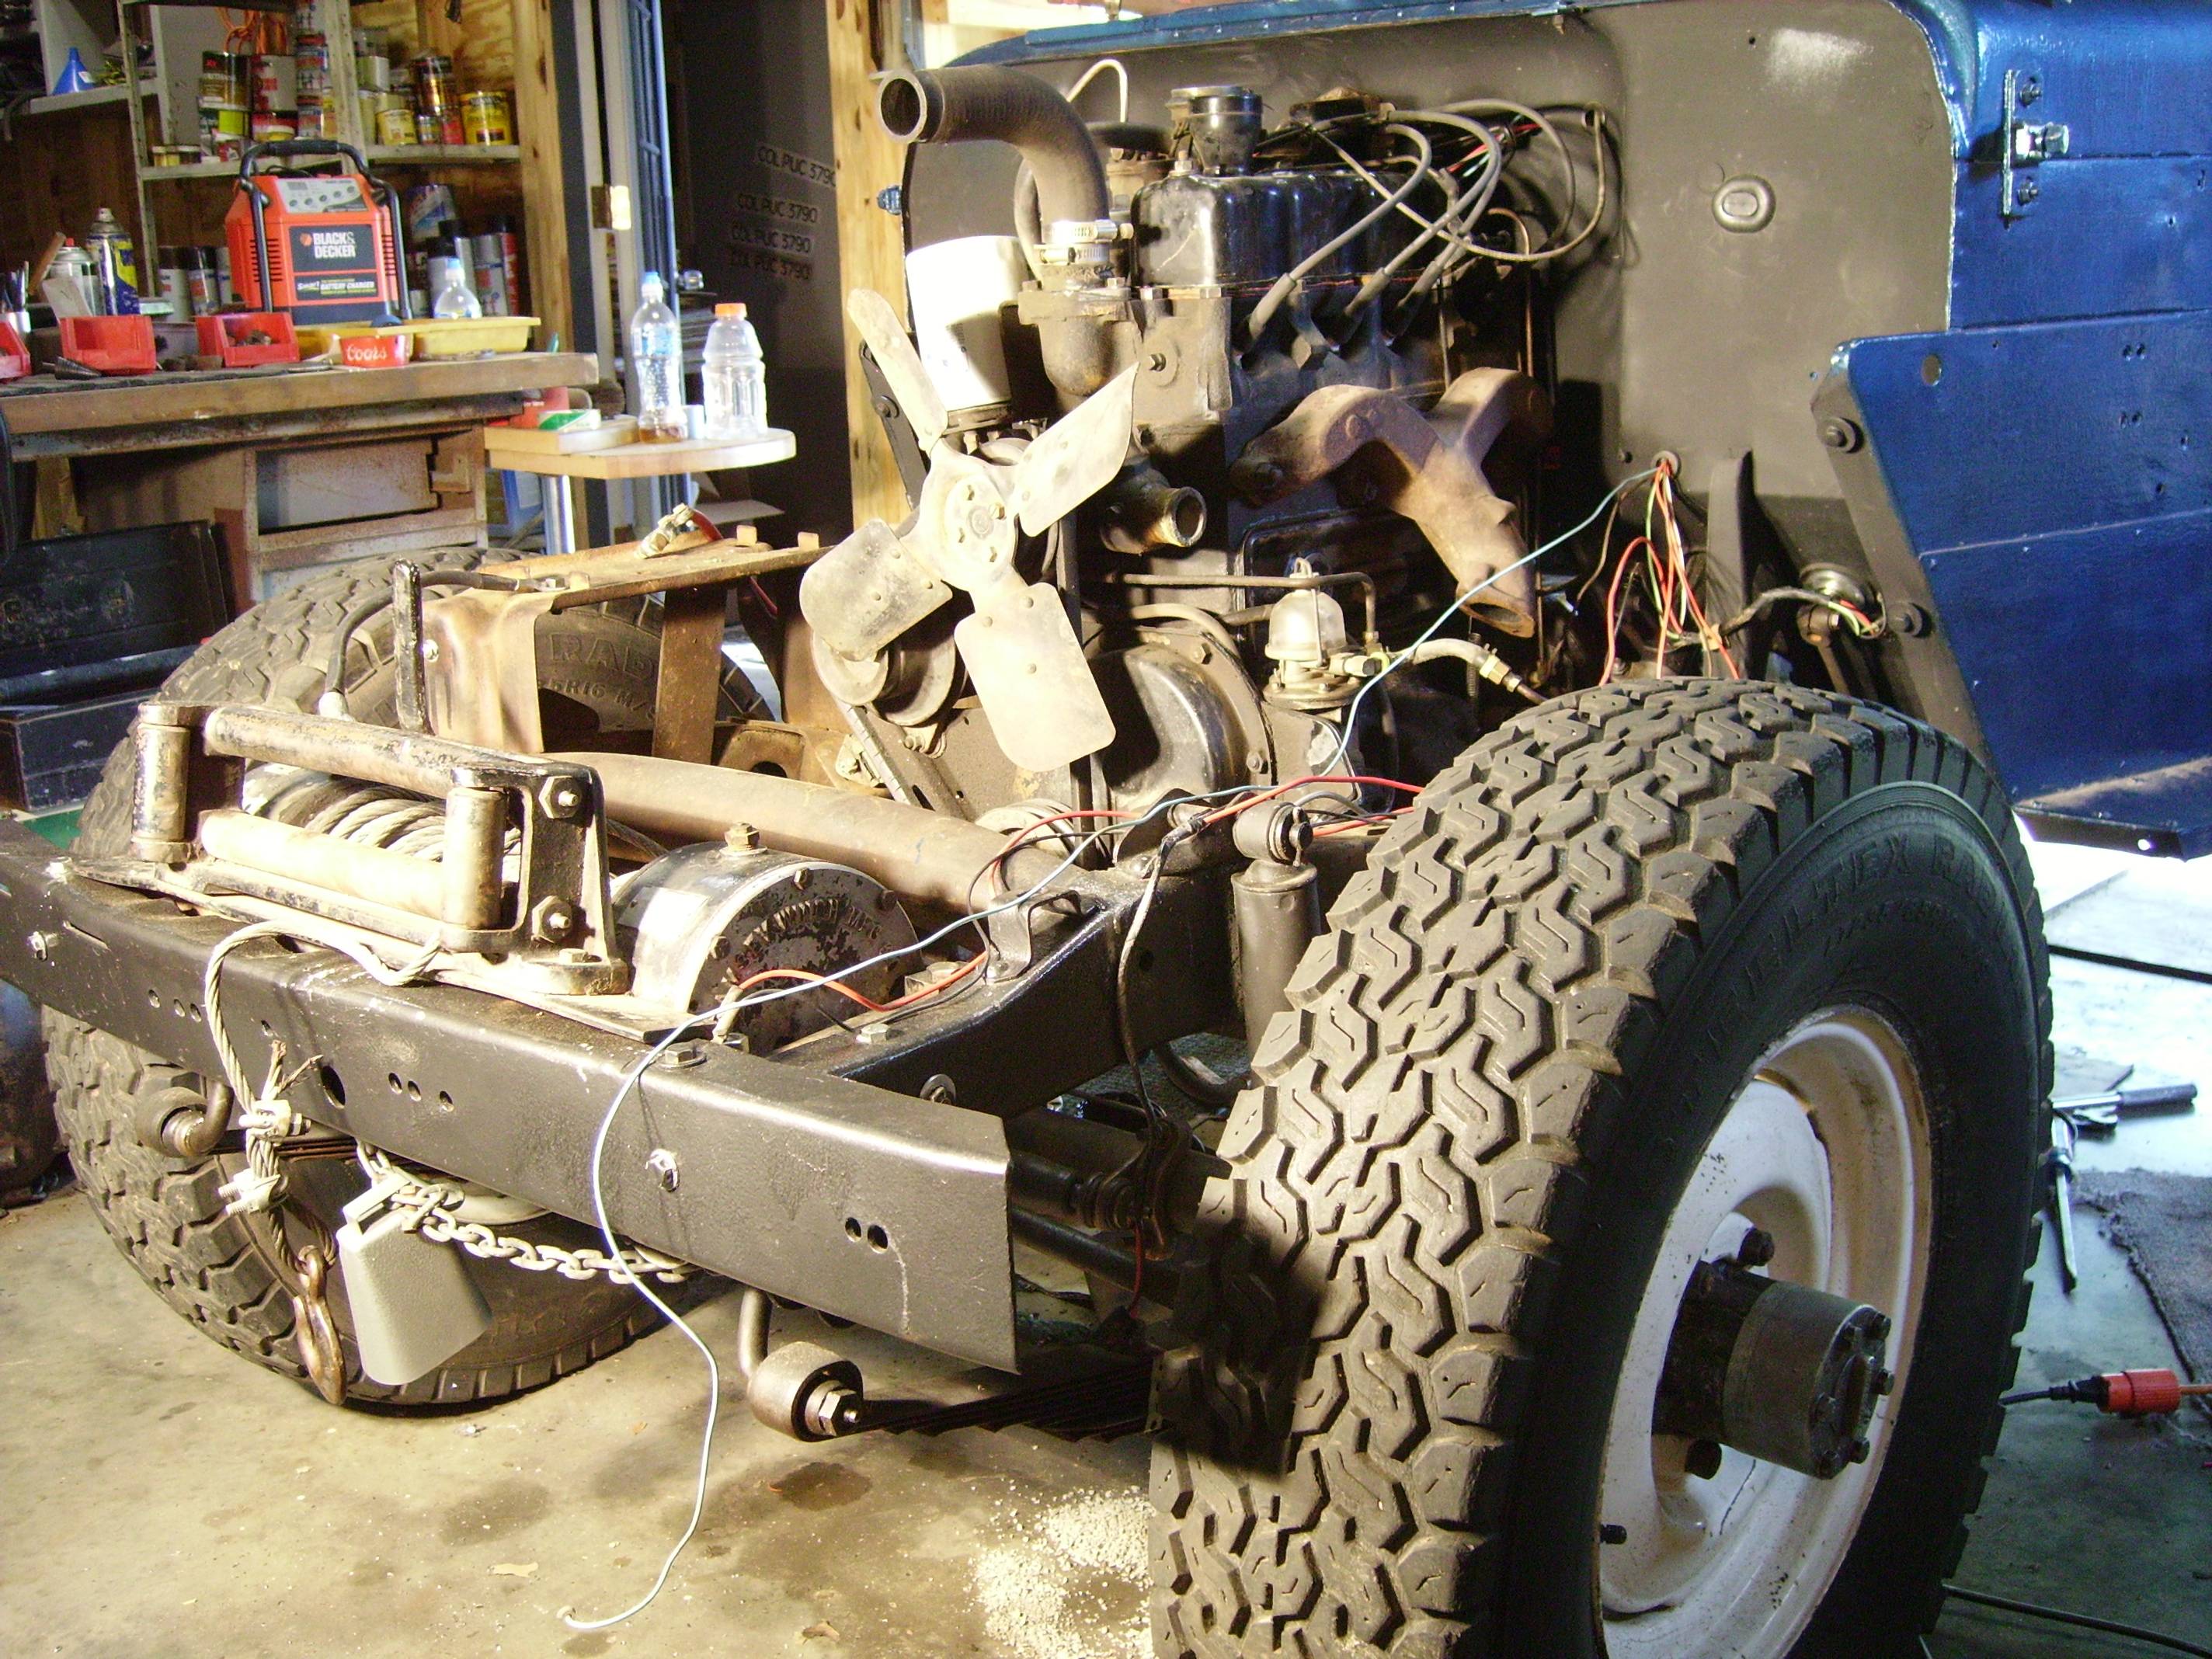
I decided the L-head that was in it was not worth rebuilding for this Jeep. So I pulled it in favor of a F-head from a 1964 CJ5. The pictures above were taken while I had Nellie Belle parked outside for a week.

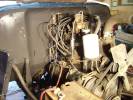
The F134 has been installed and the PTO Winch. The wire harness is being made.
I ran the wiring for the tail lights along the interior body mold, then fed them through a hole in the rear fender well. This is much better than the original wiring via the frame rail underneath.


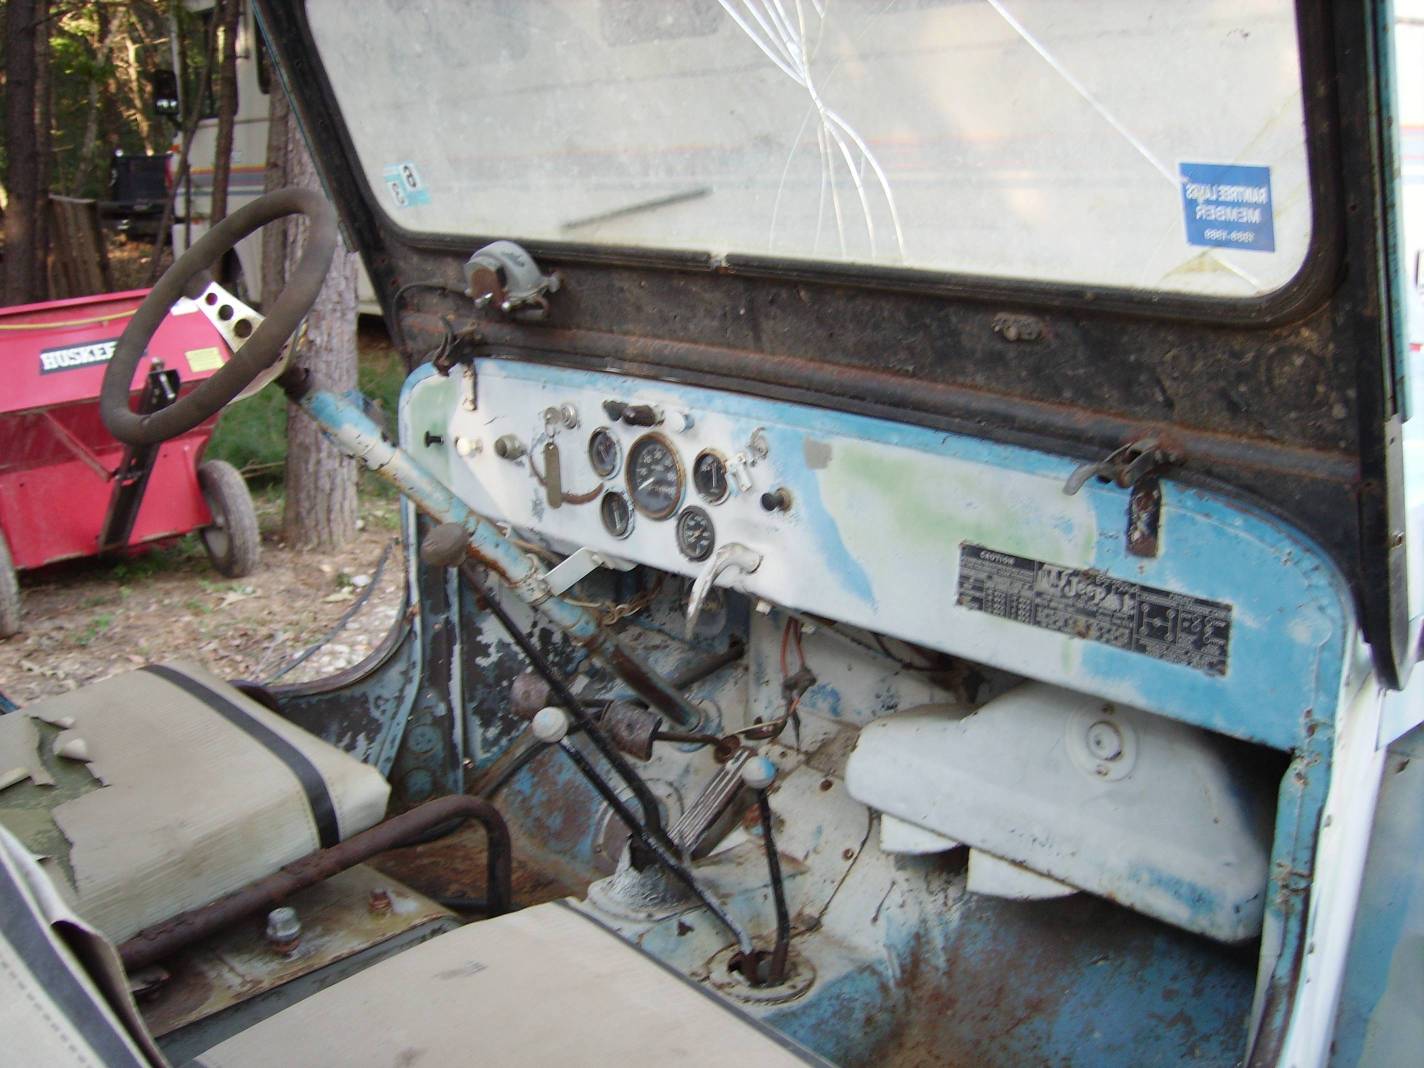
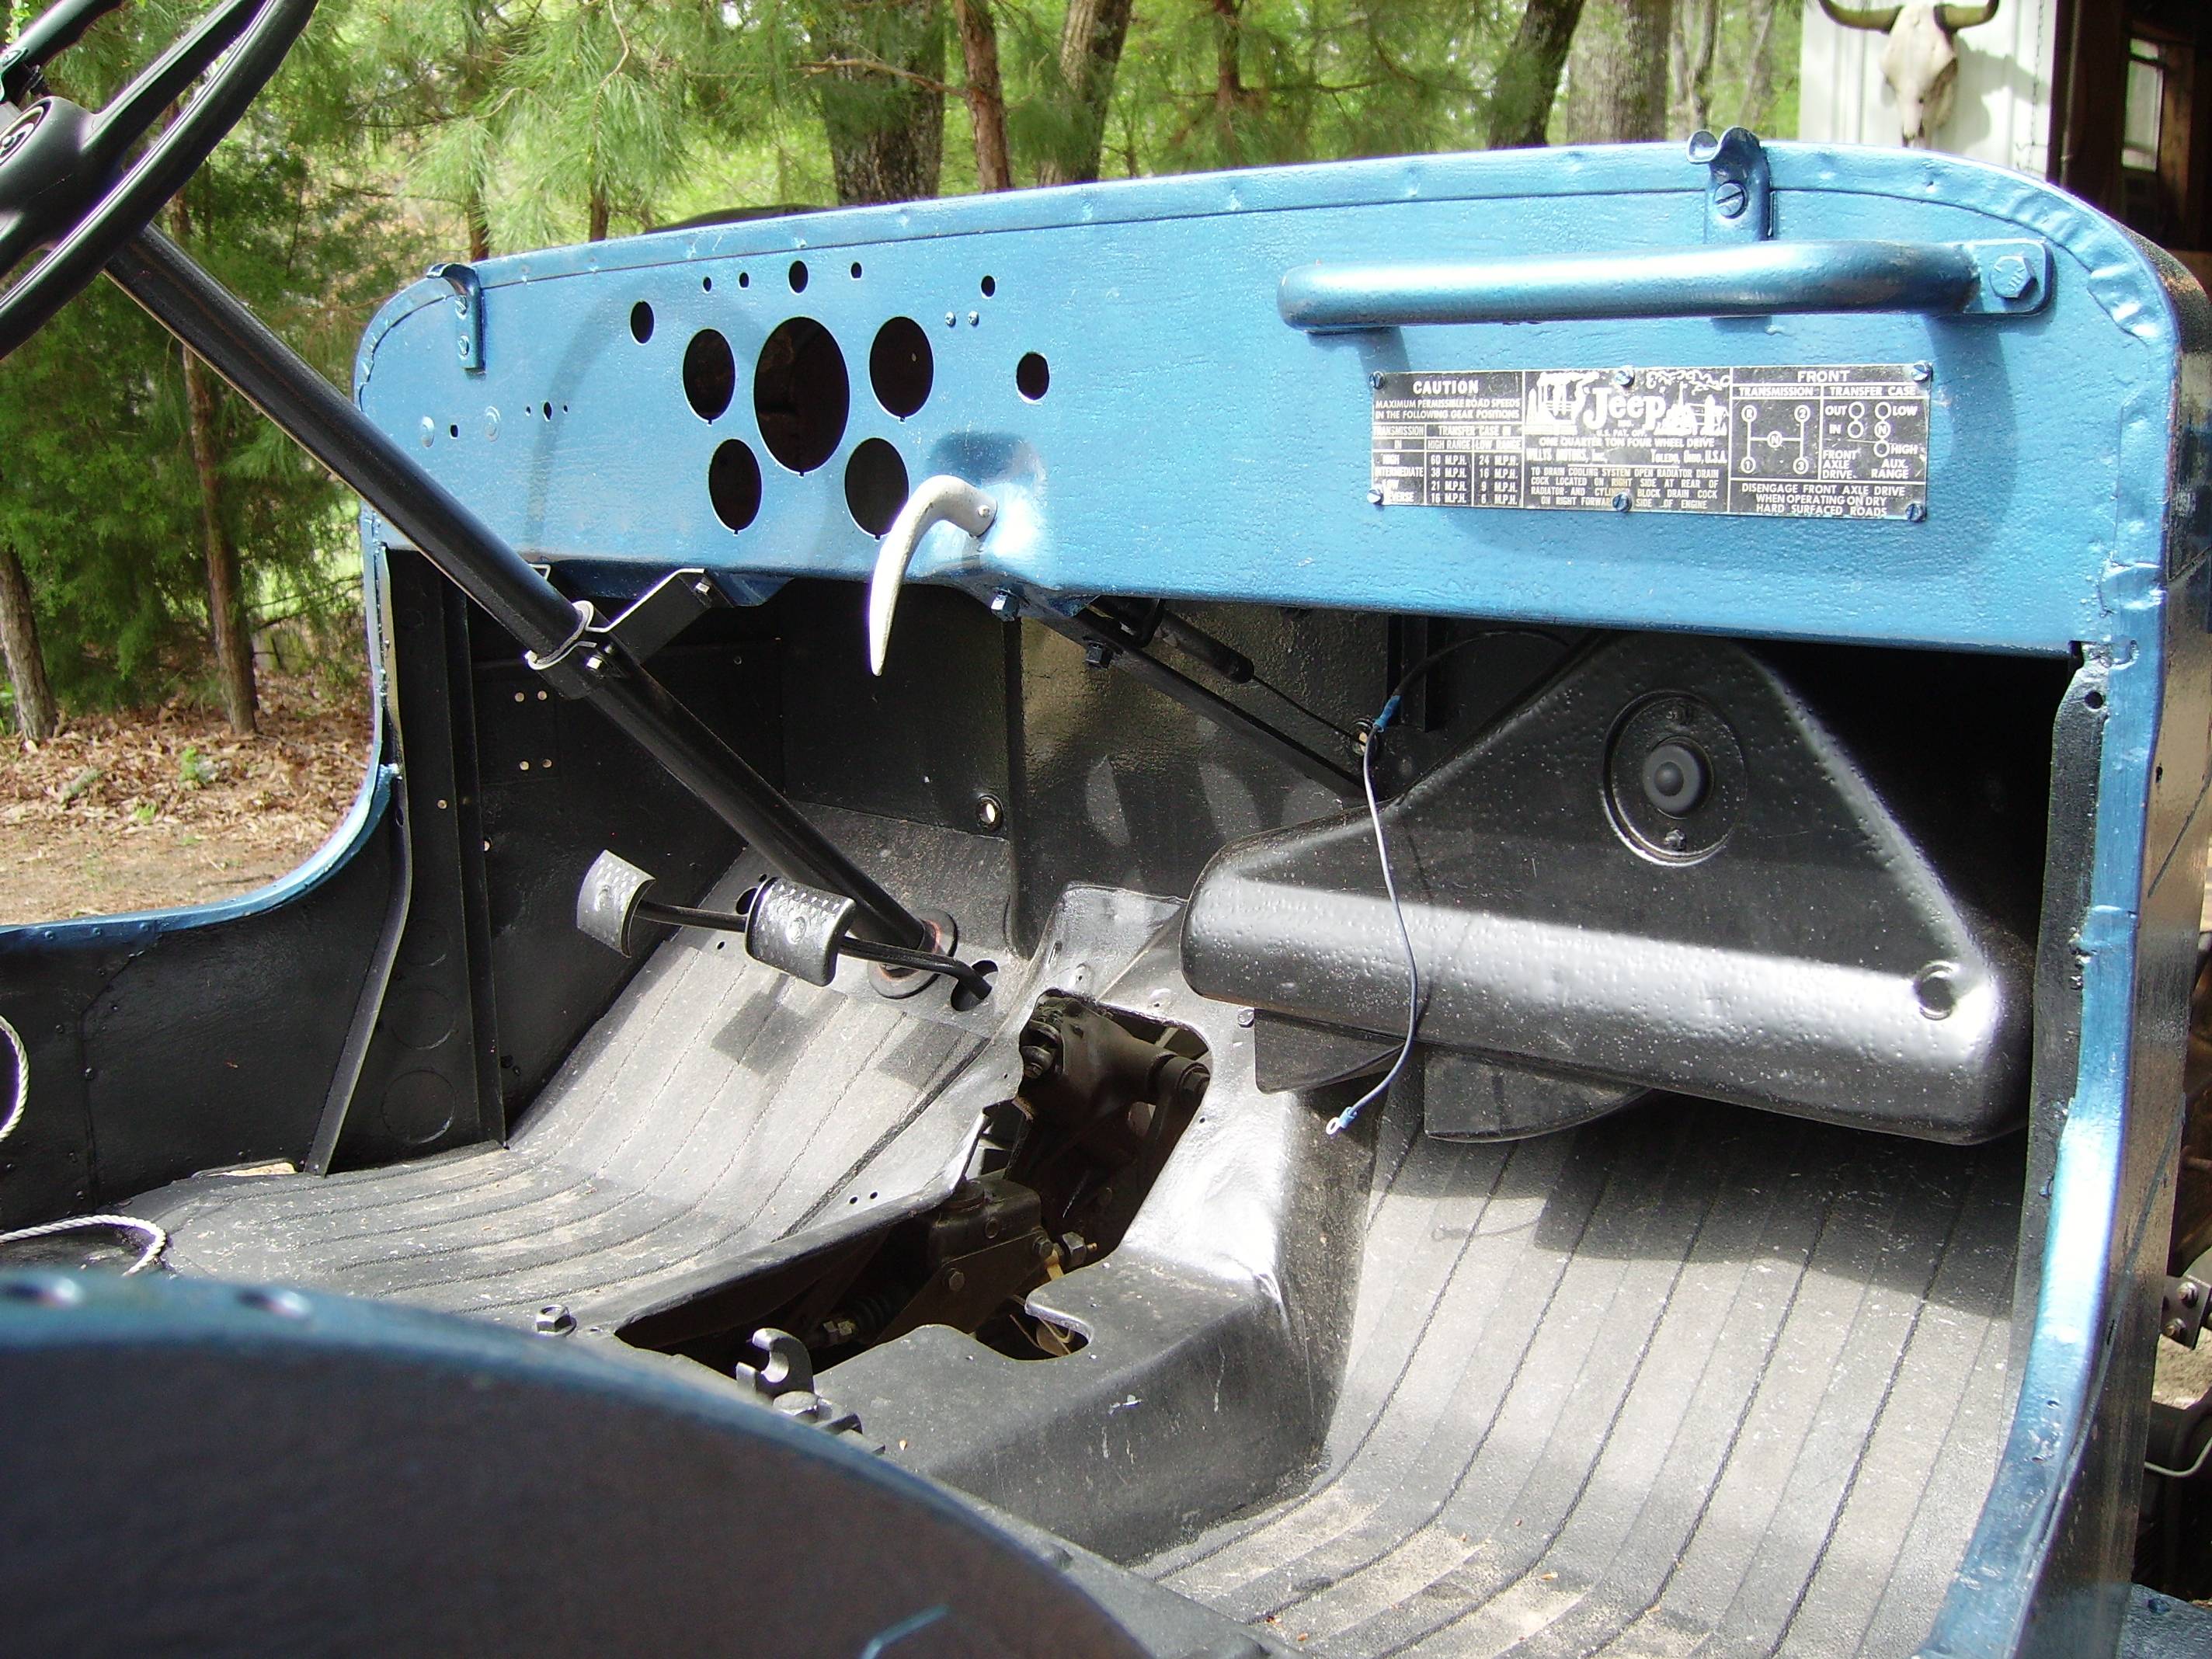
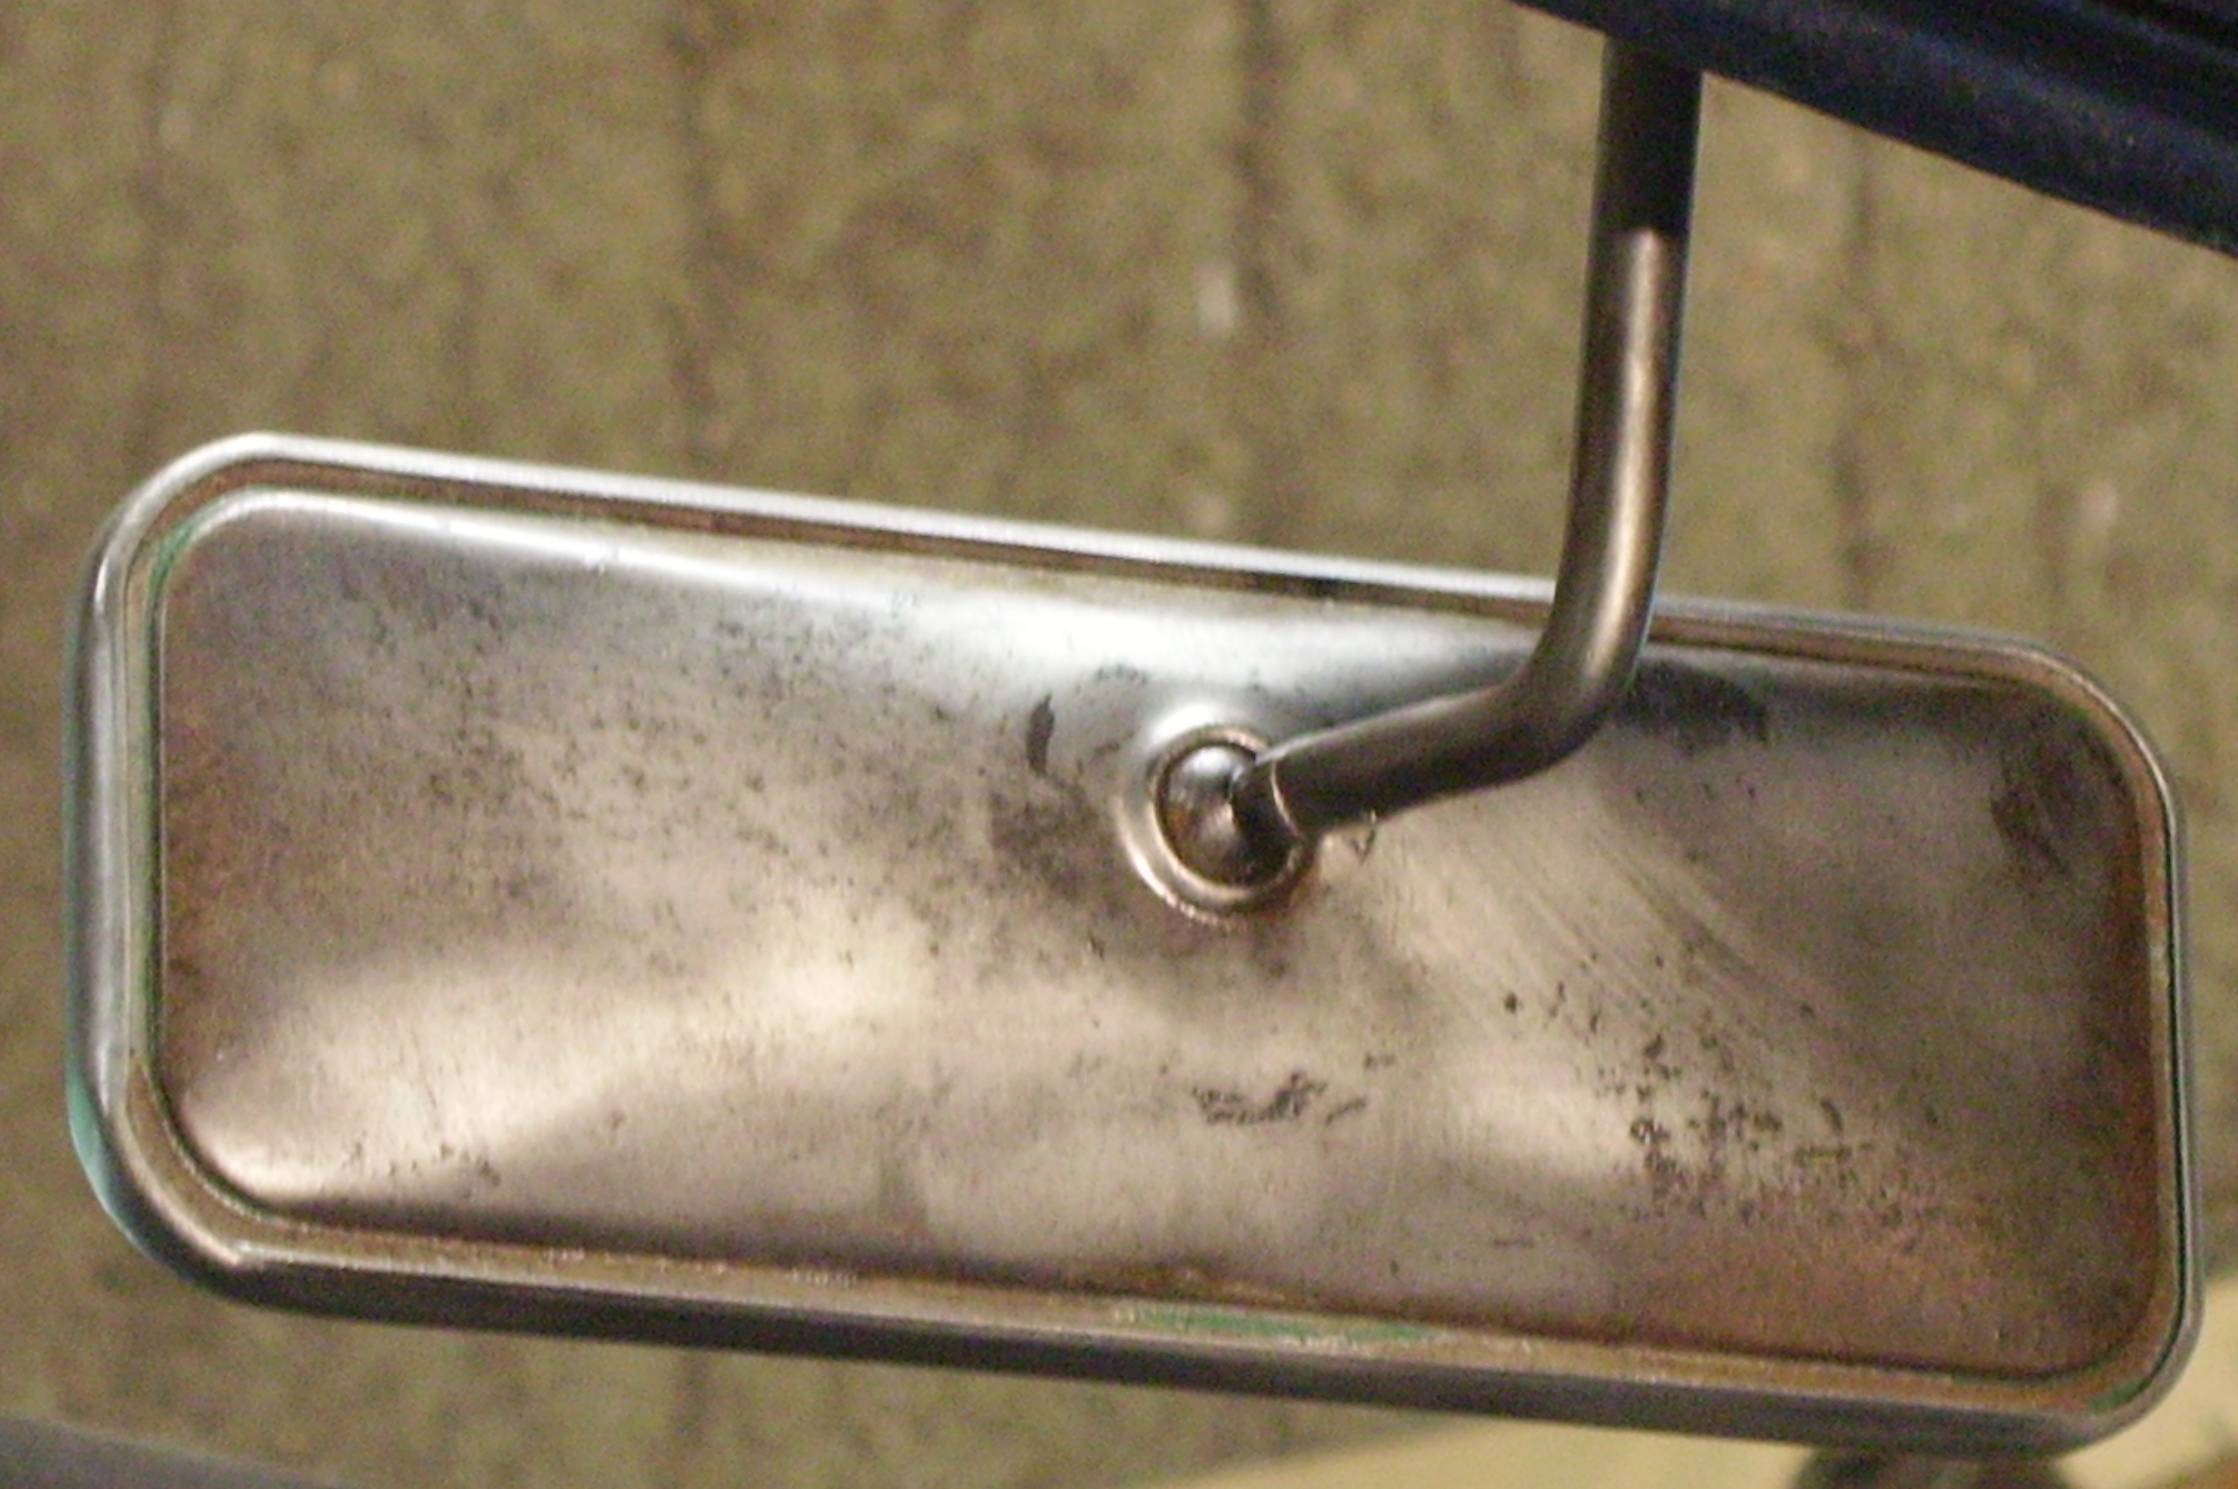
Guages, mirrors, hood, windshield have been installed to check fit. The parking light is missing because I broke the lens cleaning it. Rats.
December 2009 Update
I had to push her out of the garage for a day. Took the opportunity to snap some pictures.

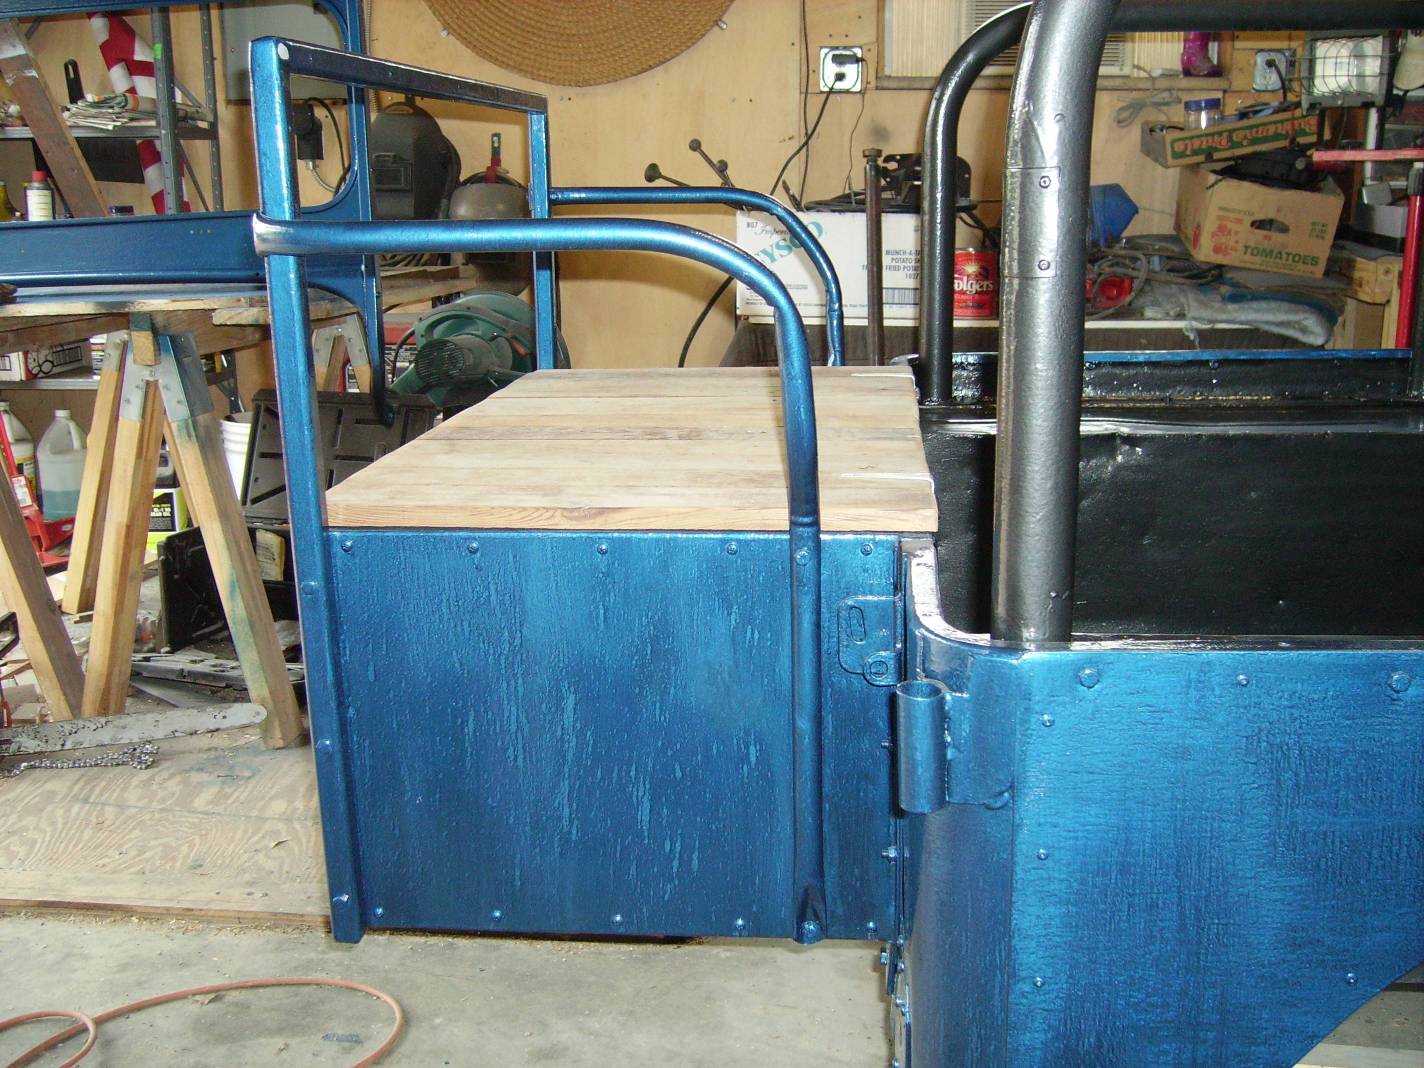
Slight change to the design of the back rest on the storage seat. Hidden nuts and bolts instead of screws, a more permanent installation.

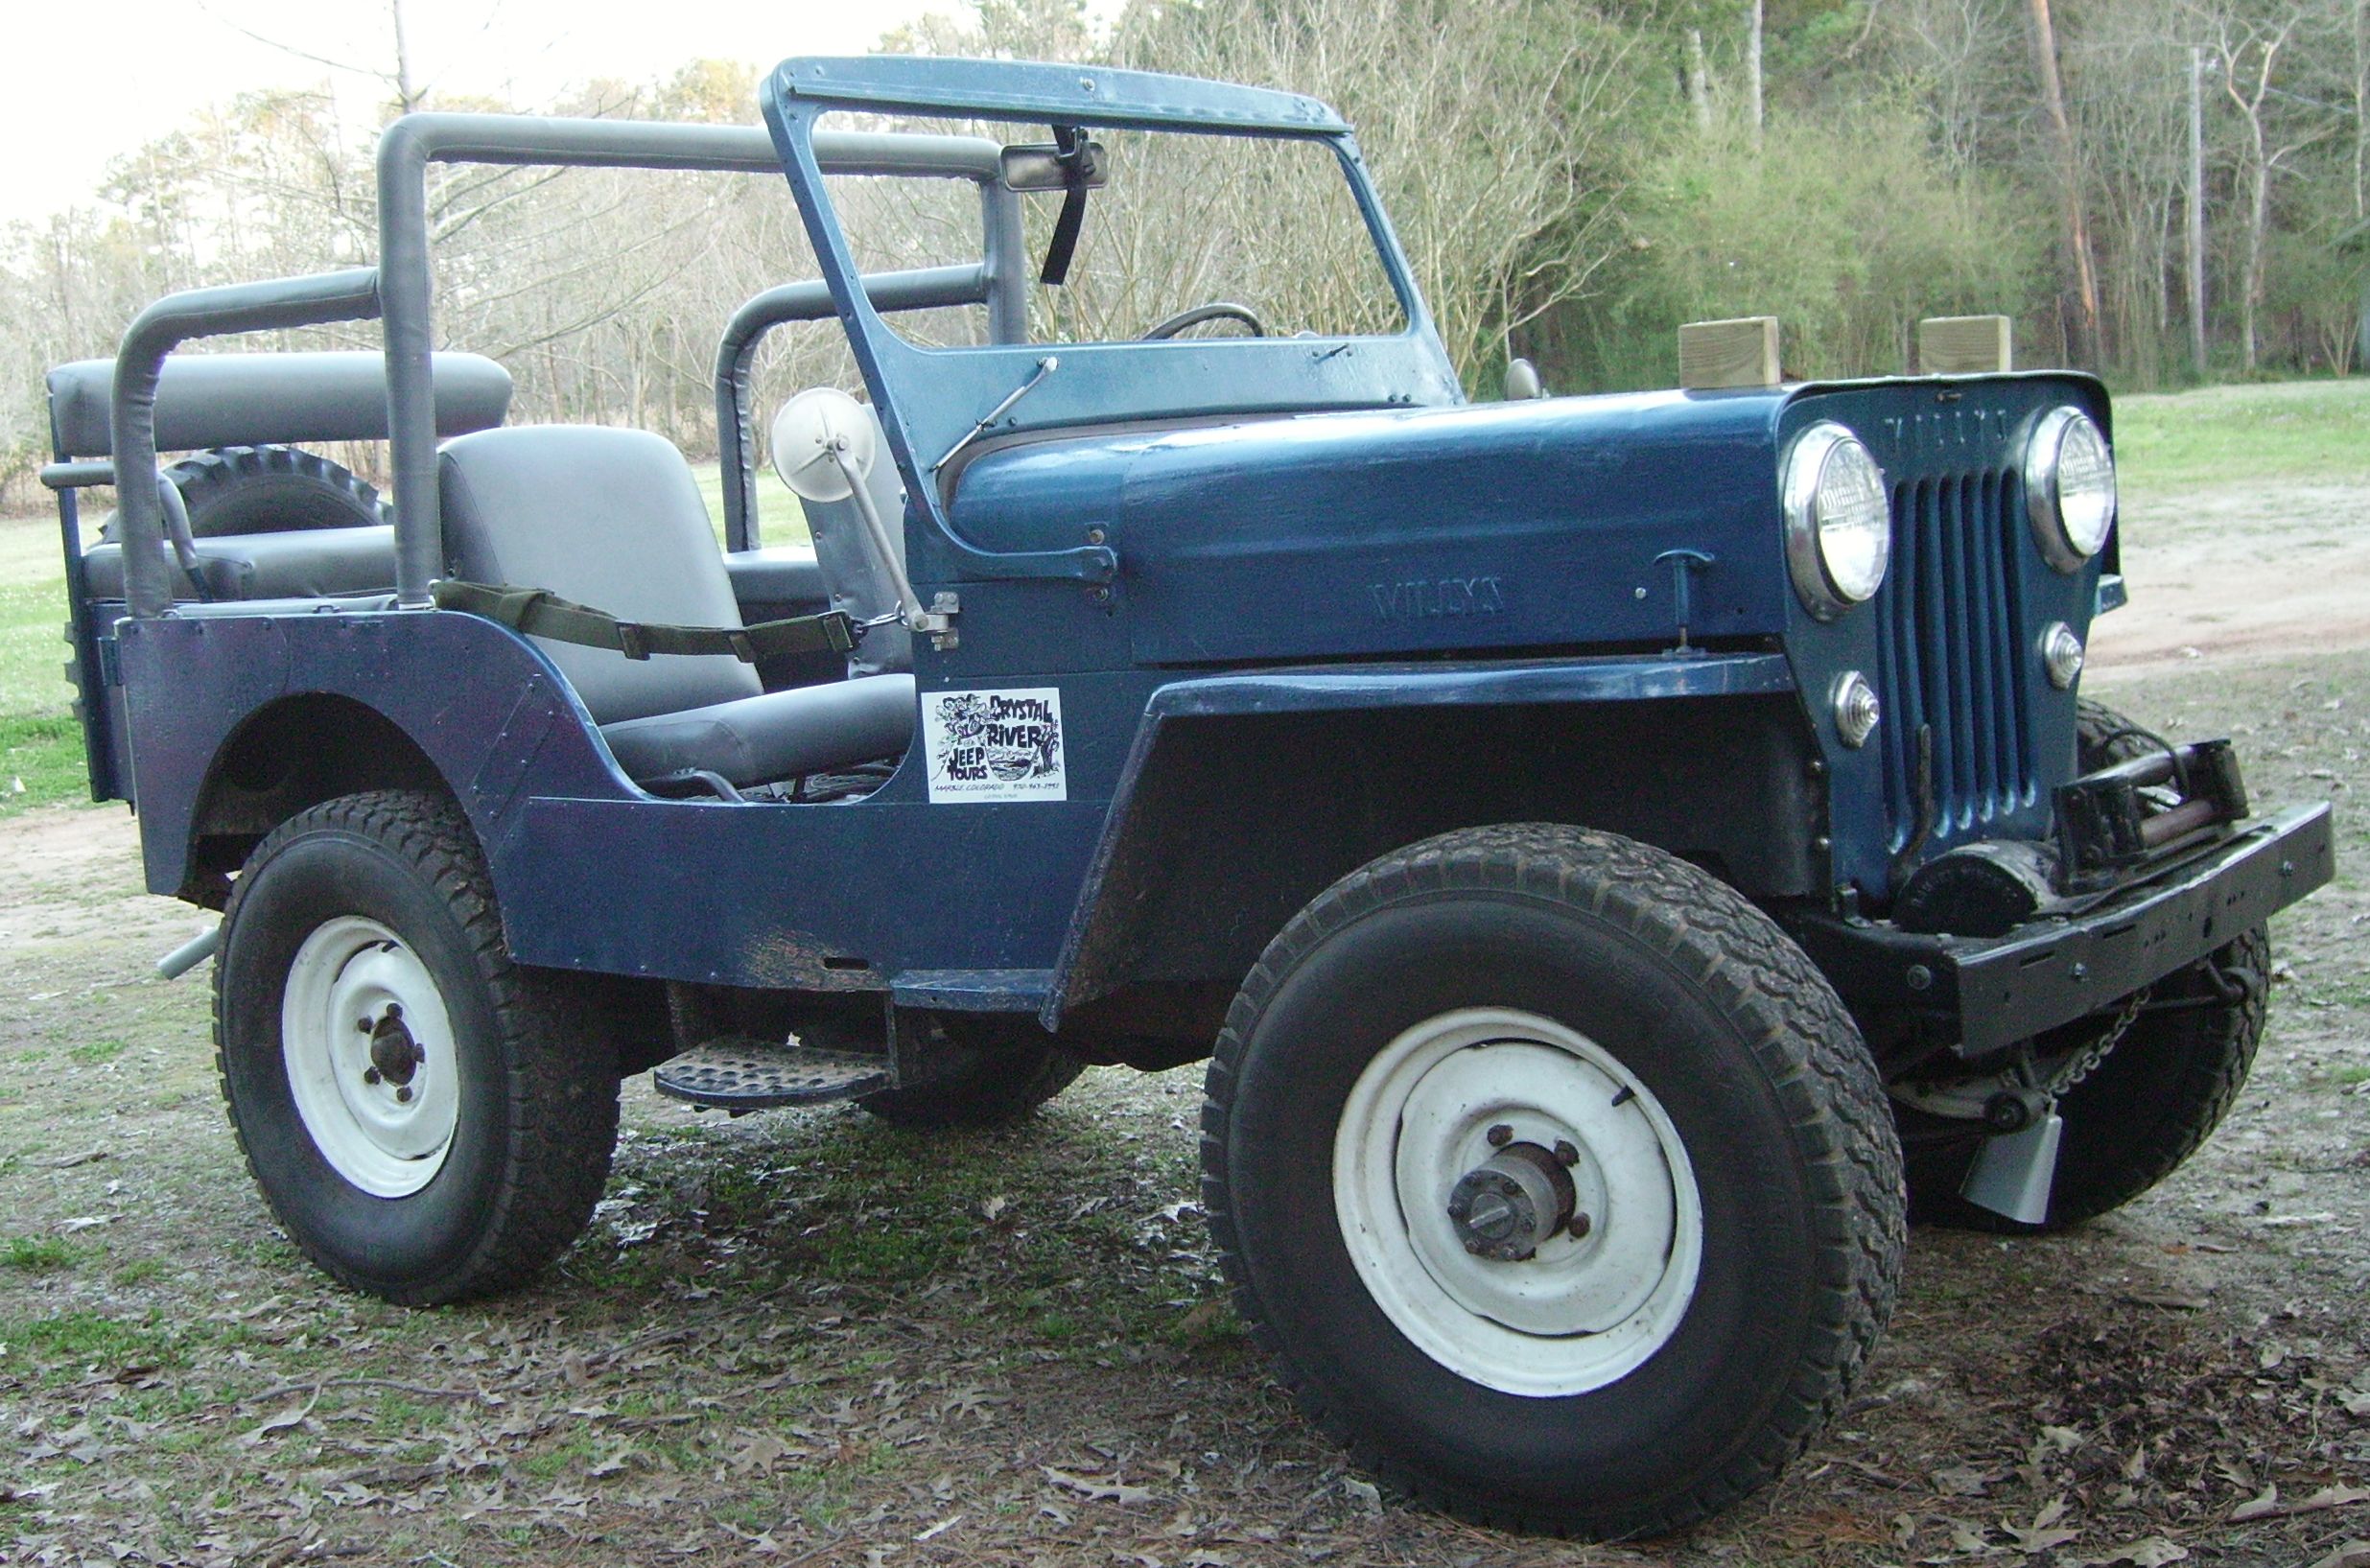
March 2010
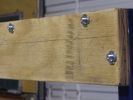
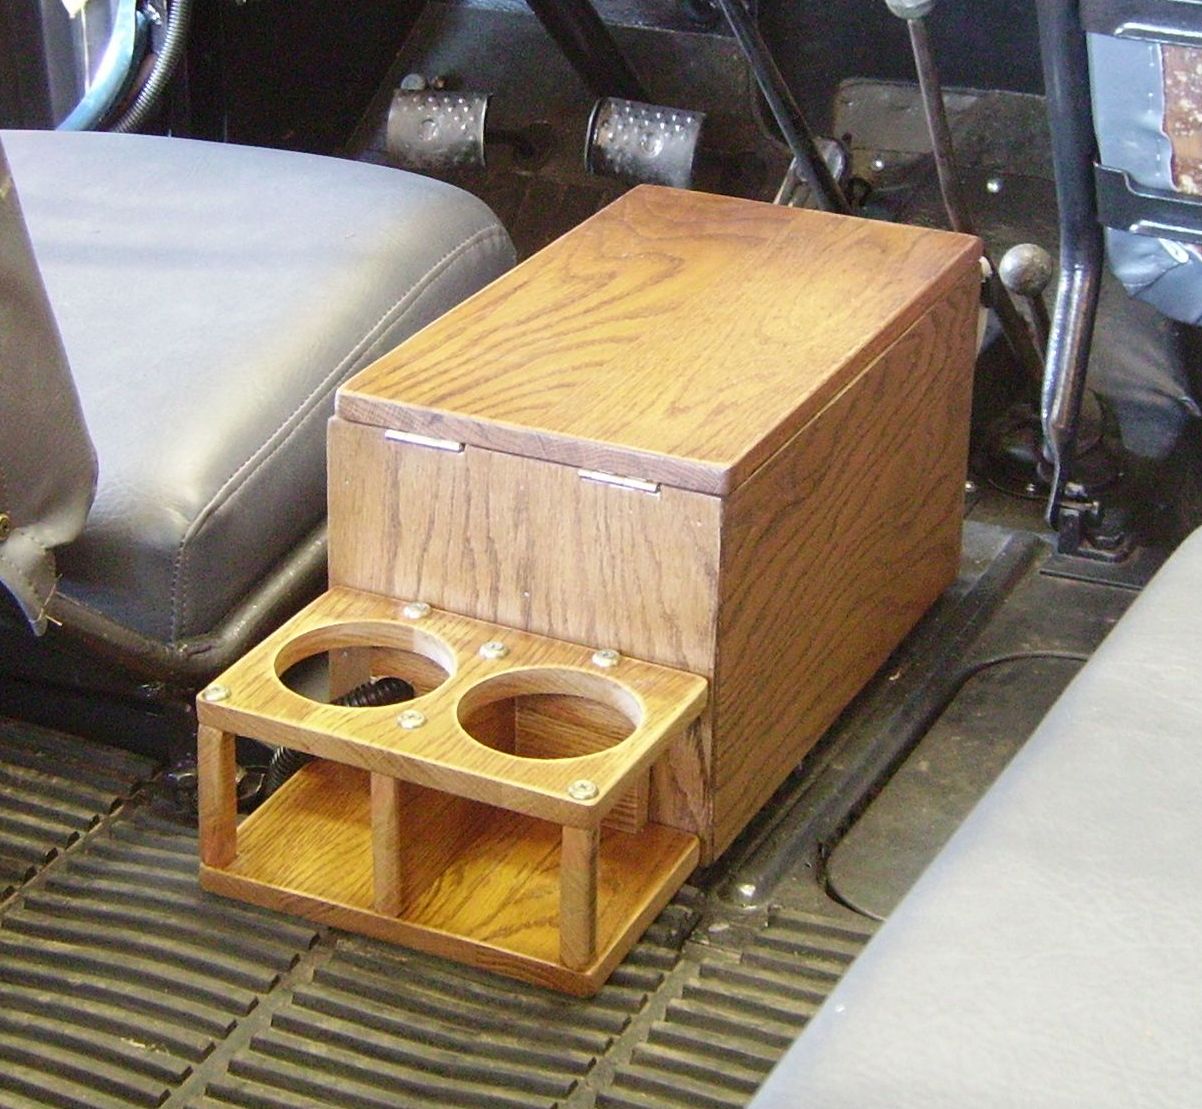
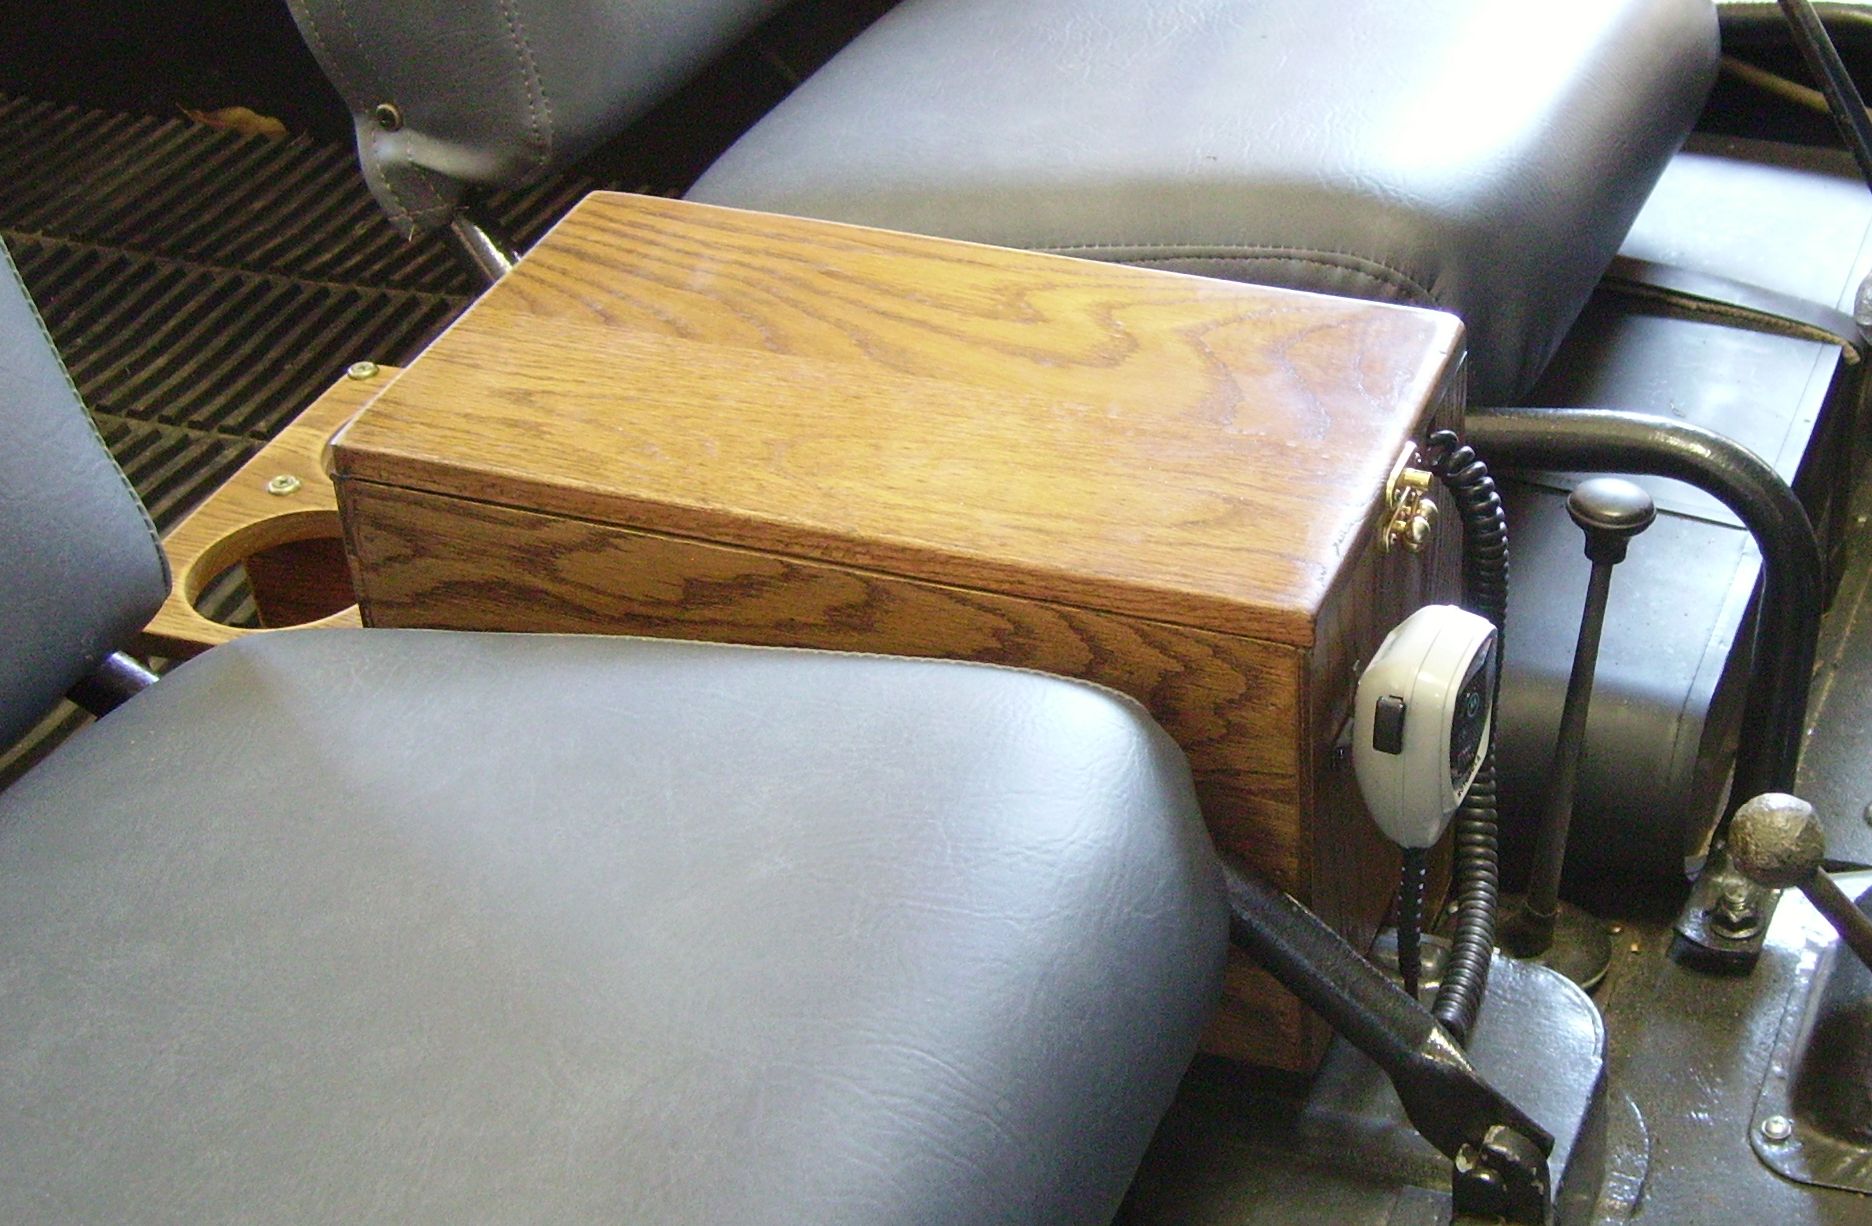
The console completed and installed. I documented the design/build.

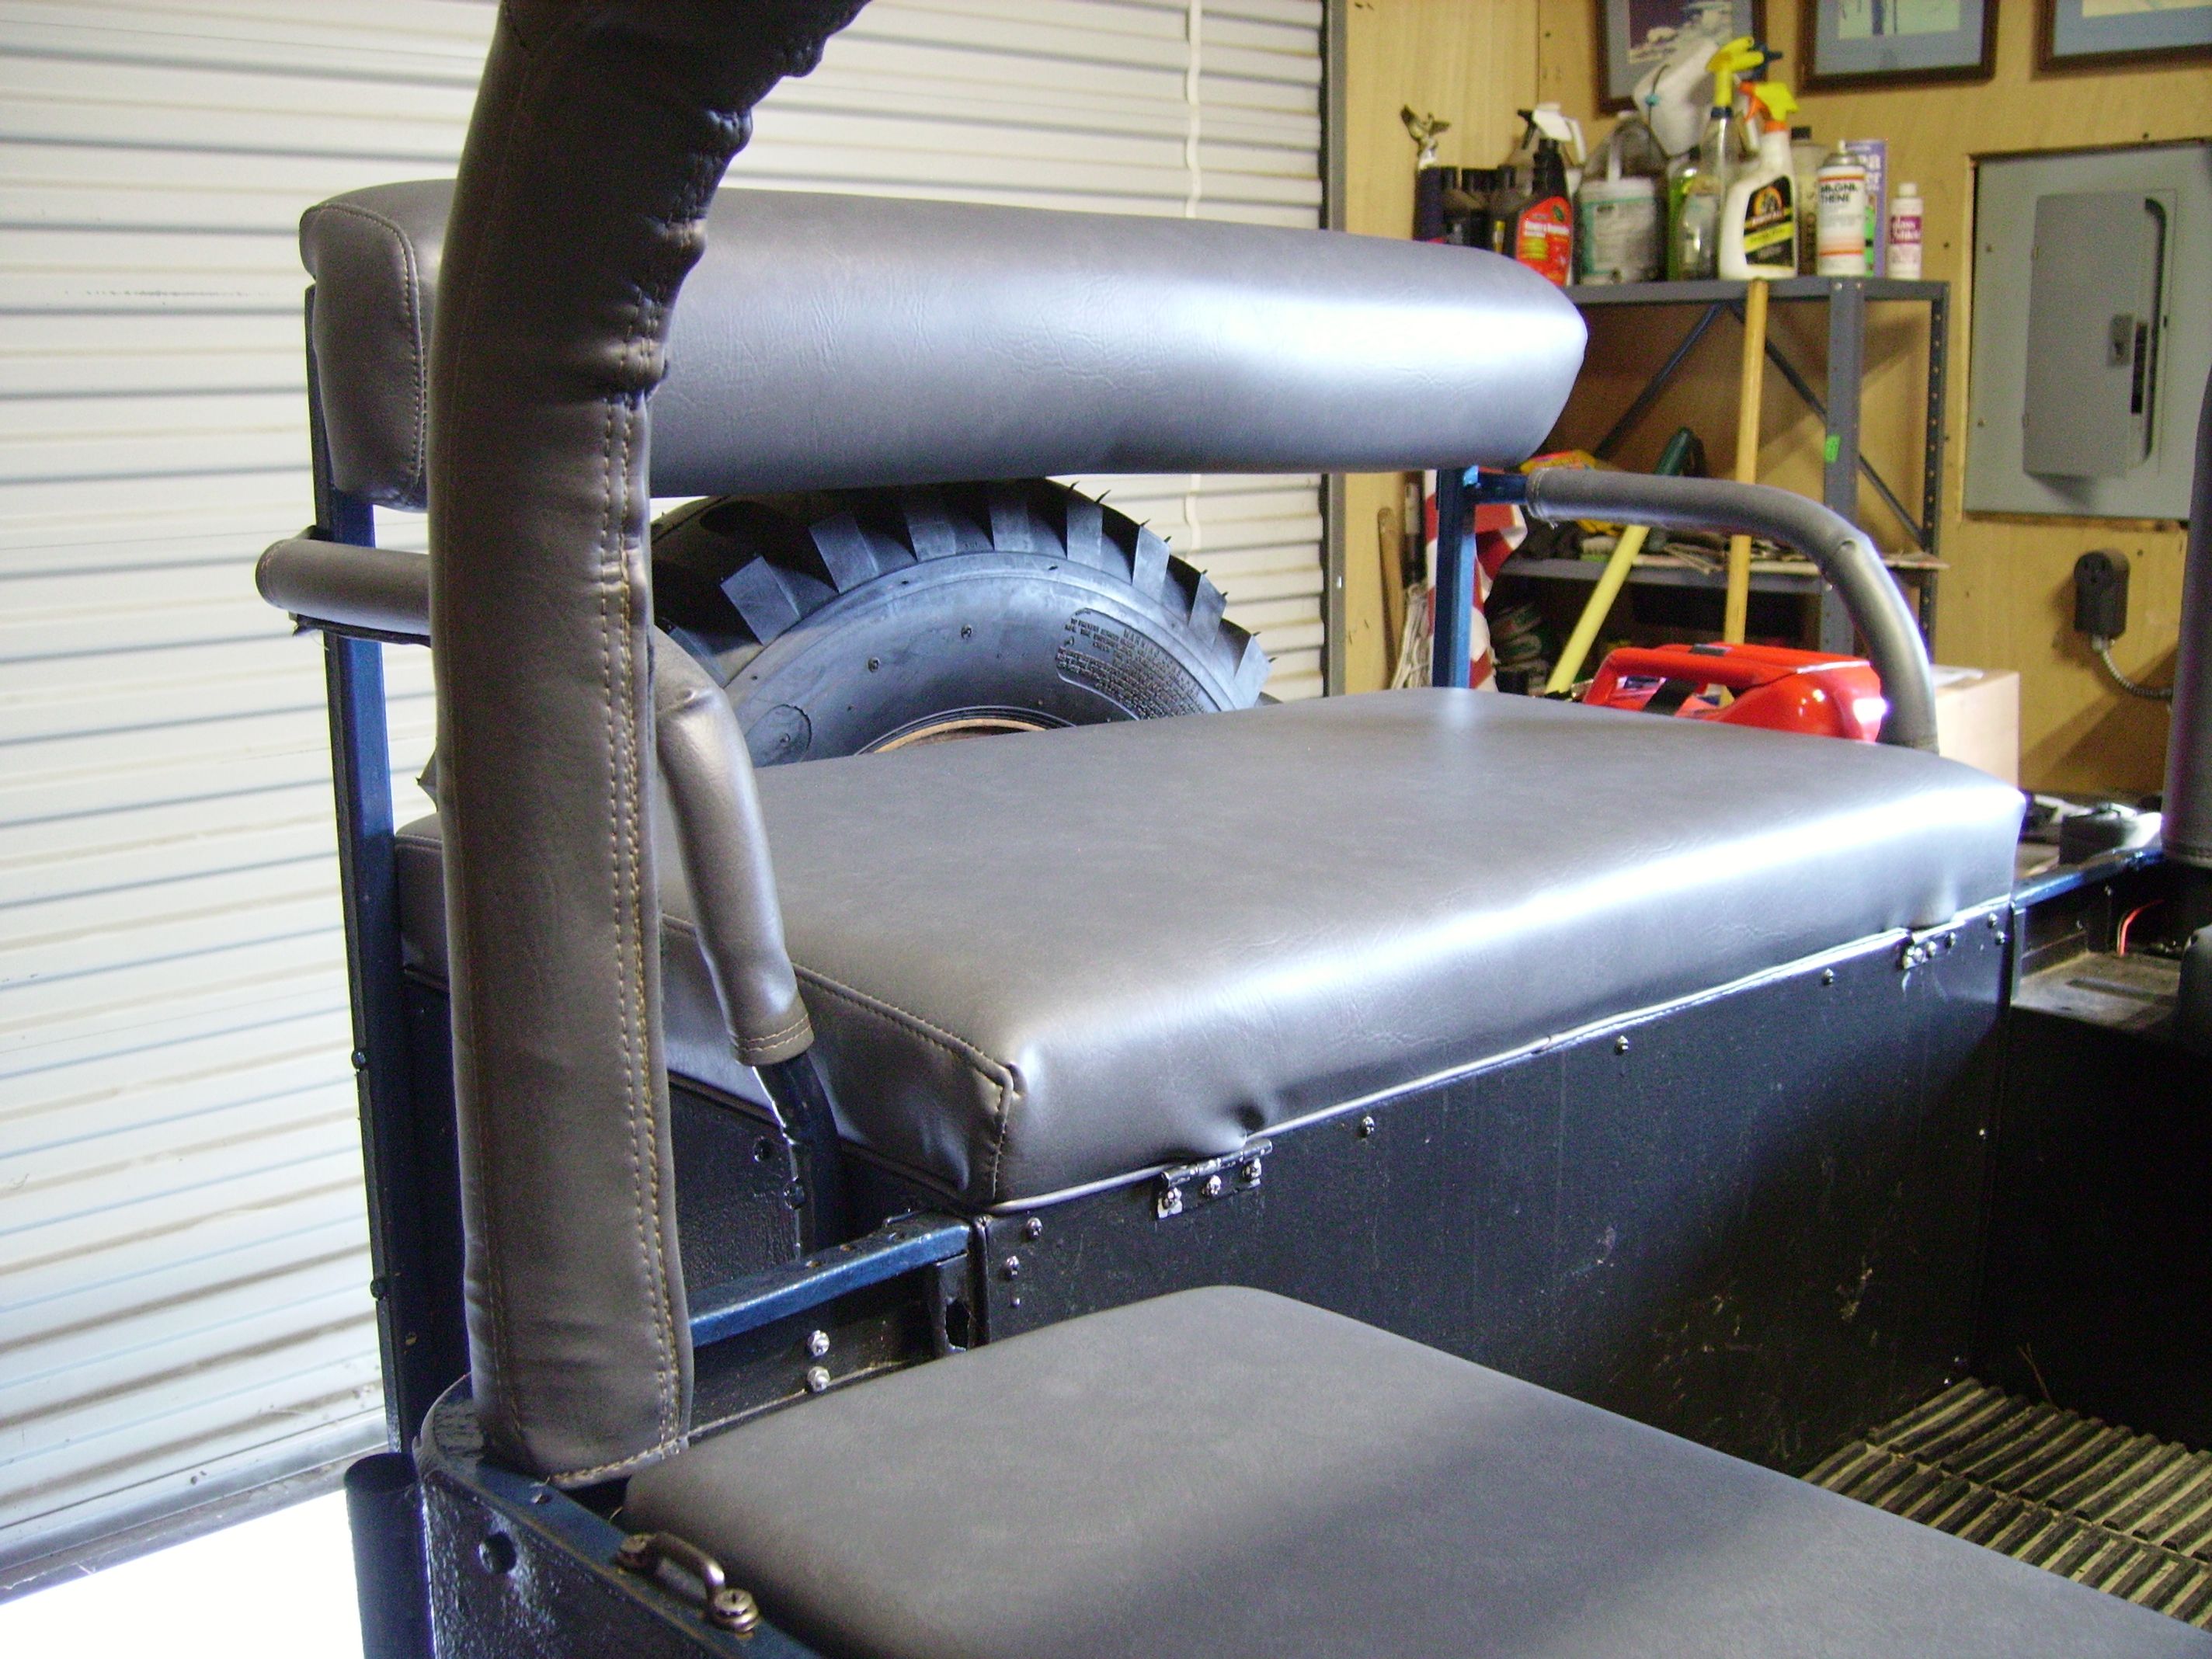
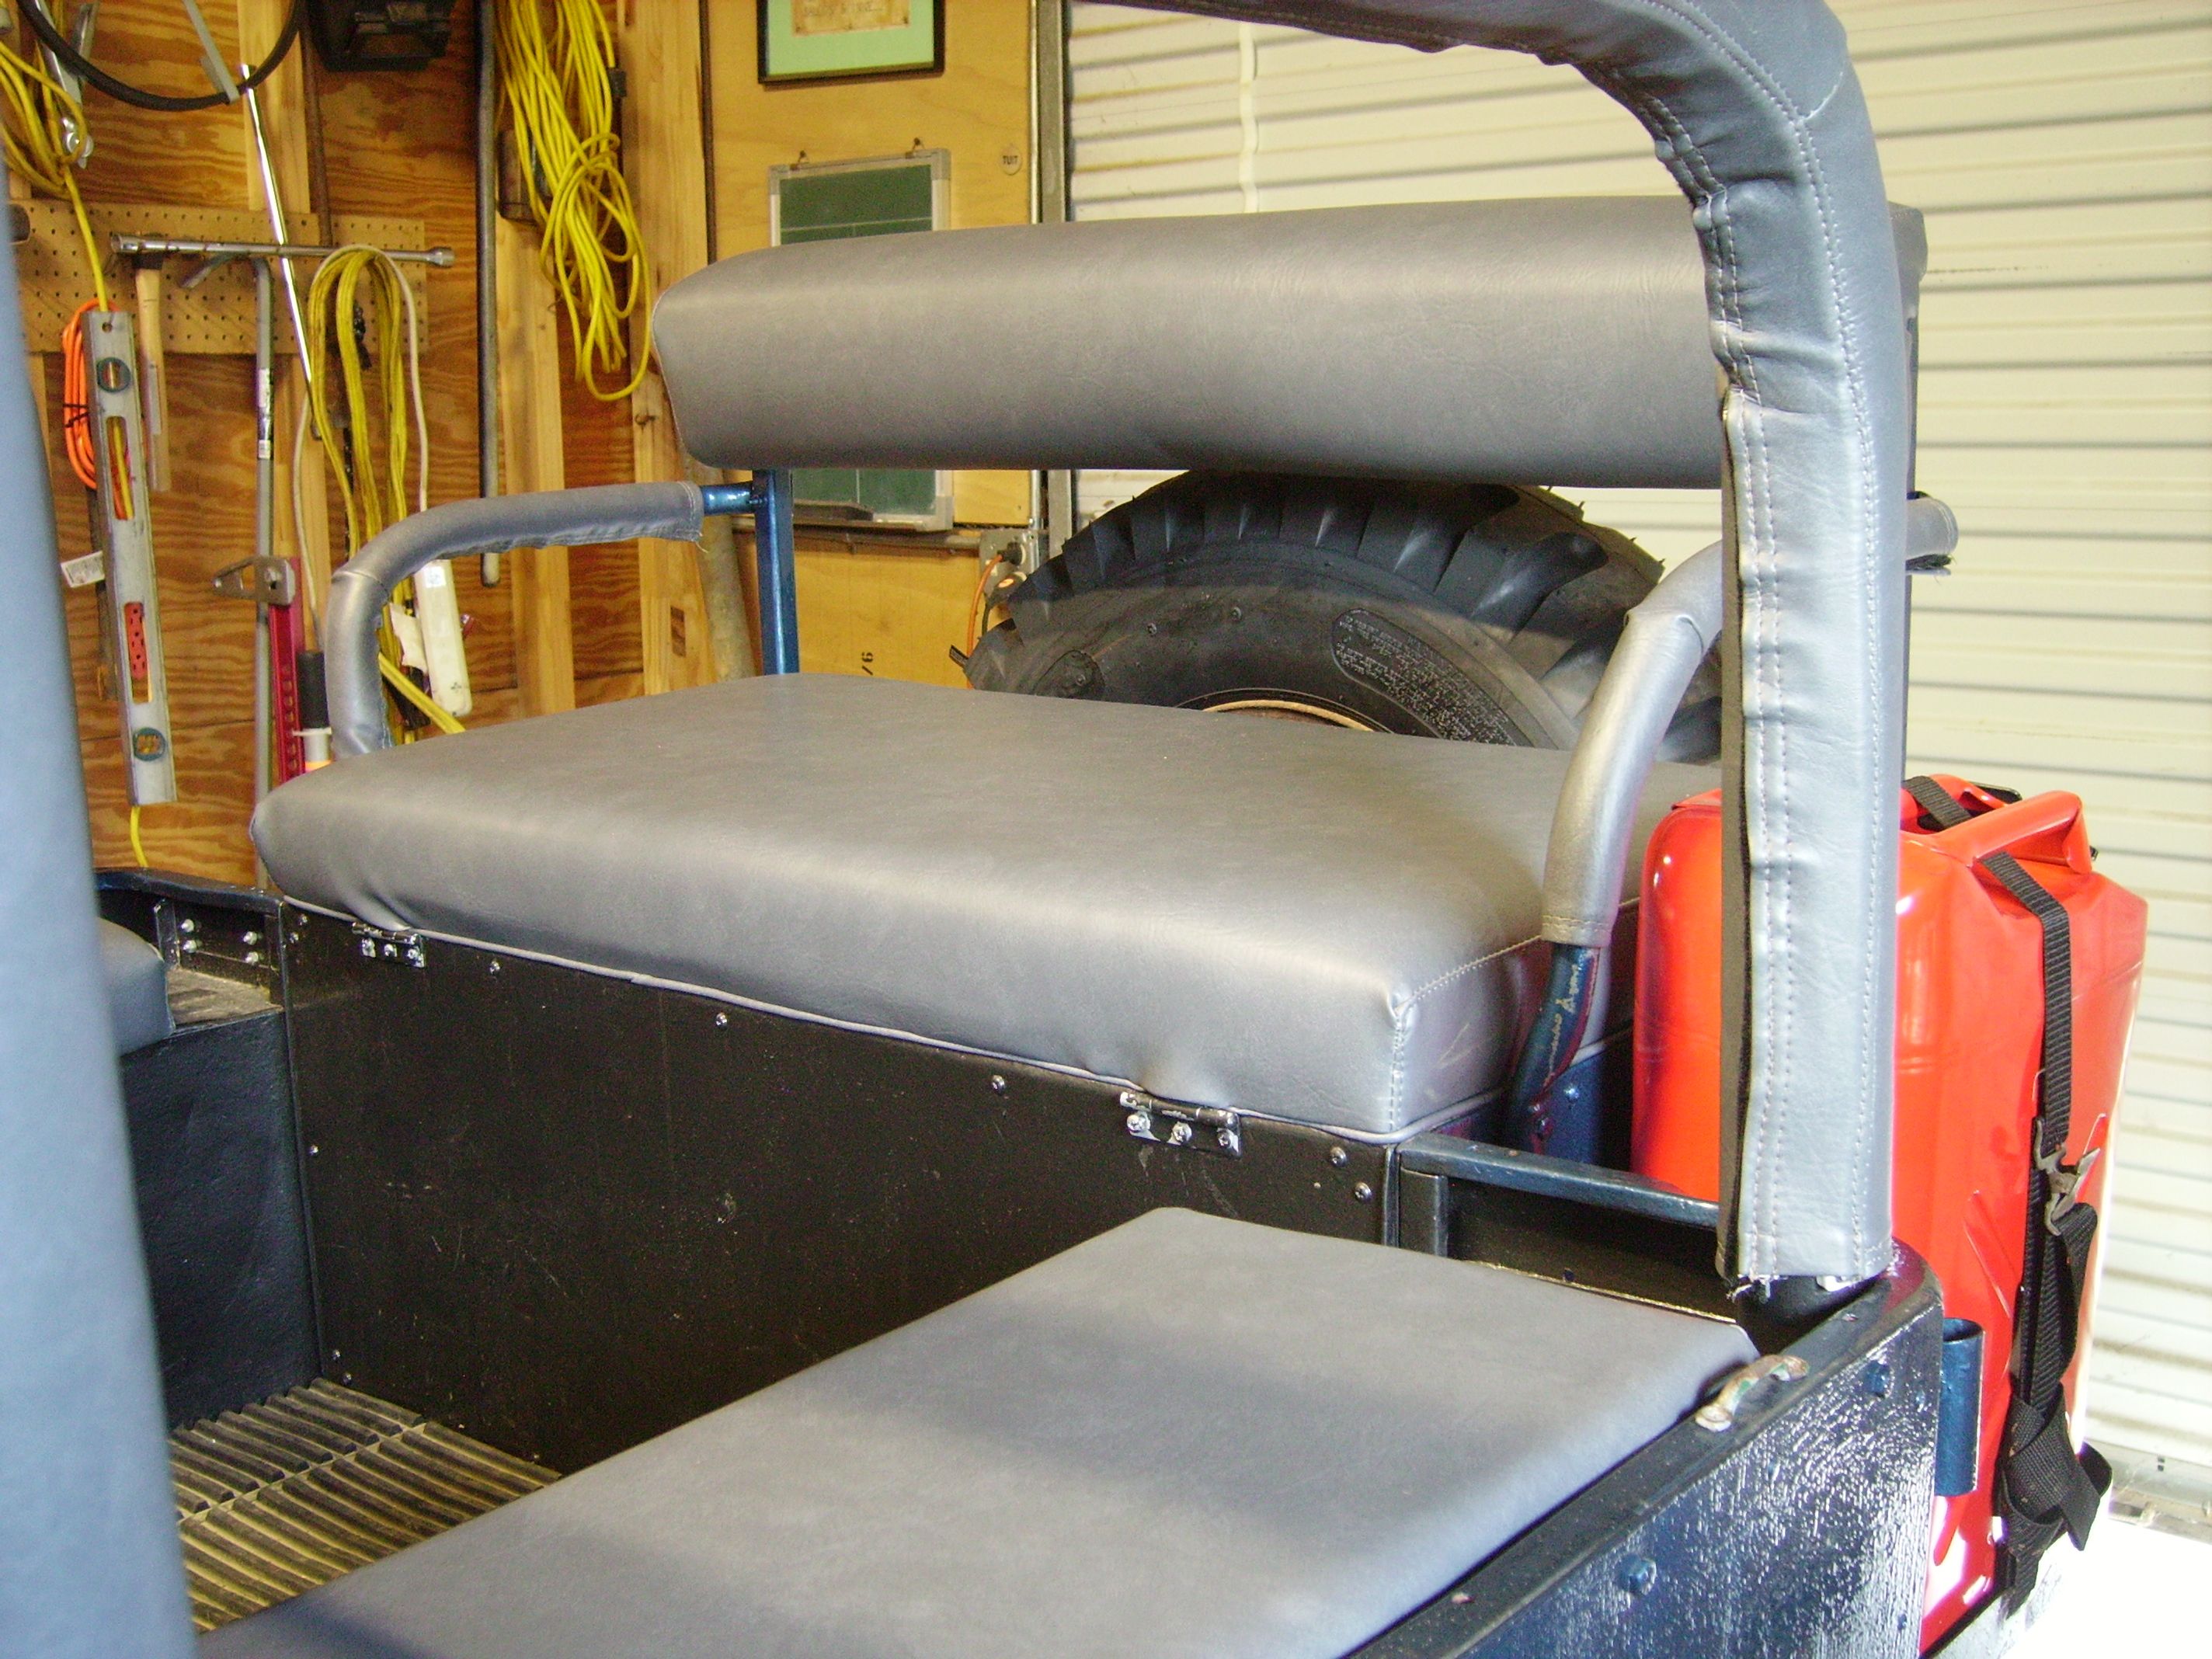
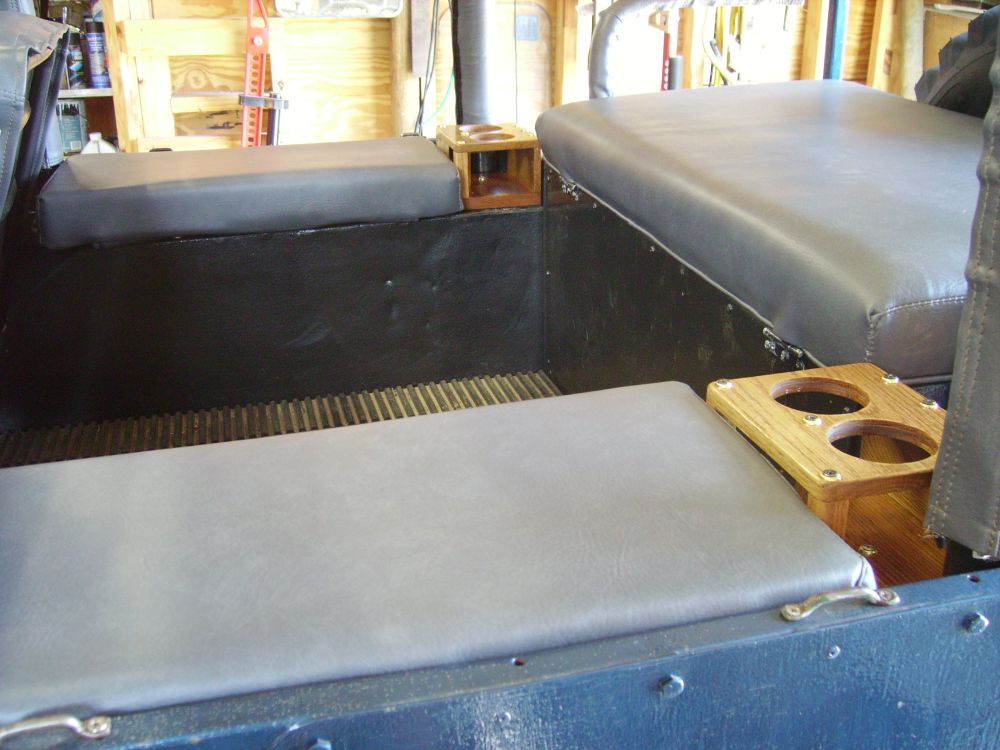
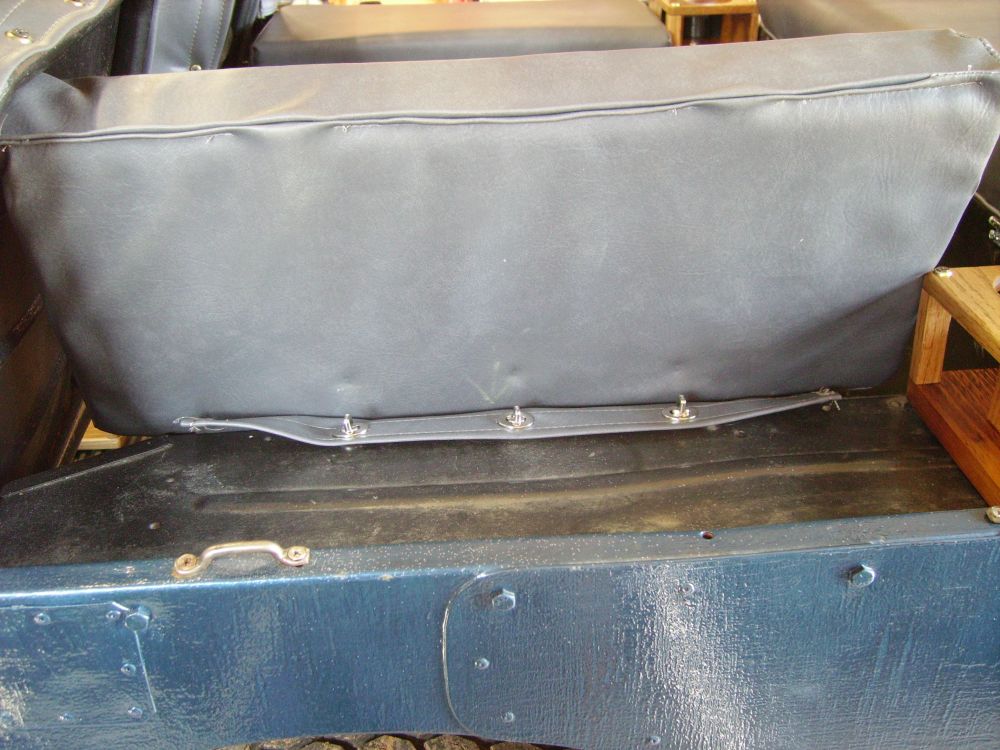
The completed rear seat. I also documented this design/build. The upholsterer left
a gap when he made the fender well seat cushions. It turned out
to be perfect for installing cup holders for passenger
convenience. The fender well cushions were attached using twist
lock fasteners.
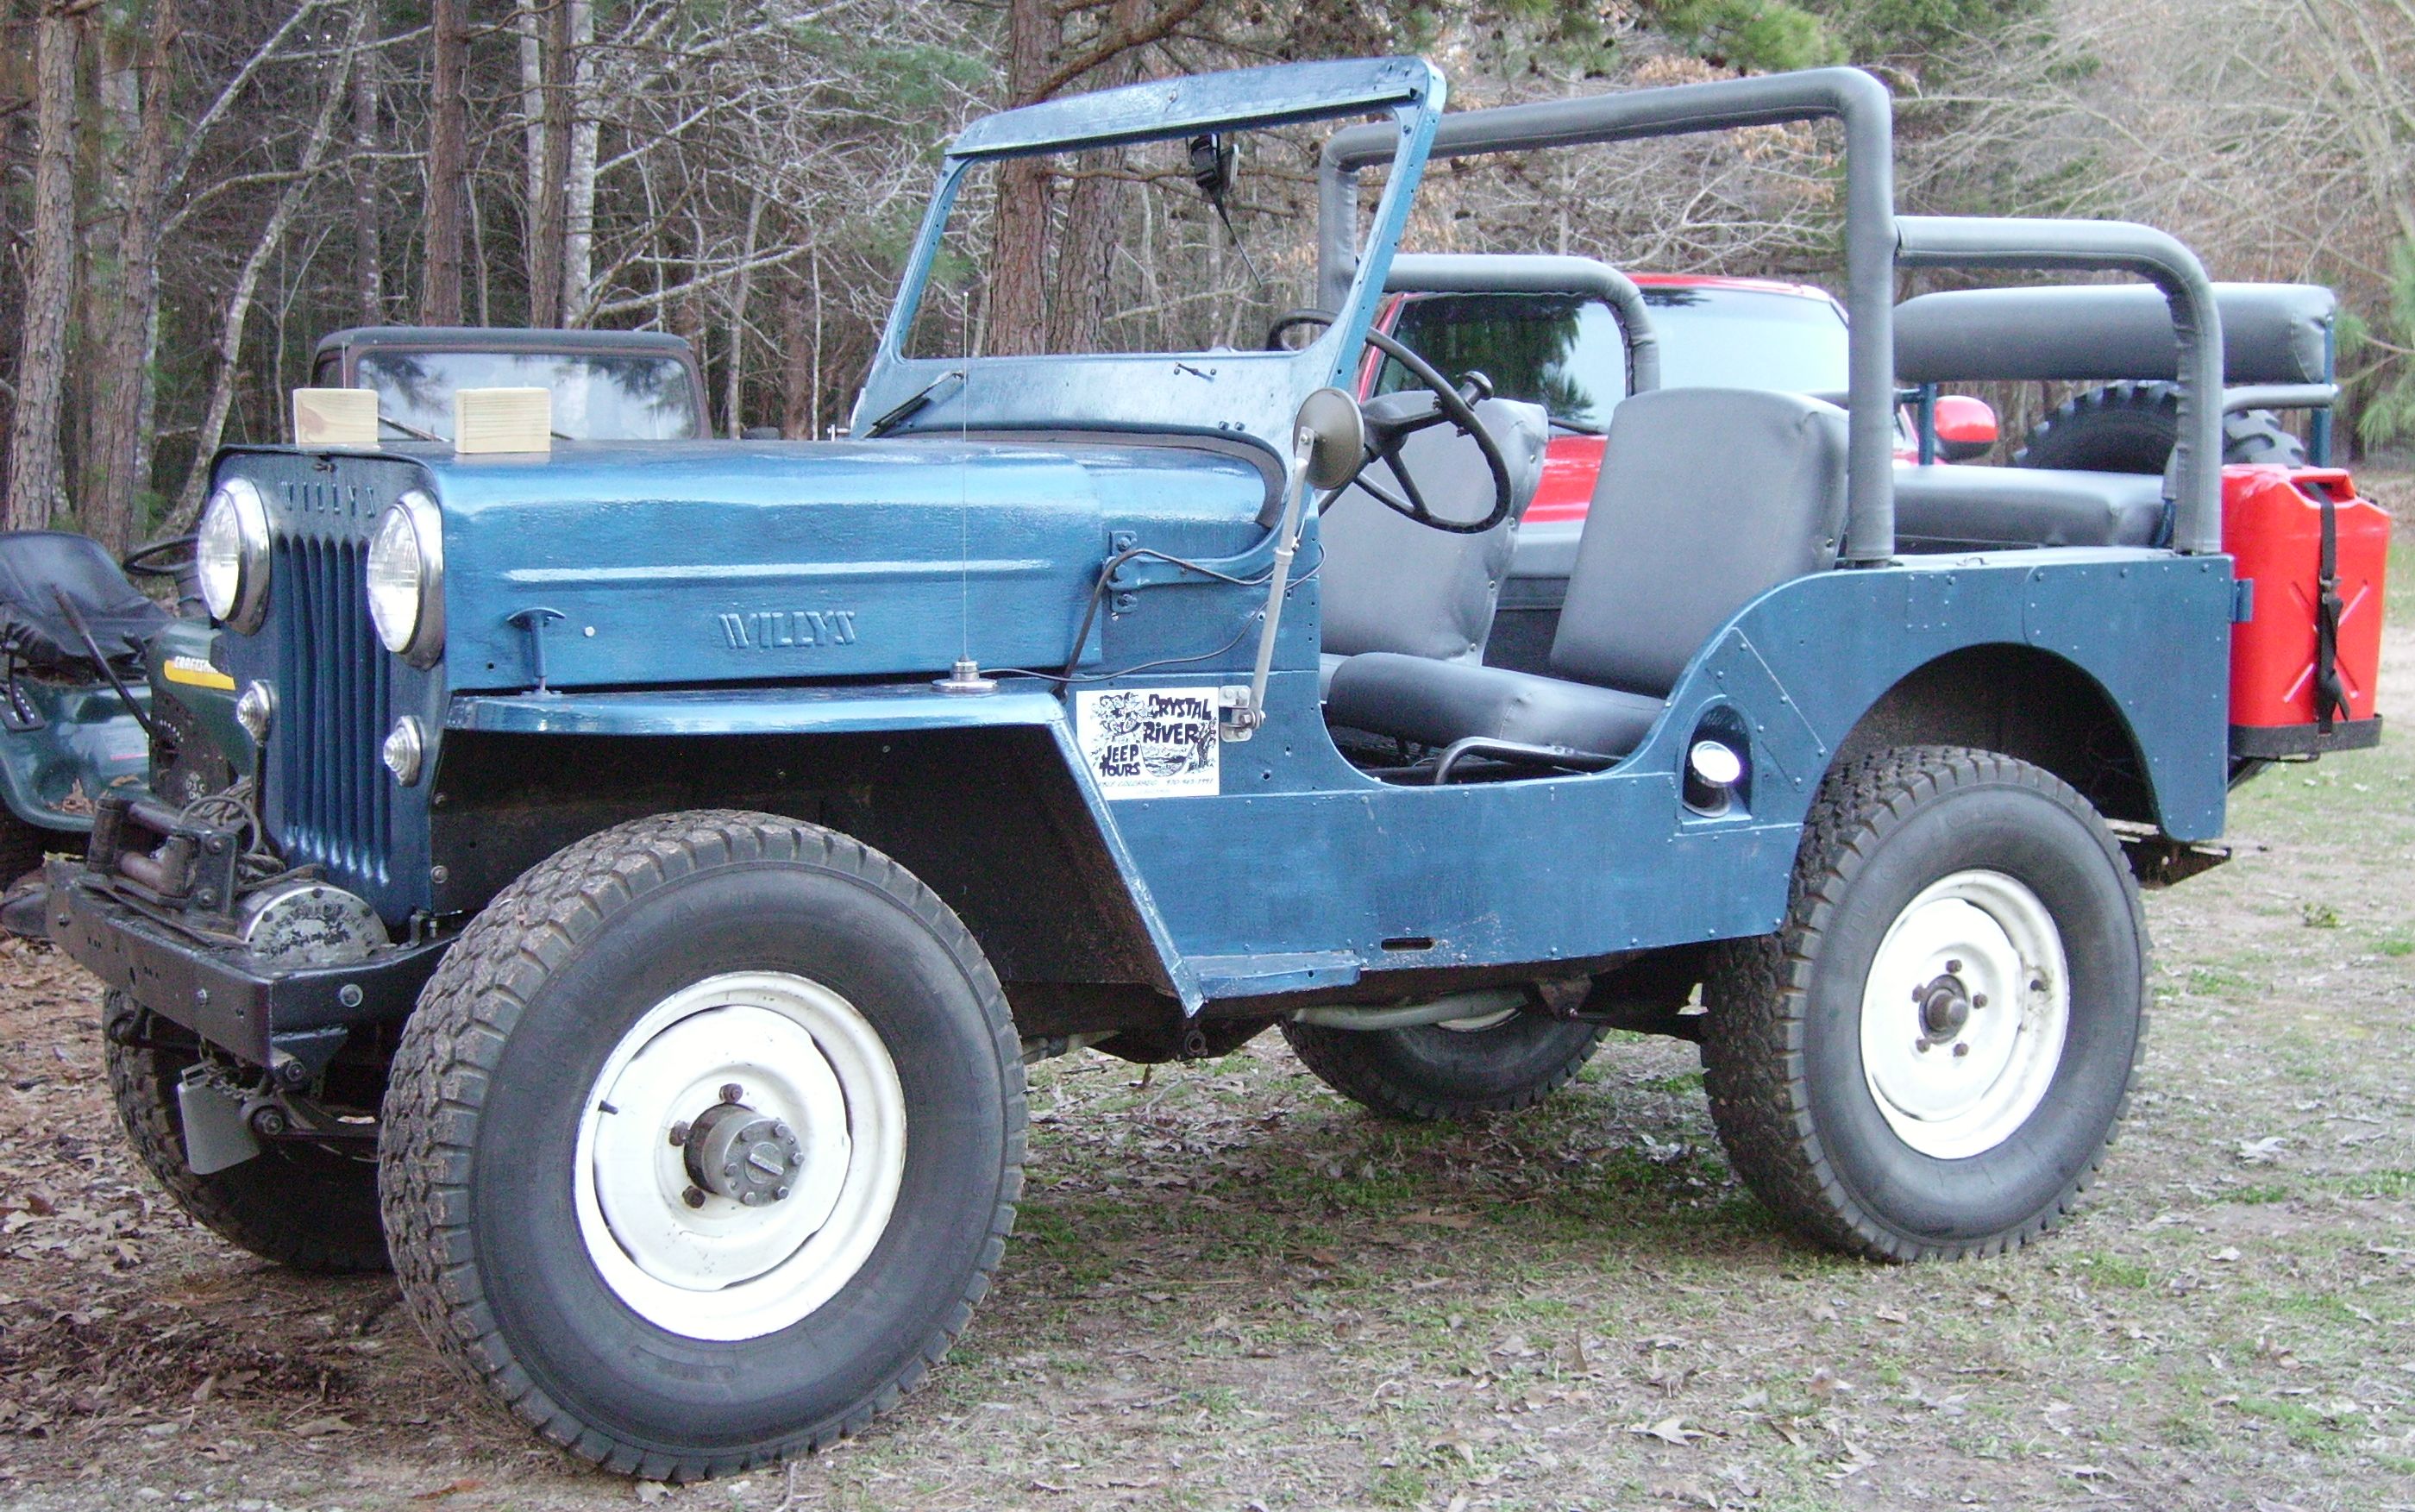
The new fuel tank, new radiator and new
exhaust have been installed, the upholstery is completed. Still
have the windshield to be done.
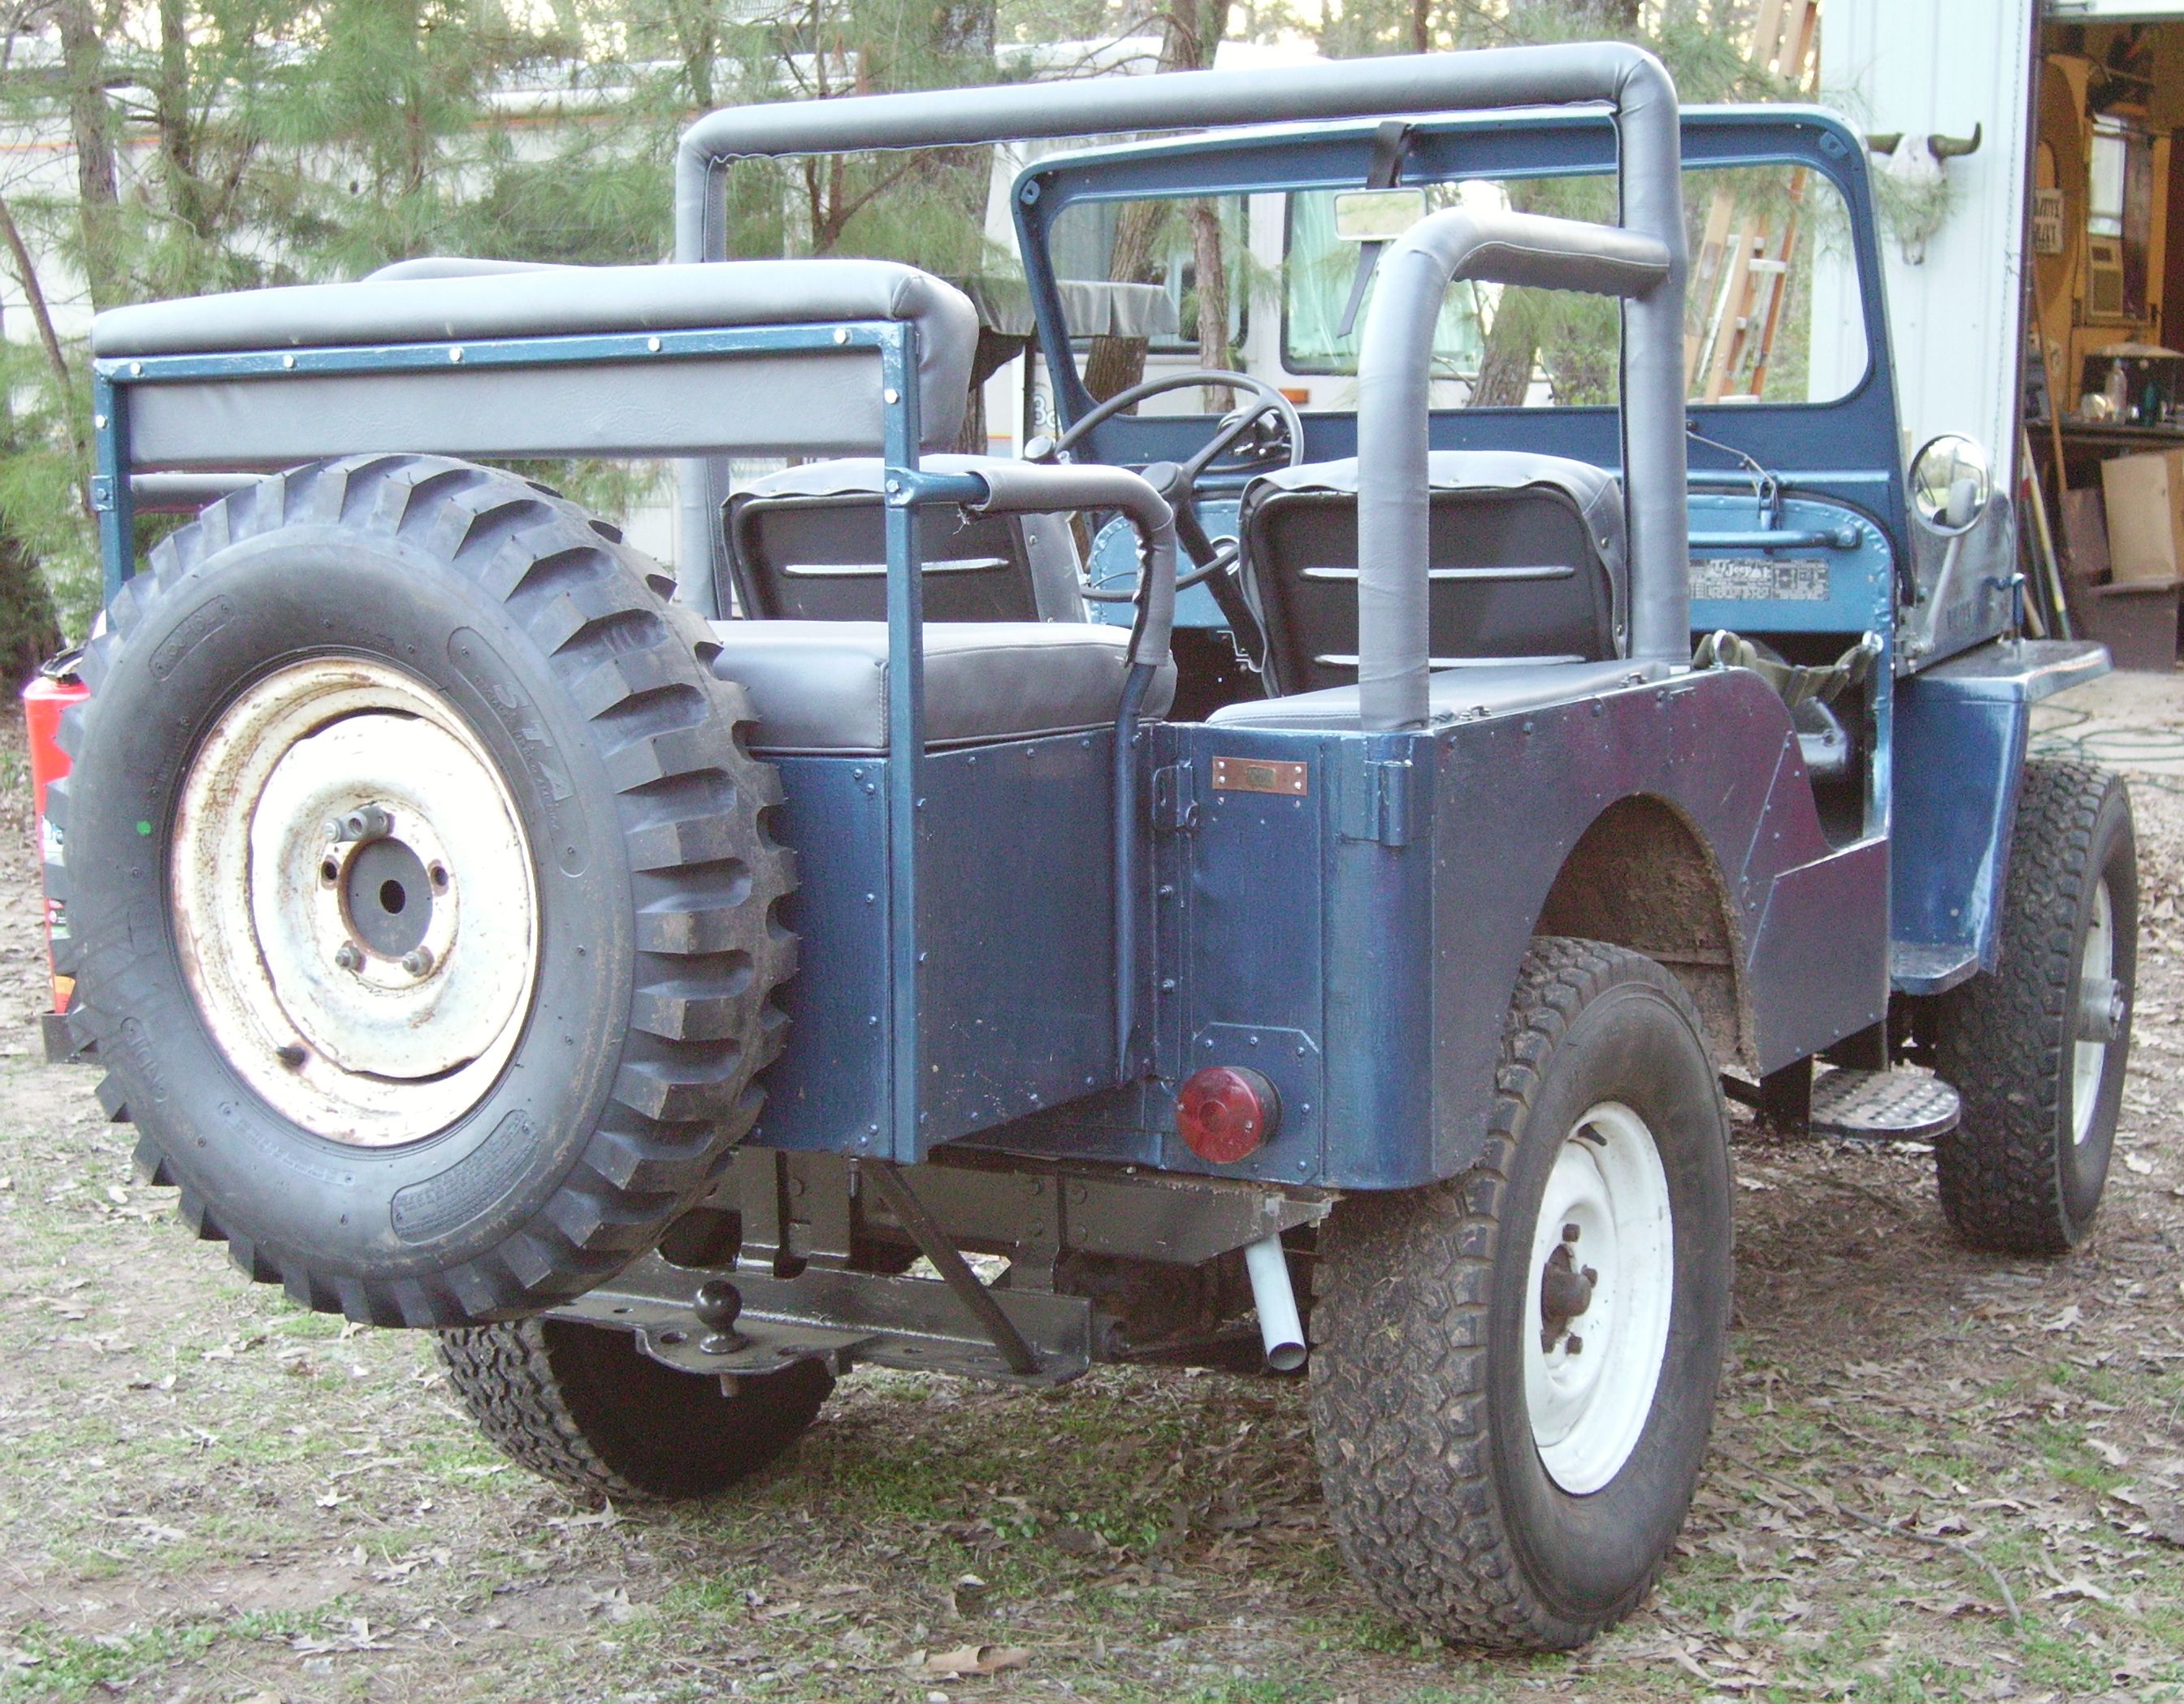
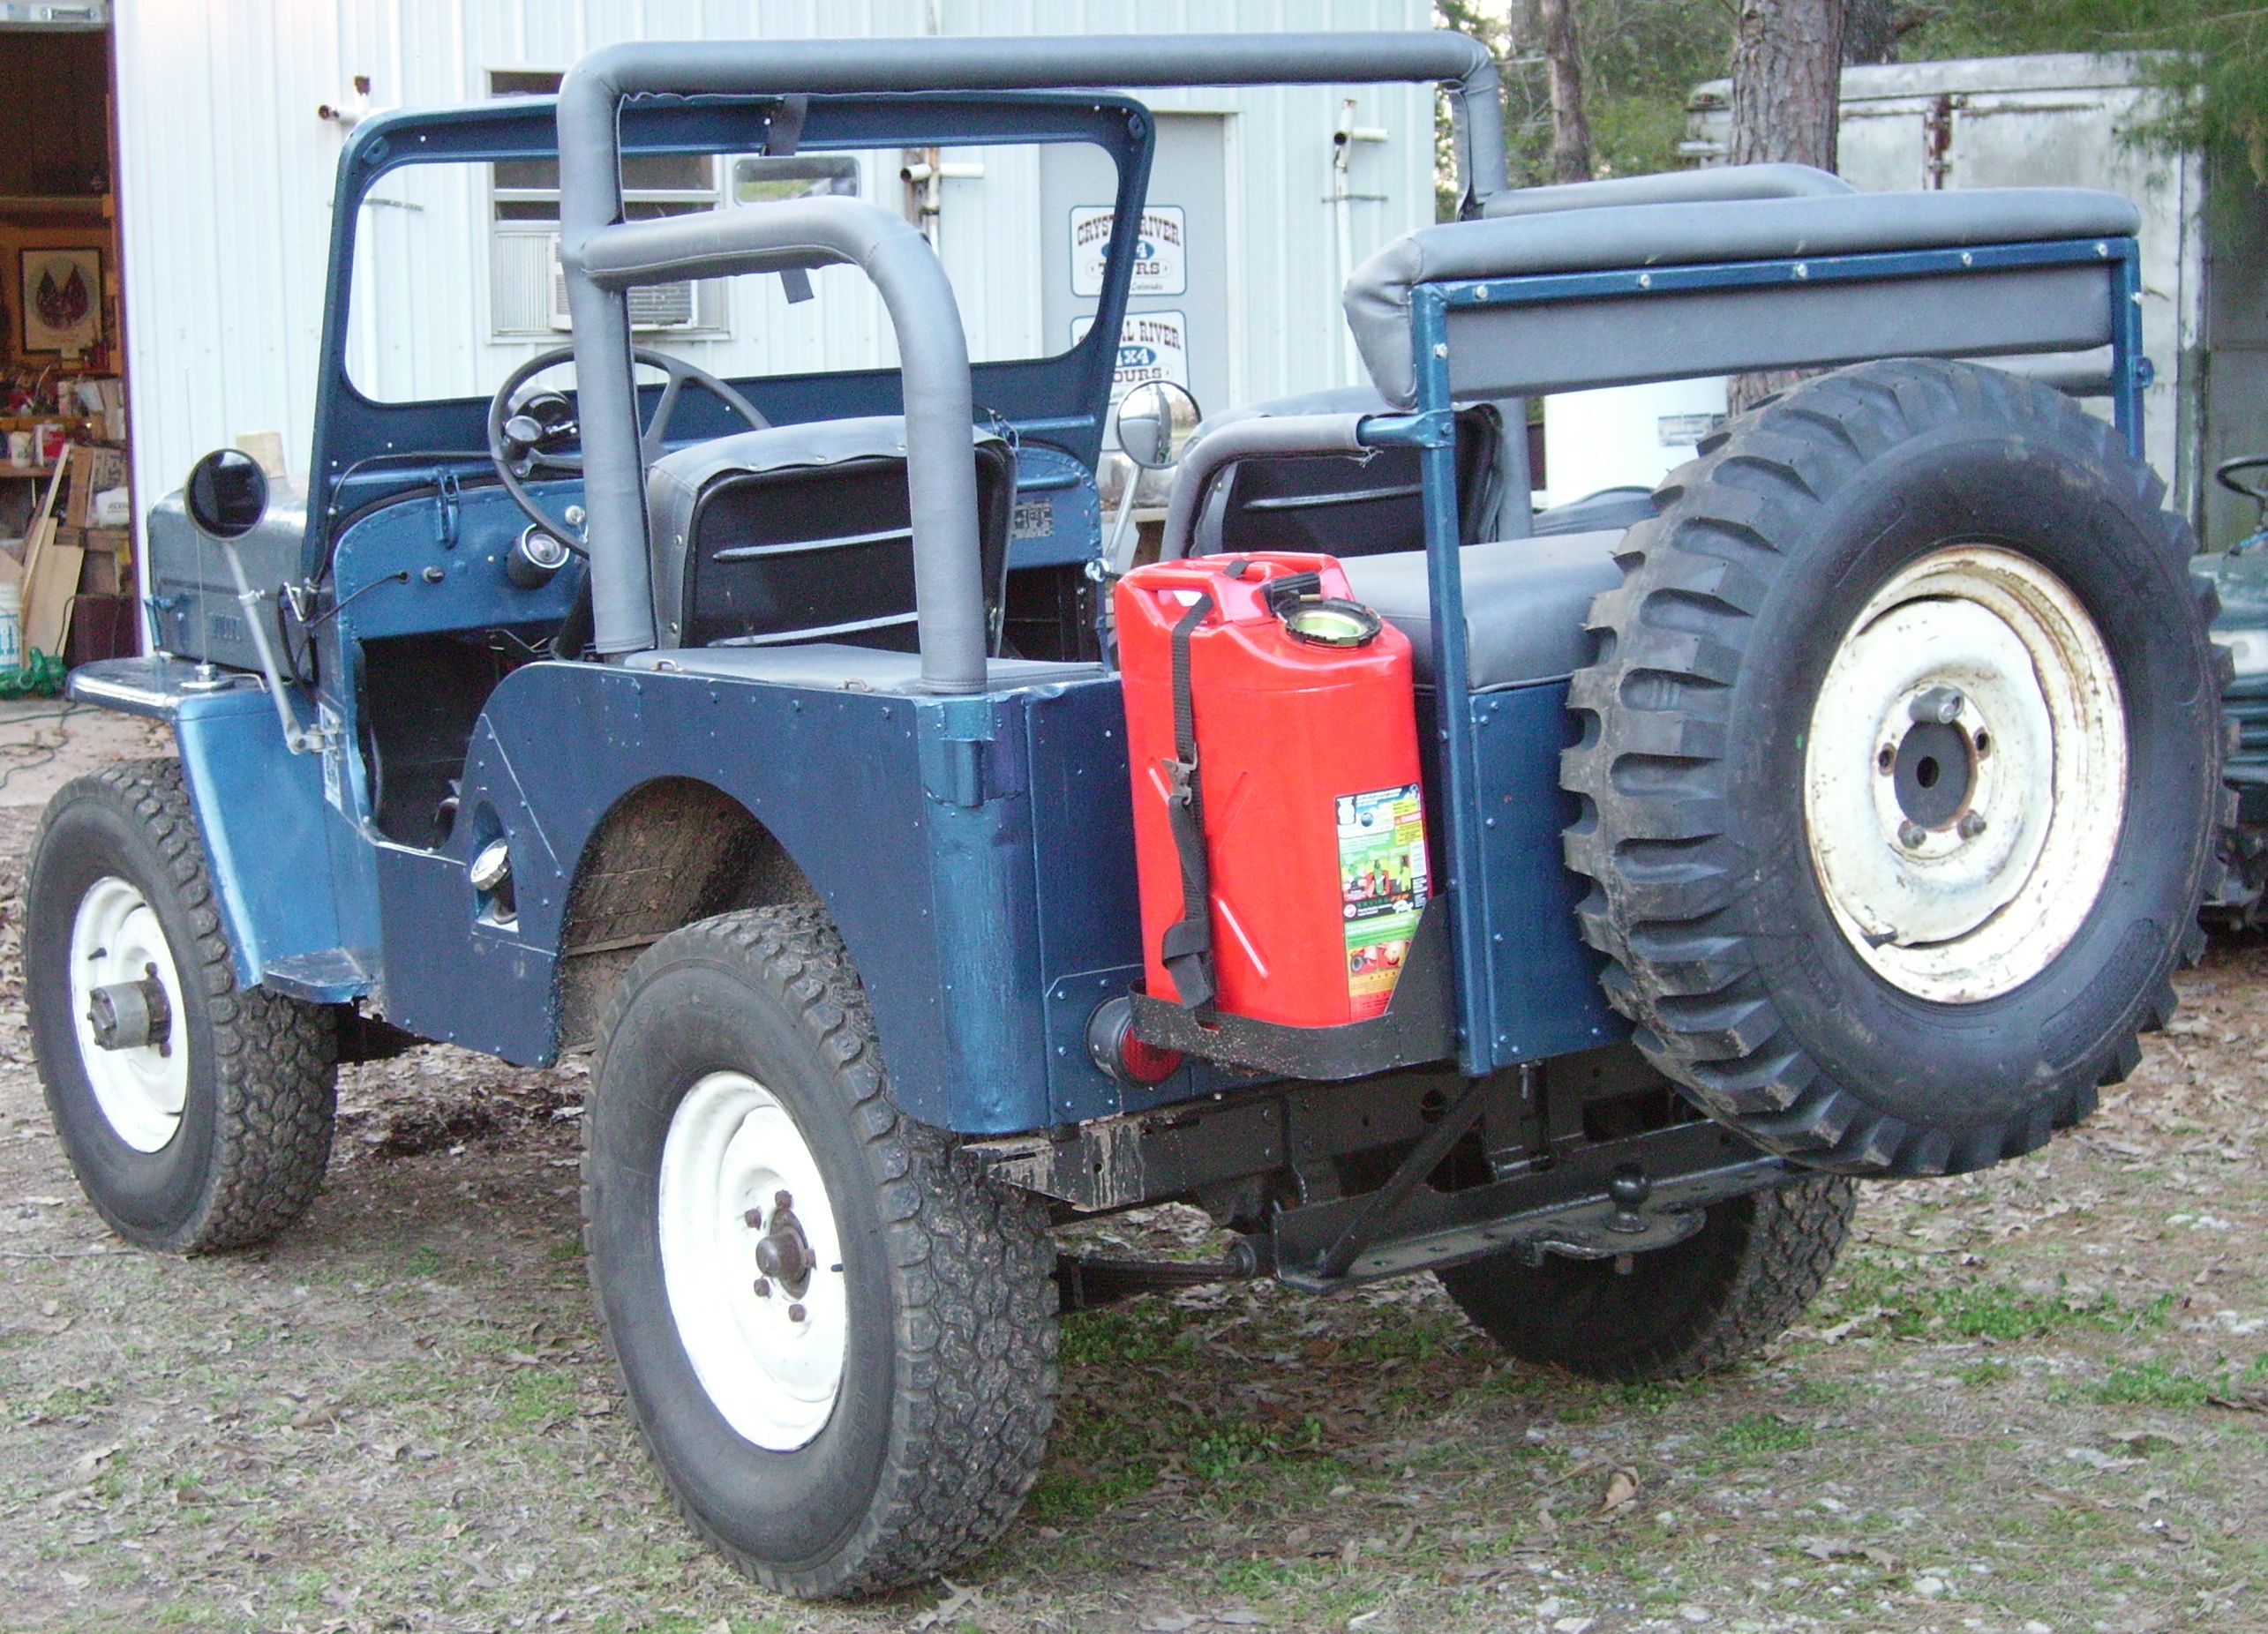
All four tires had inner tubes installed and a new spare tire (military tread NDT 750/16). A gas can was also added.
Also note the door strap installed (documented here)
on the passengers side. I decided against adding one to the
drivers side. A drivers egress is difficult enough without that
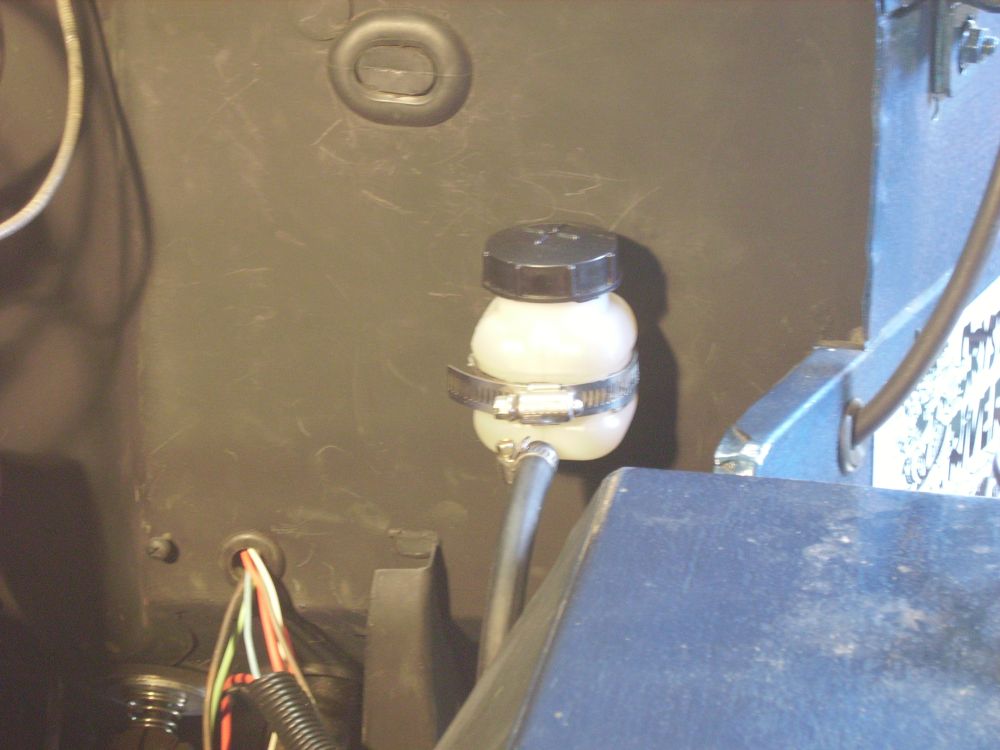
added restriction. I found the brake fluid reservior on eBay (it is actually for a Soviet Lada).
(c) 2007-2009 Smittys Willys, Inc. (The Man Cave)


